Введение
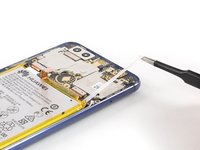
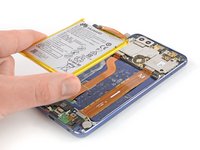
Use this guide to replace a worn-out or dead battery in your Huawei Honor 8.
If your battery is swollen, take appropriate precautions. For your safety, discharge your battery below 25% before disassembling your phone. This reduces the risk of a dangerous thermal event if the battery is accidentally damaged during the repair.
You’ll need replacement adhesive to reattach components when reassembling the device.
Выберете то, что вам нужно
-
-
Before you begin, switch off your phone.
-
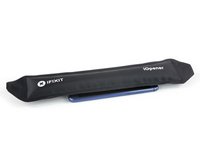
Apply a heated iOpener to the back of the phone to loosen the adhesive beneath the rear glass. Apply the iOpener for at least two minutes.
-
-
-
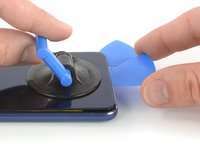
Secure a suction handle to the lower edge of the rear glass, as close to the edge as possible.
-
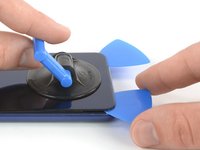
Lift the rear glass with the suction cup to create a small gap between the glass and the frame.
-
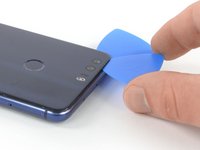
Insert an opening pick into the gap.
-
Slide the opening pick to the bottom right corner.
-
-
-
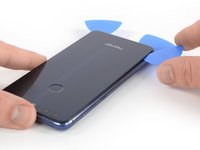
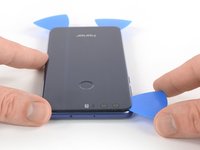
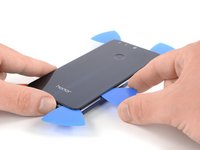
Insert a second opening pick and slide it to the bottom left corner to cut the adhesive.
-
Leave the opening picks in place to prevent the adhesive from resealing.
-
-
-
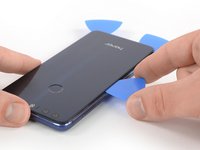
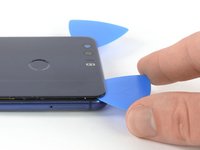
Insert a third opening pick at the bottom left corner.
-
Start to slide the tip of the opening pick from the bottom left corner along the side to cut the adhesive.
-
Leave the opening pick in its place at the top left corner to prevent the adhesive from resealing.
-
-
-
Insert a fourth opening pick under the top left corner of the rear glass.
-
Slide the opening pick along the top edge of the phone to cut the adhesive.
-
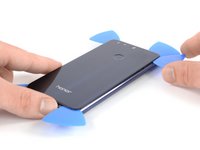
Leave the opening pick in the top right corner to prevent the adhesive from resealing.
-
-
-
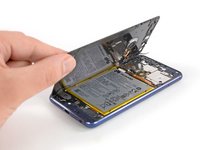
Insert a fifth opening pick at the top right corner of the phone.
-
Slide the opening pick along the right side to cut the remaining adhesive.
-
-
-
-
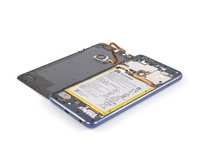
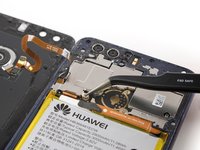
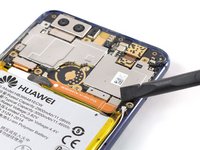
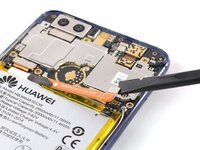
Remove the Phillips #00 screw (2.8 mm length) that secures the metal bracket on top of the fingerprint flex connector.
-
-
Инструмент, используемый на этом этапе:Tweezers$4.99
-
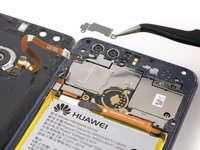
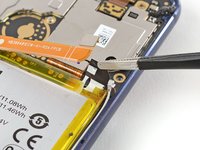
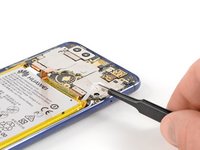
Use a pair of tweezers to remove the metal bracket that sits on top of the fingerprint and display flex connectors.
-
-
-
Remove these Phillips #00 screws securing the midframe bezel:
-
Eight screws with 3.5 mm length
-
Eight screws with 2.9 mm length
-
Some screws might be covered with a tamper proof sticker.
-
-
-
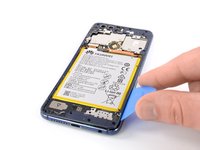
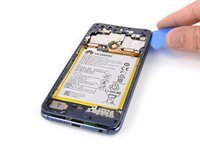
Insert an opening pick underneath the top right edge of the midframe bezel.
-
Use the opening pick to pry up the midframe bezel.
-
Insert the opening pick underneath the bottom left corner of the bezel and pry it up.
-
-
-
Insert the long edge of an opening pick in the seam between the midframe and the bezel on the left side of the phone.
-
Slide the opening pick along the left side of the phone to cut the adhesive underneath the midframe bezel.
-
-
-
Repeat the procedure on the right edge of the phone to cut the adhesive underneath the midframe bezel.
-
-
-
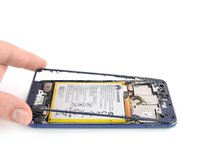
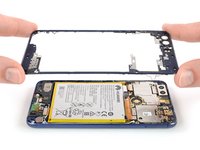
Carefully grasp the midframe bezel from the bottom corners and lift it upwards.
-
Remove the midframe bezel.
-
-
-
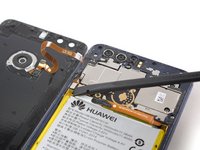
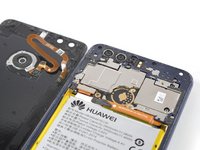
Use a spudger to pry up and disconnect the battery flex cable.
-
-
Инструмент, используемый на этом этапе:Tweezers$4.99
-
Use a pair of tweezers to lift the black adhesive pull tab off of the top right corner of the battery.
-
Use a pair of tweezers to pull out the adhesive strip.
-
-
-
Apply a heated iOpener to the screen for at least two minutes to loosen the adhesive beneath the battery.
-
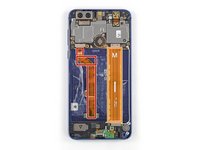
Display flex cable
-
Interconnect flex cable
-
-
Инструмент, используемый на этом этапе:Plastic Cards$2.99
-
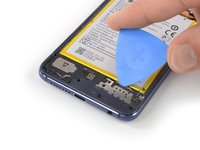
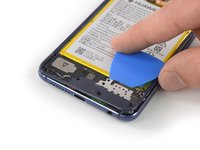
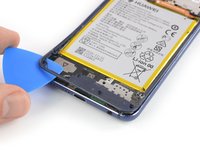
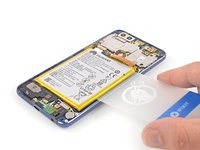
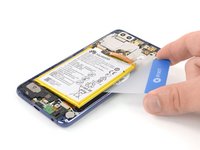
Insert an opening pick or a plastic card under the battery where the adhesive strip was located.
-
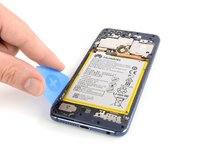
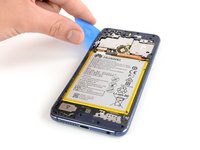
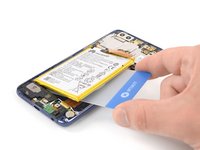
Slide along the right side of the battery to cut the remaining adhesive.
-
Carefully pry up the right side of the battery to loosen the adhesive.
-
-
-
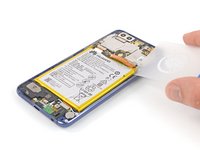
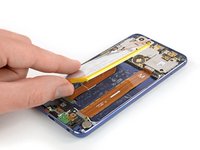
Slide a plastic card underneath the battery and cut the remaining adhesive between the flex cables and underneath the left side of the battery.
-
If possible, turn on your phone and test your repair before installing new adhesive and resealing the phone.
Secure the new battery with pre-cut adhesive or double-sided adhesive tape. In order to position it correctly, apply the new adhesive into the phone at the places where the old adhesive was located, not directly onto the battery. Press the new battery firmly into place.
To reassemble your device, follow these instructions in reverse order.
For optimal performance, calibrate your newly installed battery: Charge it to 100%, and keep charging it for at least two more hours. Then, use it until it shuts off due to low battery. Finally, charge it uninterrupted to 100%
Take your e-waste to an R2 or e-Stewards certified recycler.
Repair didn’t go as planned? Check out our Answers community for troubleshooting help.
Отменить: Я не выполнил это руководство.
23 человек успешно провели ремонт по этому руководству.
12Комментарии к руководству
If you use isopropyl alcohol to dissolve the adhesive and remove the battery make sure it doesn’t go towards the screen (as the phone is likely going to be facing down) and that it dries completely before closing up the phone again.
I made the mistake of leaving the phone - although still opened - face down overnight and the alcohol seems to have gotten into the screen, causing bubbles and discoloring on the screen.
Thank you very much for this guide, great help! I also changed the usb port and had to watch the guide for that also :) Took some more time for a firt timer hehe, Also I did not have the pre cut adhesive, only 3 mm. I will probably find one and order it.
Very good guide, thanks a lot! I didn’t have the iOpener, so, I used very hot water in a ziplock bag and it worked great.
Very good guide, but actually, I didn’t even need to remove the circuit board. With enough warmth from the iOpener on the display side and cautiously working with all the picks, I was able to remove the battery right after removing the middle frame.


