Перейти к основному содержанию

Lenovo ThinkPad T480 Hard Drive Replacement

Выберете то, что вам нужно

  1. Lenovo ThinkPad T480 Hard Drive Replacement, External Battery: шаг 1, изображение 1 из 2 Lenovo ThinkPad T480 Hard Drive Replacement, External Battery: шаг 1, изображение 2 из 2
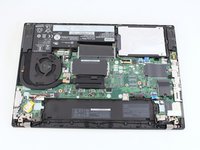
    • Disable the battery, power down, and unplug your device before you begin.

    • Flip the laptop over so the bottom of the device is showing.

  2. Lenovo ThinkPad T480 Hard Drive Replacement: шаг 2, изображение 1 из 3 Lenovo ThinkPad T480 Hard Drive Replacement: шаг 2, изображение 2 из 3 Lenovo ThinkPad T480 Hard Drive Replacement: шаг 2, изображение 3 из 3
    • Using your fingers, slide the lock on each side of the battery to the unlocked position.

    • Remove the battery from the slot.

  3. Lenovo ThinkPad T480 Hard Drive Replacement, Back Cover: шаг 3, изображение 1 из 2 Lenovo ThinkPad T480 Hard Drive Replacement, Back Cover: шаг 3, изображение 2 из 2
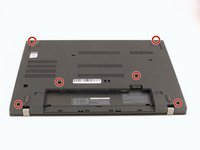
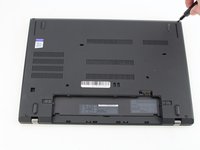
    • Using the Phillips #1 screwdriver, loosen the six captive screws.

  4. Lenovo ThinkPad T480 Hard Drive Replacement: шаг 4, изображение 1 из 3 Lenovo ThinkPad T480 Hard Drive Replacement: шаг 4, изображение 2 из 3 Lenovo ThinkPad T480 Hard Drive Replacement: шаг 4, изображение 3 из 3
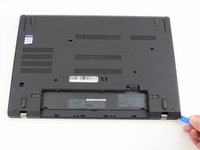
    • Insert the blue plastic opening tool into the space between the lower case and the chassis.

    • Slide the opening tool around the perimeter of the case to release the clips holding the case and the chassis together.

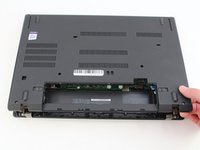
    • If it feels like the battery well portion of the back cover isn't loose, these clips may be holding the cover to the laptop. Use your opening tool to pry the clips loose and try removing the cover again.

    • Remove the back case.

  5. Lenovo ThinkPad T480 Hard Drive Replacement, Internal Battery: шаг 5, изображение 1 из 2 Lenovo ThinkPad T480 Hard Drive Replacement, Internal Battery: шаг 5, изображение 2 из 2
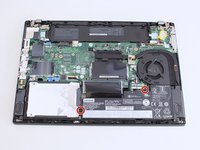
    • Use a Phillips #1 screwdriver to remove the two 4.6 mm screws that secure the internal battery to the frame.

  6. Lenovo ThinkPad T480 Hard Drive Replacement: шаг 6, изображение 1 из 3 Lenovo ThinkPad T480 Hard Drive Replacement: шаг 6, изображение 2 из 3 Lenovo ThinkPad T480 Hard Drive Replacement: шаг 6, изображение 3 из 3
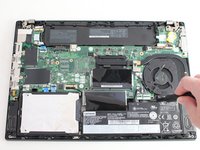
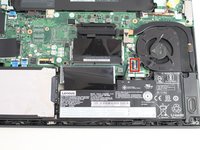
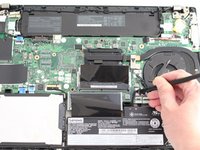
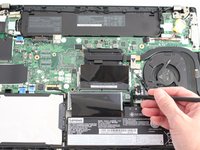
    • Use the spudger to slide the battery socket connector parallel to the motherboard and out of its socket on the motherboard.

  7. Lenovo ThinkPad T480 Hard Drive Replacement: шаг 7, изображение 1 из 2 Lenovo ThinkPad T480 Hard Drive Replacement: шаг 7, изображение 2 из 2
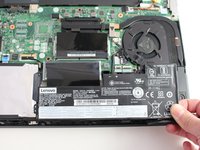
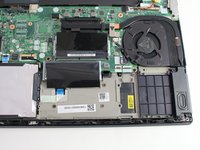
    • Lift the battery straight out of its recess and remove it.

    • If the battery is difficult to remove from the recess, use a nylon spudger to gently lift it on one edge, making it easier to grasp and remove by hand.

    • To prevent damage or potential fire, do not bend or flex the battery. Only use a plastic spudger and avoid any sharp tools that could puncture the battery.

  8. Lenovo ThinkPad T480 Hard Drive Replacement, Hard Drive: шаг 8, изображение 1 из 3 Lenovo ThinkPad T480 Hard Drive Replacement, Hard Drive: шаг 8, изображение 2 из 3 Lenovo ThinkPad T480 Hard Drive Replacement, Hard Drive: шаг 8, изображение 3 из 3
    • Using the black nylon spudger, lift the connector lock up.

    • Disconnect the storage cable from the motherboard.

  9. Lenovo ThinkPad T480 Hard Drive Replacement: шаг 9, изображение 1 из 3 Lenovo ThinkPad T480 Hard Drive Replacement: шаг 9, изображение 2 из 3 Lenovo ThinkPad T480 Hard Drive Replacement: шаг 9, изображение 3 из 3
    • Lift the hard drive up with a tab if it has one or with your spudger.

    • Lift the drive assembly from the system.

  10. Lenovo ThinkPad T480 Hard Drive Replacement: шаг 10, изображение 1 из 3 Lenovo ThinkPad T480 Hard Drive Replacement: шаг 10, изображение 2 из 3 Lenovo ThinkPad T480 Hard Drive Replacement: шаг 10, изображение 3 из 3
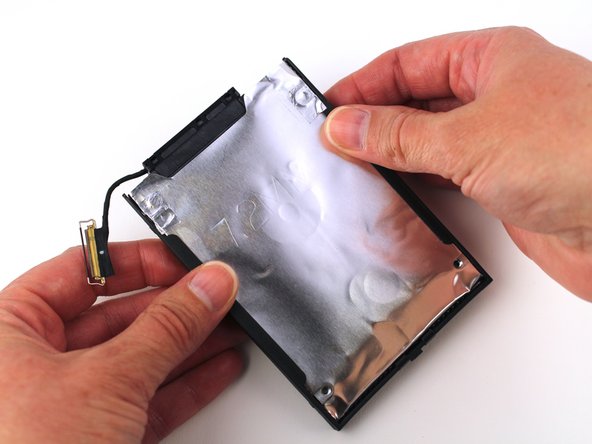
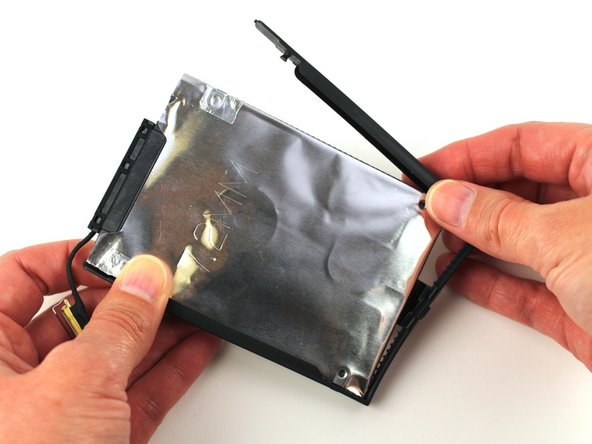
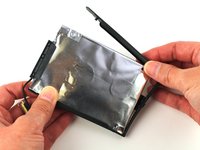
    • Pull the plastic drive bracket outward to remove it from the hard drive.

  11. Lenovo ThinkPad T480 Hard Drive Replacement: шаг 11, изображение 1 из 2 Lenovo ThinkPad T480 Hard Drive Replacement: шаг 11, изображение 2 из 2
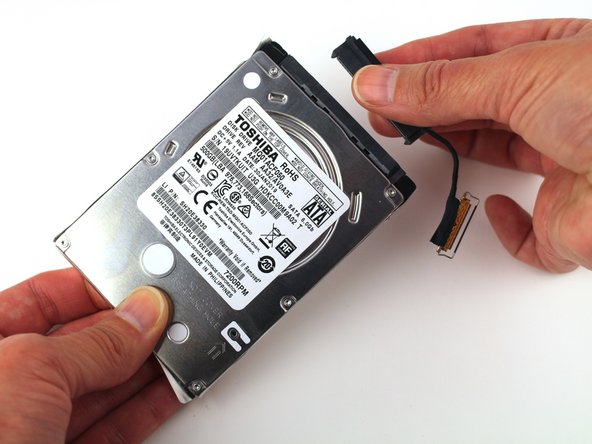
    • Flip it over and remove the drive connector from the assembly.

Заключение

To reassemble your device, follow the above steps in reverse order.

Take your e-waste to an R2 or e-Stewards certified recycler.

Repair didn’t go as planned? Try some basic troubleshooting, or ask our Answers community for help.

5 человек успешно провели ремонт по этому руководству.

Sarah Westberg

Участник с: 03/11/19

29 686 Репутация

Автор 71 руководств

Команду

iFixit Участник iFixit

Staff

118 членов

Автор 19 637 руководств

0Комментарии к руководству

Добавить комментарий

Статистика просмотров:

За последние 24 час(ов): 14

За последние 7 дней: 121

За последние 30 дней: 641

За всё время: 27,145