Введение
Use this guide to replace the antenna kit in your Lenovo ThinkPad T480s laptop..
The antenna kit includes the WWAN and WLAN replacement cables and antennas. Some signs of a faulty or failed antenna kit include low performing Wi-Fi signal or no signal at all.
If your antenna kit has started to fail, and you are no longer receiving a strong signal it may be time to replace the antenna kit. Before attempting an antenna kit replacement, you may be able to resolve the issue using Lenovo’s troubleshooting guide.
Before attempting to replace the antenna kit, make sure to disable the internal battery, power down your device, and disconnect from any external power sources.
Выберете то, что вам нужно
-
-
Remove the bottom cover with an opening tool.
-
Start from the top edge near the hinge and work your way along the edge until all of the clips are unsnapped.
-
-
-
Use the spudger to disconnect the coaxial cables from the Wi-Fi card and WWAN card.
-
-
-
Using the Phillips #1 screwdriver, remove three 5 mm screws from the left hinge and three 5 mm screws from the right hinge.
-
-
-
-
Carefully rotate the hinges upward and remove the bottom of the machine from the LCD unit.
-
-
-
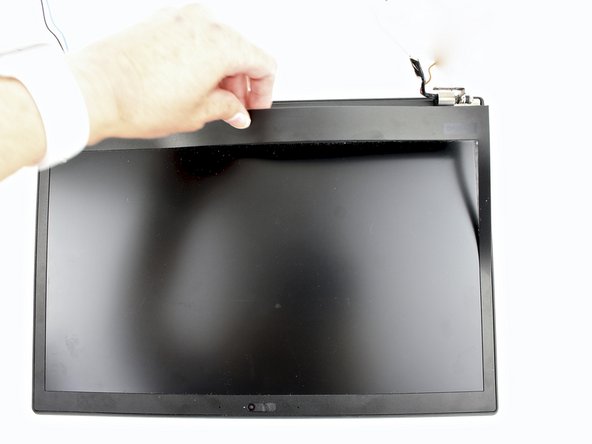
Using the spudger, pry the LCD bezel up from the edges starting near the hinges.
-
-
-
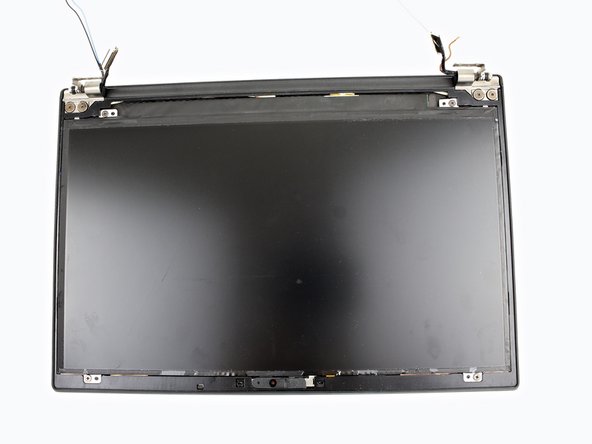
Use the spudger to remove the internal bezel.
-
Start at the corner by the hinge and lift the edge of the internal bezel up with the pointed end of the spudger.
-
Hold the internal bezel with your fingers and work your way around the perimeter of the screen carefully pulling the bezel up.
-
-
-
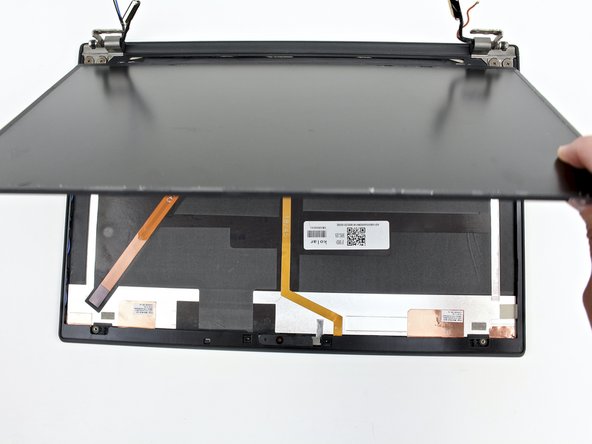
Remove four 2.9 mm screws from the LCD panel using the Phillips #1 screwdriver.
-
-
-
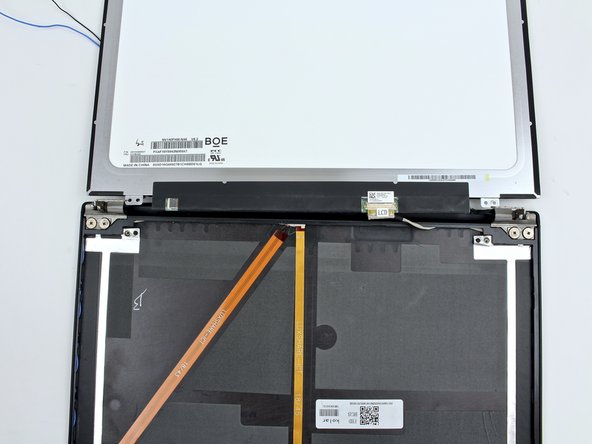
Peel back the tape covering the LCD cable connector.
-
Use the spudger to unlock the LCD cable.
-
-
-
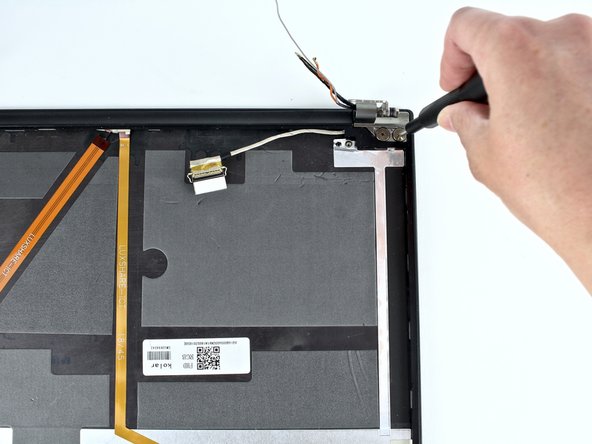
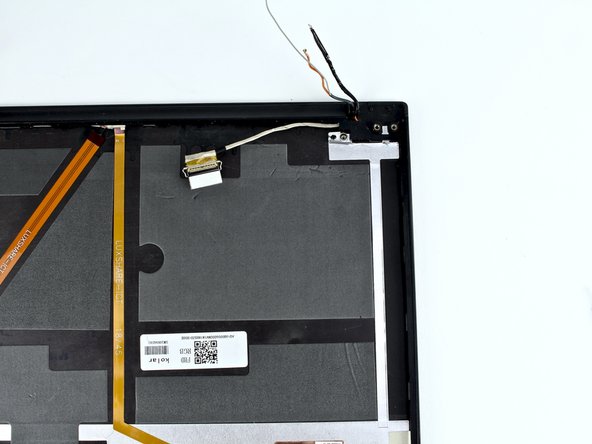
Use the Phillips #1 screwdriver to remove two 2.8 mm screws from the hinge in the upper right corner.
-
-
-
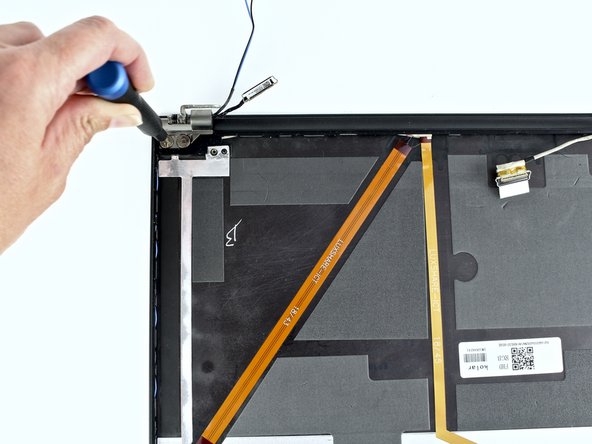
Use a Phillips #1 screwdriver to remove two 2.8 mm screws from the hinge in the upper left corner.
-
-
-
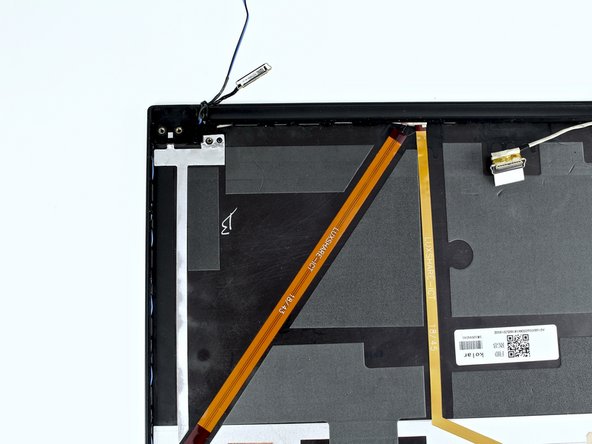
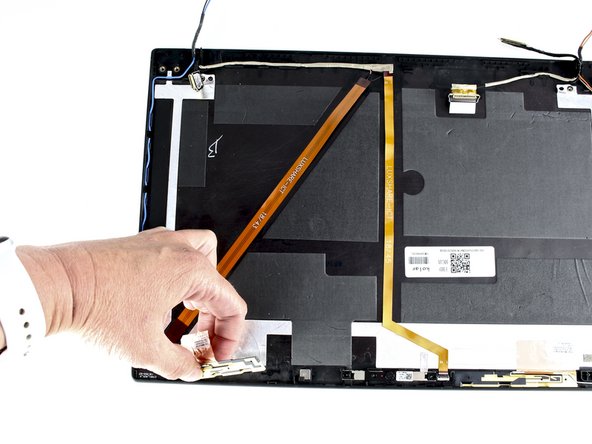
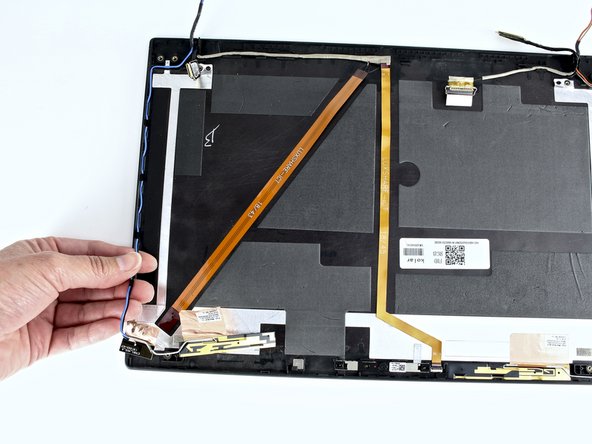
Pry the metallic tape and the black and blue antenna from the LCD Unit.
-
-
-
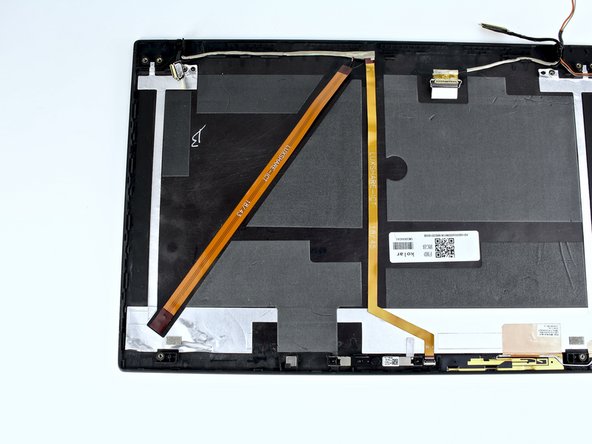
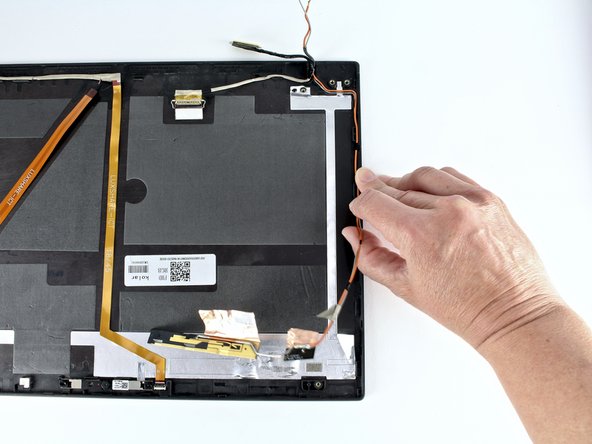
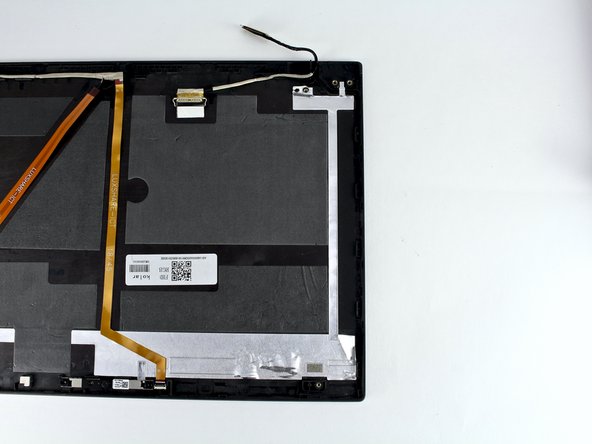
Pry the metallic tape and the grey and orange antenna cables from the unit.
-
Lift the grey and orange antenna cables from the routing.
-


To reassemble your device, follow these instructions in reverse order.
Take your e-waste to an R2 or e-Stewards certified recycler.
Repair didn’t go as planned? Try some basic troubleshooting, or ask our Answers community for help.
To reassemble your device, follow these instructions in reverse order.
Take your e-waste to an R2 or e-Stewards certified recycler.
Repair didn’t go as planned? Try some basic troubleshooting, or ask our Answers community for help.

