Введение
The motor replacement guide for the MODAL WORCSS6 walks through the process for disassembling the device, removing the motor from its wire connections, and correctly replacing the motor. The motor provides the forces that press and rotate the screw into the cork of your wine bottle (or sparkling apple juice!). The motor should be replaced if the device fails to provide this singular function. Soldering will be required to replace the motor, so check out our How to Solder and Desolder Connections guide if you are unfamiliar with the process.
Выберете то, что вам нужно
-
-
Put on Electrostatic Discharge (ESD) bracelet. Hold the device with the transparent plastic casing on the top.
-
Using the jimmy tool, carefully pry off the black plastic ring.
-
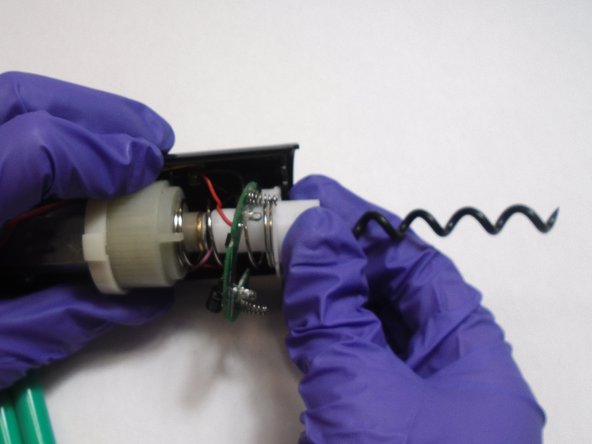
Remove the spring assembly from inside the transparent plastic tube.
 Спросите у FixBot
-
-
-
Using a Phillips #1 screwdriver, unscrew each of the four 12.7 mm screws inside and at the bottom of the plastic tube.
-
Take the plastic tube off of the metal casing.
-
-
-
Place the jimmy tool blade between the button assembly and the metal casing. Gently pry off the button assembly; it should pop out.
-
With the button assembly removed, slide off the metal casing.
-
-
-
-
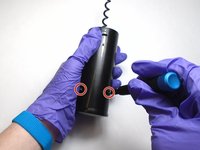
Unscrew the two 6.4 mm screws in the black plastic body using the Phillips #1 screwdriver.
-
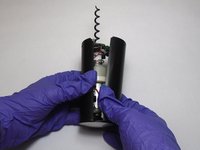
Separate the two halves of the plastic body. Keep the half containing the motor facing up.
-
-
-
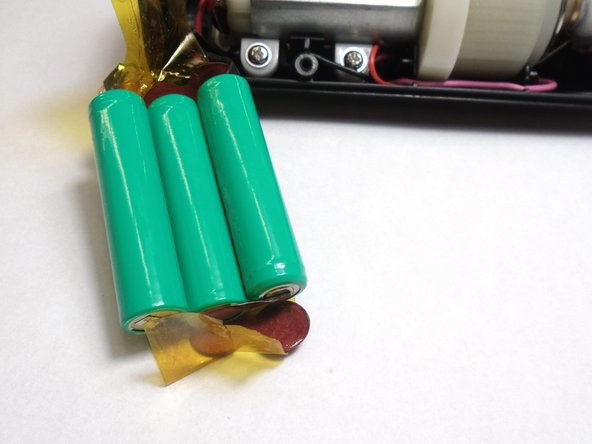
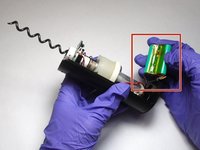
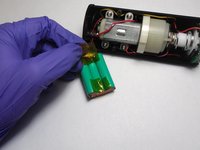
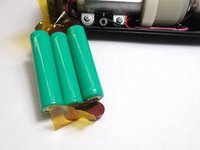
Carefully peel the tape off far enough to remove the 3 batteries.
-
-
-
Slide the circuit board out of its slot.
-
Pull the white plastic neck down and out of the slot. Remove the neck and body spring.
-
-
-
Use wire cutters to cut the wires connected to the bottom of the motor.
-
Remove the motor from the plastic body.
-
-
-
Strip the insulation from the wire up to about half an inch from the end of the exposed wire.
-
Attach a new motor to the device by re-soldering the connections that were cut earlier.
-


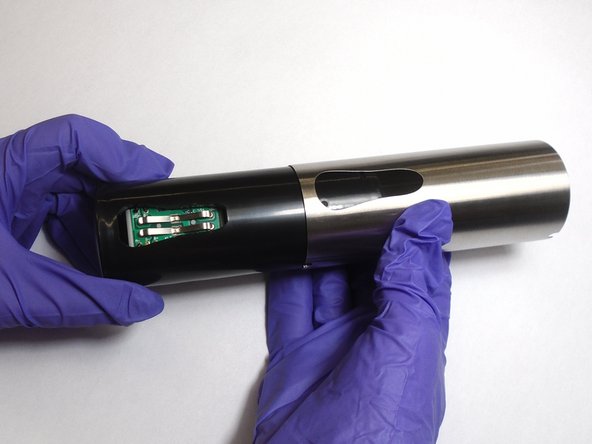
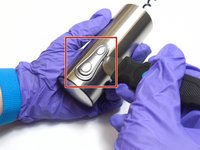
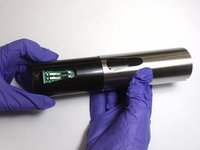

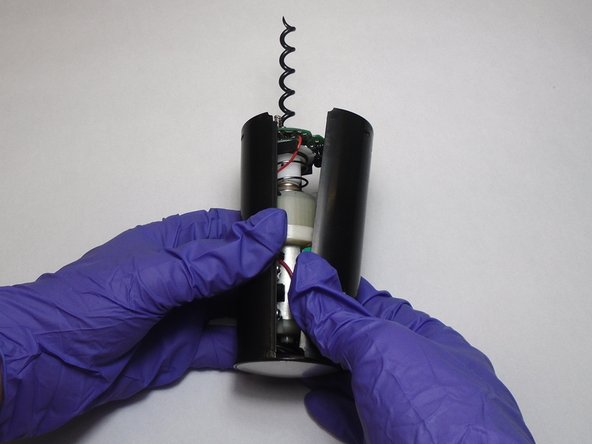
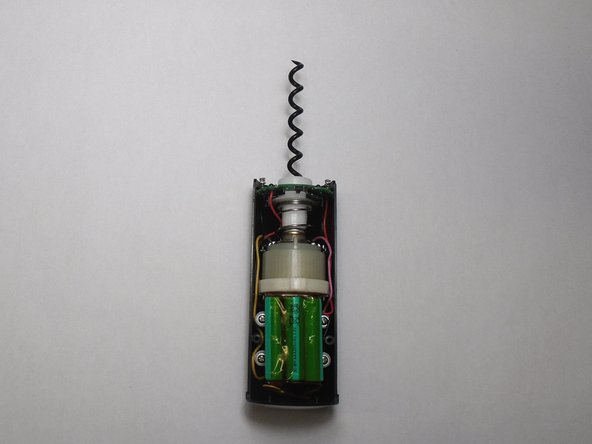





To reassemble your device, follow these instructions in reverse order.
Отменить: Я не выполнил это руководство.
Еще один человек закончил это руководство.

Команда

The Citadel Military College of South Carolina, Team S3-G13, Eggleston Fall 2019 Участник The Citadel Military College of South Carolina, Team S3-G13, Eggleston Fall 2019
CMCSC-EGGLESTON-F19S3G13
3 членов
Автор 8 руководств
