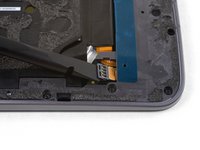
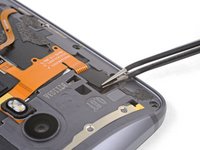
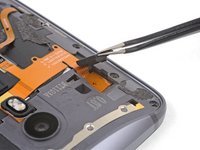
Введение
Use this guide to remove or replace the LCD and digitizer assembly in your Motorola Moto X Pure Edition.
Before you begin, download the Rescue and Smart Assistant app to backup your device and diagnose whether your problem is software or hardware related.
For your safety, discharge your battery below 25% before disassembling your phone. This reduces the risk of a dangerous thermal event if the battery is accidentally damaged during the repair.
Before you begin, look at the last step and make sure your replacement part matches the one shown. This guide is for replacing a screen/display that is already installed in a new frame. If you bought a bare display instead, you will need to carefully separate your old display from your phone’s existing frame, and then glue the new display in. Those steps are not covered by this guide.
Выберете то, что вам нужно
-
-
Insert a SIM card eject tool, bit, or a straightened paperclip into the small hole in the SIM card tray.
-
Press to eject the tray.
-
-
-
Prepare an iOpener and heat the back of the phone along its right edge for about five minutes. This will help soften the adhesive securing the back cover.
-
-
-
In the following steps, you'll be cutting through the adhesive securing the back cover.
-
Avoid slicing in this area to avoid damaging delicate ribbon cables.
-
-
Инструмент, используемый на этом этапе:Tweezers$4.99
-
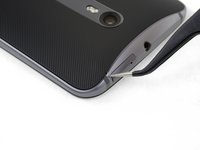
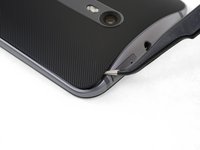
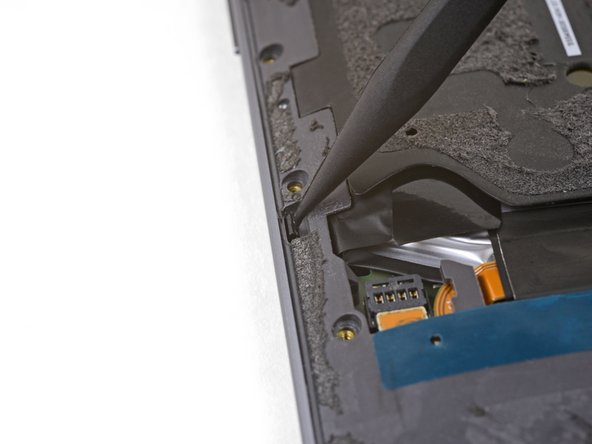
Hold a pair of pointed tweezers closed, and insert them into the small hole on the edge of the back cover near the SIM card slot.
-
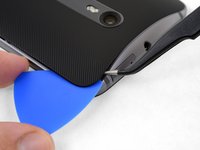
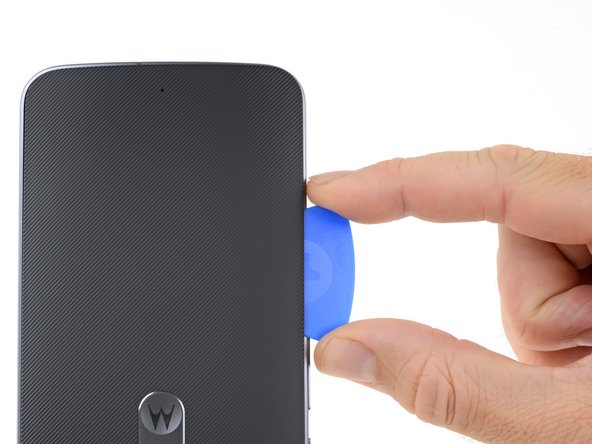
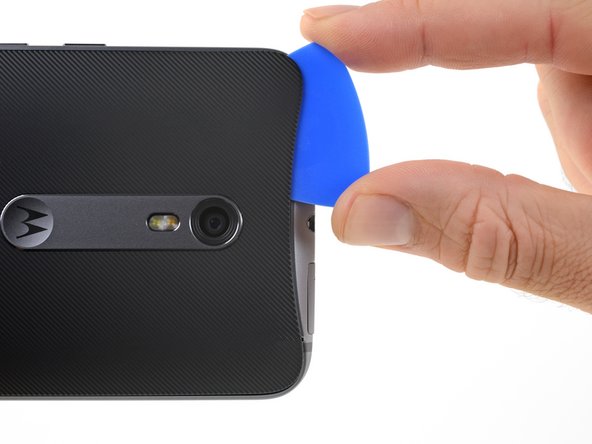
Use the tweezers to lift the cover up slightly, and slide an opening pick into the gap between the cover and the frame.
-
-
-
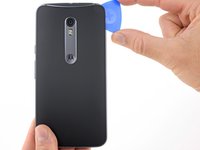
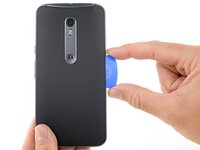
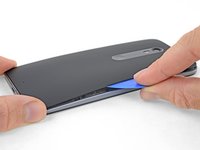
Slide the opening pick along the edge of the phone to slice through the back cover adhesive.
-
Try to insert the pick as far as you can underneath the cover, toward the center of the cover. There's thick adhesive on the middle of the cover that must be separated.
-
-
-
Prepare an iOpener and heat the back of the phone along its left edge for about five minutes. This will help soften the adhesive securing the rest of the back cover.
-
-
-
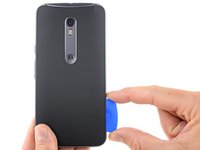
Slice through the adhesive along the left side of the phone.
-
Try to insert the pick as far as you can underneath the cover, toward the center of the cover. There's thick adhesive on the middle of the cover that must be separated.
-
-
-
Slice through the adhesive along the top edge of the phone, pulling the pick out slightly to guide it around the rear-facing camera.
-
-
-
Инструмент, используемый на этом этапе:Tesa 61395 Tape$5.99
-
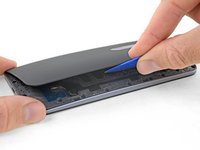
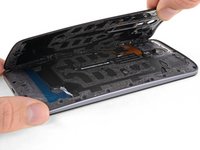
Carefully pry the cover away from the phone.
-
First use tweezers and a spudger to peel and scrape away any remaining adhesive from both the back cover and the phone's chassis.
-
Then, clean the adhesion areas with high concentration isopropyl alcohol (at least 90%) and a lint-free cloth. Swipe in one direction only, not back and forth. This will help prep the surface for the new adhesive.
-
Replacement adhesive comes in a pre-cut sheet to match the exact contours of the back cover. If that's not available, you can use a high-bond double-sided tape, such as Tesa 61395. Before installing the precut adhesive on the back cover, remove the metal insert. Install the adhesive, then replace the insert.
-
After installing the back cover, apply strong, steady pressure to your phone for several minutes to help the adhesive form a good bond.
-
-
-
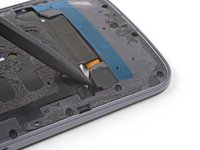
Use the point of a spudger to pry up the rubber cover over the battery connector.
-
Remove the rubber cover.
-
-
-
Use the flat end of a spudger to pry the battery connector straight up and out of its socket.
-
-
-
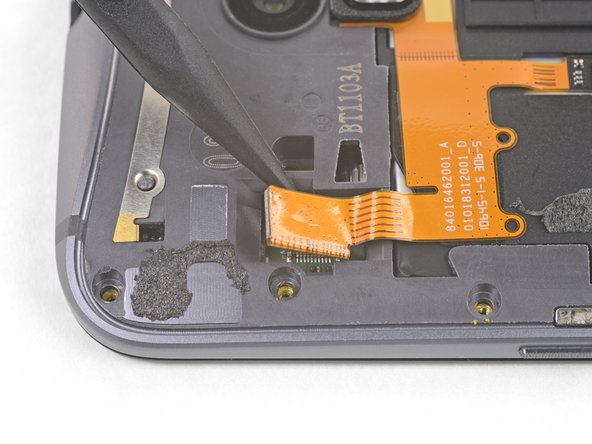
Use the tip of a spudger against the corner of the flash connector to pry the connecter straight up and out of its socket.
-
-
-
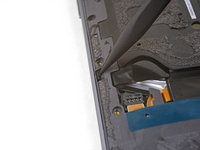
Use the point of a spudger to push the small clip securing the left side of the midframe toward the edge of the phone, releasing the clip.
-
-
-
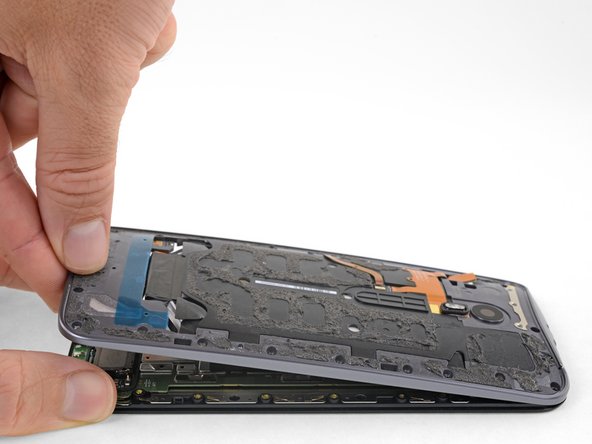
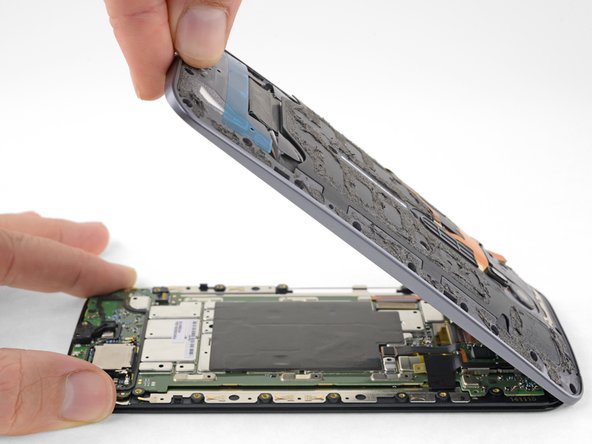
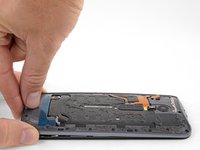
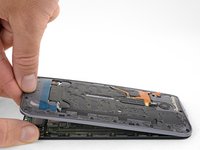
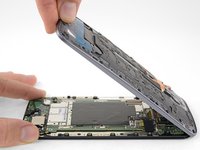
Holding the display by the edges, gently lift the midframe away from the display.
-
Remove the midframe from the display.
-
-
-
Remove the tape covering the display cable connector.
-
-
-
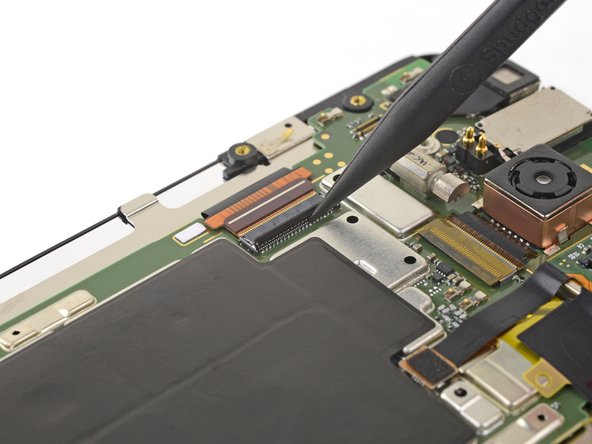
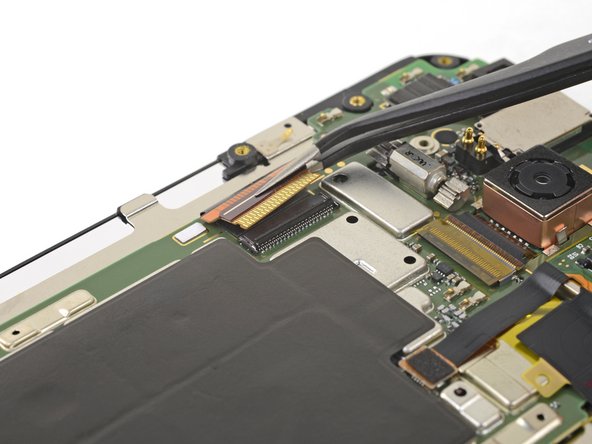
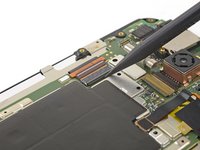
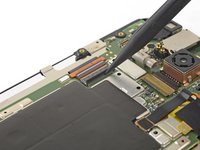
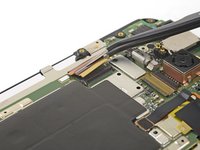
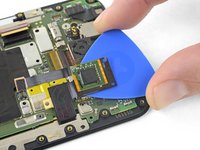
Use the tip of a spudger to flip open the locking flap on the display cable's ZIF connector.
-
Pull the display ribbon cable out of its socket. The cable should slide parallel to the board surface.
-
-
-
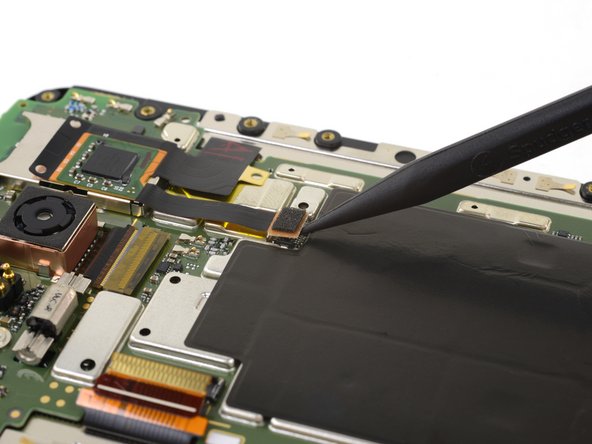
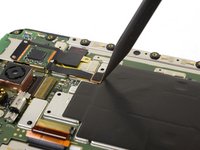
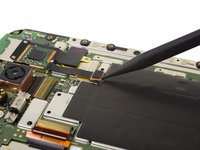
Use the point of a spudger to lift the second display connector straight up and out of its socket.
-
-
-
Prepare an iOpener and apply it to the small PCB adhered to the top of the SIM card slot.
-
-
-
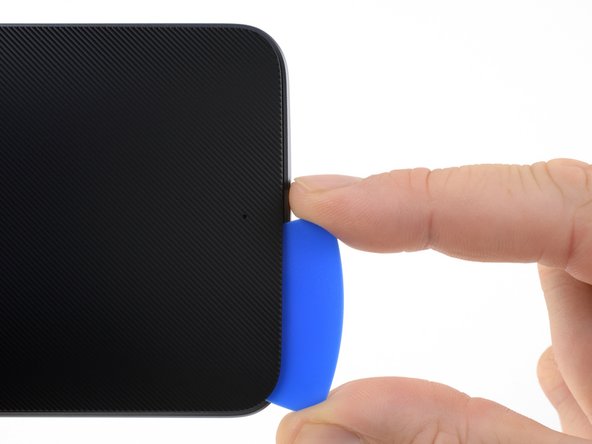
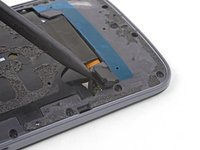
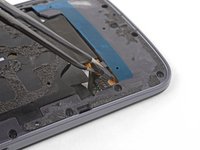
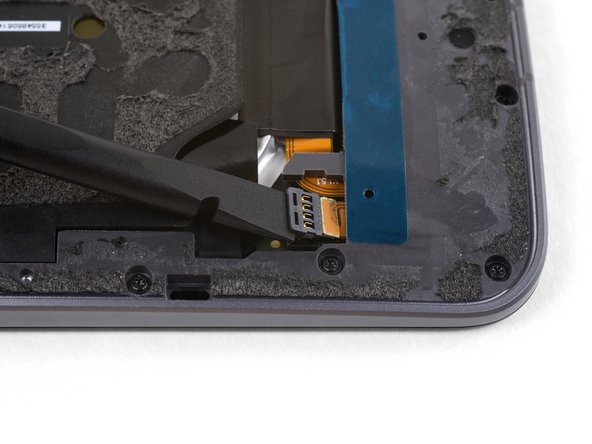
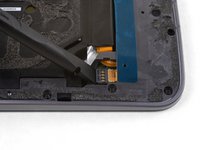
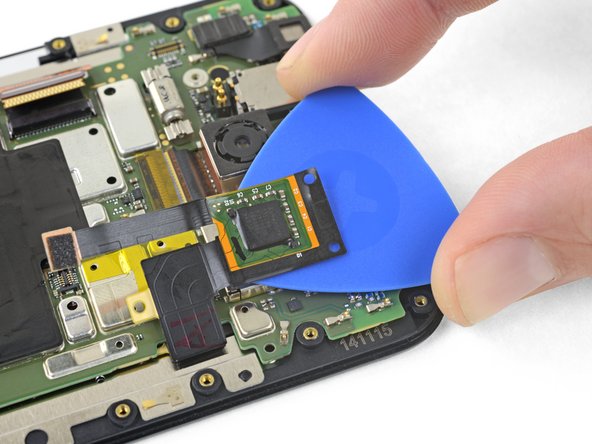
Slide an opening pick under the PCB to slice through its adhesive and separate it from the SIM card slot.
-
-
-
Use a T3 Torx driver to remove one 2.4 mm screw from the bottom of the motherboard.
-
-
-
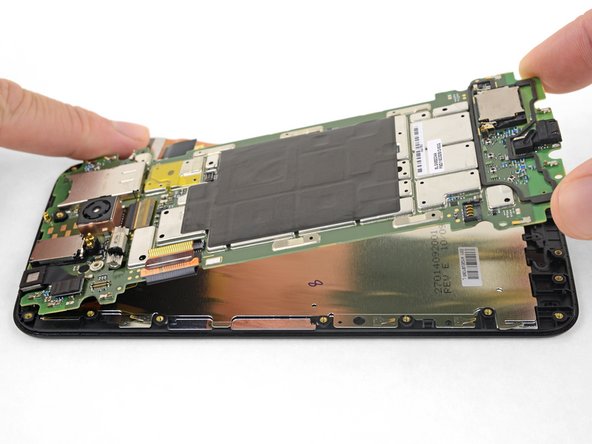
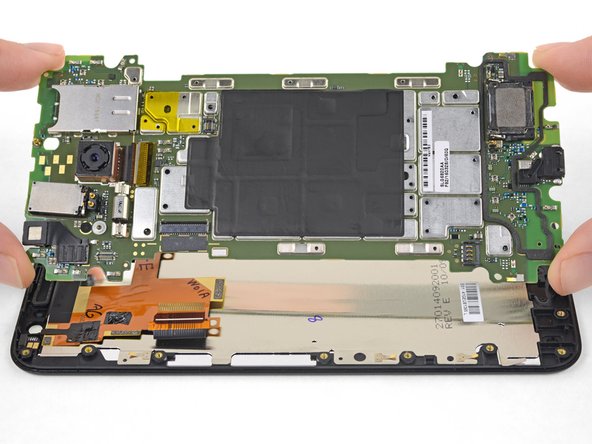
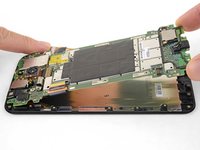
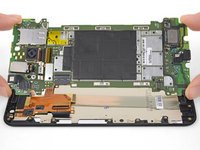
Starting at the bottom, lift the motherboard away from the display assembly.
-
Remove the motherboard.
-
-
Инструмент, используемый на этом этапе:Tesa 61395 Tape$5.99
-
Only the LCD screen and digitizer assembly (with frame) remains.
-
Check carefully to make sure your replacement part matches, and that you've removed all the necessary parts from the old frame for installation in the new one.
-
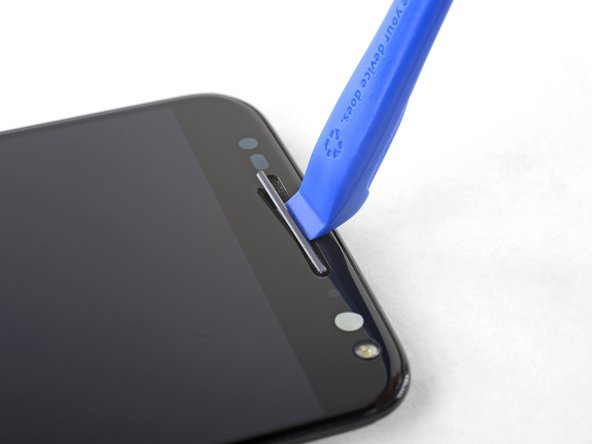
Your new display may not come with the small metal speaker guards installed over the front-facing speaker grills. If this is the case, continue to the next step. If your display comes with these installed, you may stop here.
-
-
-
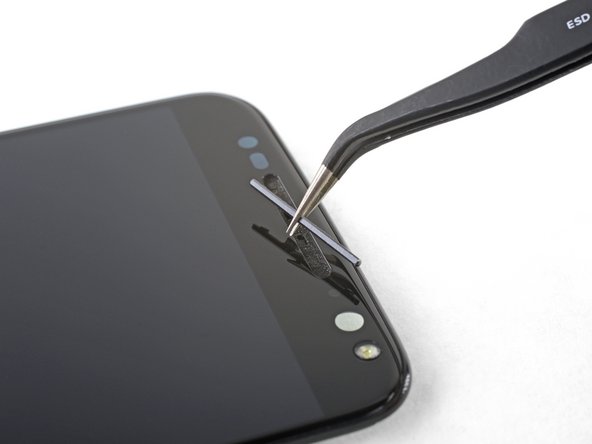
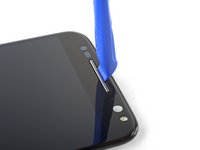
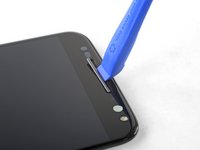
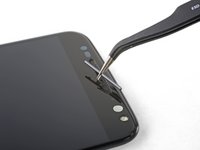
Use an opening tool to carefully pry the upper speaker guard straight up and out of the speaker grill.
-
Remove the speaker guard.
-
-
-
Repeat the previous step to remove the lower speaker guard.
-
To reinstall the guard, line up the small tabs on the guard with the holes in the grill, and press the guard straight down into the grill.
-
Compare your new replacement part to the original part—you may need to transfer remaining components or remove adhesive backings from the new part before installing.
To reassemble your device, follow the above steps in reverse order.
Take your e-waste to an R2 or e-Stewards certified recycler.
Repair didn’t go as planned? Check out our Answers community for troubleshooting help.
Отменить: Я не выполнил это руководство.
18 человек успешно провели ремонт по этому руководству.
3 Комментарии к руководству
what i needed to know how to replace speaker covers
I have Motorola moto x pure edition that the LCD screen went bad/ blacked out. I found a replacement screen. Now the left half of the screen works perfectly but the right half is scrambled. What causes this? Is there a bad component that I can replace to fix this? Has anyone else experienced this? Is it a bad motherboard?
I have 2 of these phones, but really needed to replace the screen on the latest one to get data off it. I thought I’d get the walnut back off the first phone, but I found it wasn’t as easy as the rubber backing, perhaps heat transfer issues, and super hard to get it started, I have a small crack at that point.


