Этот документ имеет более свежие изменения. Перейти к последней непроверенной версии.
Введение
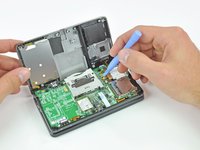
Figure out a way to break your Circle Pad? Luckily, you can replace it with a new one.
Выберете то, что вам нужно
-
Инструмент, используемый на этом этапе:Phillips #00 Screwdriver$5.49
-
Use a Phillips PH00 screwdriver to loosen the four screws along the top of the back cover.
-
-
-
Grab the top edge of the back cover with your opposite hand so that the cover does not fall back into place.
-
Pull the back cover up and away from the rest of the device to remove it.
-
-
-
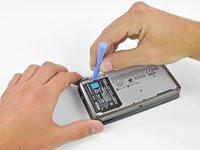
Insert a plastic opening tool into the notch in the lower case above the battery.
-
Pry the battery up with the plastic opening tool.
-
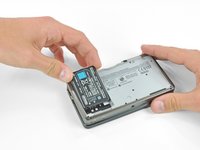
Grab the top edge of the battery and lift it out of the lower case.
-
-
-
Use a JIS #00 screwdriver to remove the nine 6.3 mm black screws from the lower case.
-
Use a JIS #00 screwdriver to remove the 2.4 mm silver screw above the game cartridge slot.
-
-
-
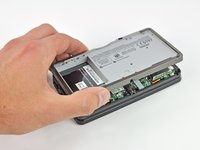
Lift the bottom edge of the lower case off the rest of the 3DS.
-
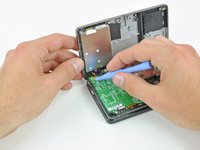
Use a plastic opening tool to pry the shoulder button ribbon cables off their sockets on the motherboard.
-
Remove the lower case from the device.
-
-
-
Remove the two 7.7 mm Phillips screws securing the back of the Circle Pad to the motherboard.
-
-
-
Use the flat end of a spudger to pry the back of the Circle Pad off the motherboard.
-
Lift the Circle Pad joystick off the motherboard and lay it on its back so that the ribbon cable connector is accessible.
-
-
-
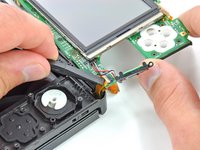
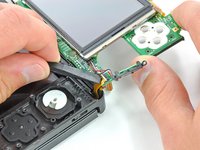
Use the flat end of a spudger or your fingernail to flip up the retaining flap on the Circle Pad ribbon cable ZIF socket.
-
Lift the Circle Pad joystick off the motherboard.
-
-
-
-
Use a spudger or screwdriver to lift the pads up and remove them from the device.
-
-
-
Remove the two 4.5 mm Phillips screws securing the SD board to the motherboard.
-
-
-
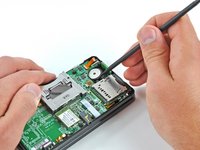
Use the flat end of a spudger to pry the SD board ribbon cable connector off its socket on the motherboard.
-
-
-
Insert the flat end of a spudger between the SD board and the motherboard.
-
Pry up slowly to loosen the SD board from the RF shield underneath it. If you pry too quickly, you may tear the shield or break its solder points.
-
Run the spudger along the sides of the SD board to free it from the adhesive holding it in place.
-
Once completely freed, lift the SD board straight off the motherboard.
-
-
-
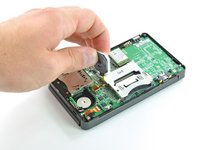
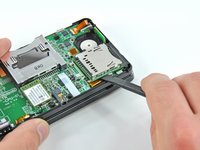
Slide the flat end of a spudger under the corner of the Wi-Fi board, and lift it away from the motherboard.
-
-
-
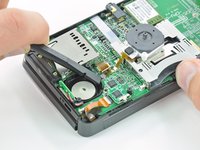
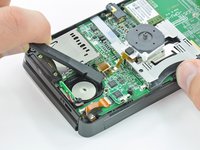
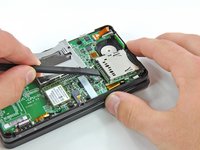
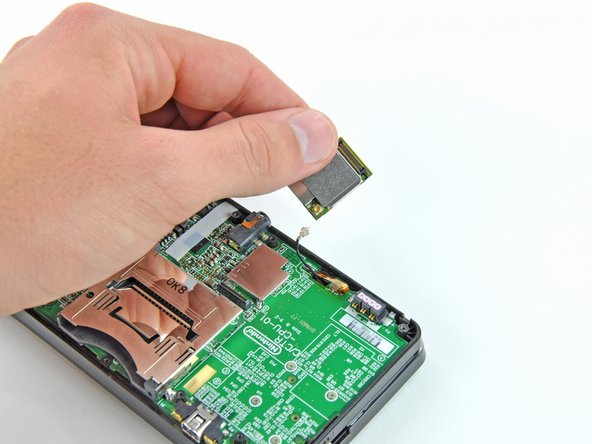
Use the flat end of a spudger to pry the Wi-Fi antenna cable connector off its socket on the Wi-Fi board.
-
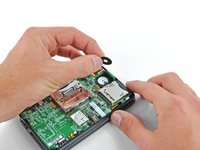
Remove the Wi-Fi board from the device.
-
-
Инструмент, используемый на этом этапе:Tweezers$4.99
-
Grasp the microphone ribbon cable near the microphone with a pair of tweezers.
-
Pull the microphone straight up out of the upper case.
-
-
-
Use the flat end of a spudger or your fingernail to flip up the retaining flap on the speaker assembly ribbon cable ZIF socket.
-
Disconnect the speaker assembly ribbon cable with a pair of tweezers.
-
-
-
Use the flat end of a spudger or your fingernail to flip up the retaining flap on the camera ribbon cable ZIF socket.
-
-
-
Remove seven Phillips screws securing the motherboard to the upper case:
-
Four 2.5 mm gold screws
-
Two 3.5 mm black screws
-
One 2.5 mm silver screw
-
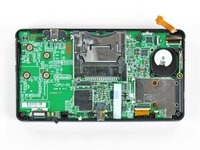
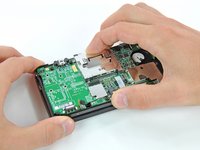
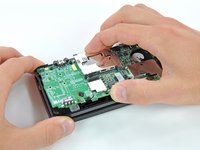
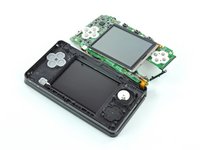
Lift the side of the motherboard that sits along the bottom edge of the 3DS.
-
-
-
Use the flat end of a spudger or your fingernail to flip up the retaining flap on the LCD ribbon cable ZIF socket.
-
-
-
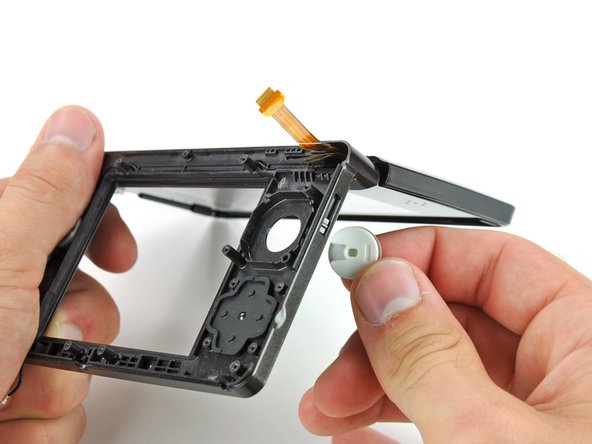
Use a spudger to orient the Circle Pad and plastic ring so that the slit in the ring is 180o from the opening in the bottom of the Circle Pad.
-
-
-
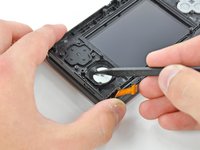
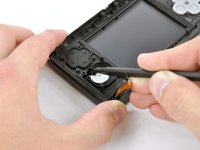
Insert the tip of a spudger into the slot in the bottom of the Circle Pad and under the plastic ring.
-
Use a prying motion to remove the plastic ring from underneath the bottom of the Circle Pad.
-
-
-
Grab the top of the Circle Pad and pull the tip of one of the "prongs" on the bottom of the Circle pad through the hole in the upper case.
-
Continue pulling the bottom of the Circle Pad through the hole in the upper case while rotating the Circle Pad until it is free.
-
To reassemble your device, follow these instructions in reverse order.
Отменить: Я не выполнил это руководство.
42 человек успешно провели ремонт по этому руководству.
35 Комментарии к руководству
Great guide, just upgraded my joystick. Bought my replacement from shapeways. The replacement is metal so it won't break like the last one. Also it's a lot more comfortable.
Anyway highly recommend this replacement:
yeah where can I buy a new circle pad? mine broke in half the lower half is still inside my 3ds XL and I refuse to pay $135 nintendo non-warranty fee just for this problem.
You can find them on Ebay and Amazon, the ones I found on Amazon were massively overpriced though…
Blyatac -


