Перейти к основному содержанию
Присоединяйся к сообществу ремонтников - Создай аккаунт
Razer Blade 15" (2018) Speakers Replacement

Выберете то, что вам нужно

    1. Razer Blade 15" (2018) Speakers Replacement, Prepare your laptop for disassembly: шаг 1, изображение 1 из 2 Razer Blade 15" (2018) Speakers Replacement, Prepare your laptop for disassembly: шаг 1, изображение 2 из 2
      • Allow your laptop's battery to drain below 25% before starting this repair—a charged battery may catch fire if damaged.

      • Unplug all cables, fully shut down your laptop, and close the lid.

      Спросите у FixBot

      Добавить комментарий

    1. Razer Blade 15" (2018) Speakers Replacement, Unfasten the back cover: шаг 2, изображение 1 из 1
      • Rotate your laptop so the screen hinge is farthest from you.

      • Use a Torx T5 driver to remove the ten 3.8 mm-long screws securing the back cover.

      Спросите у FixBot

      Добавить комментарий

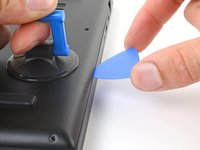
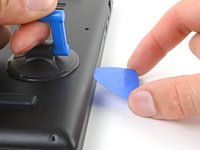
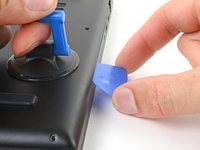
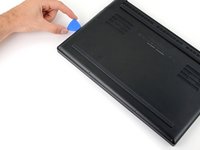
    2. Razer Blade 15" (2018) Speakers Replacement, Insert an opening pick: шаг 3, изображение 1 из 3 Razer Blade 15" (2018) Speakers Replacement, Insert an opening pick: шаг 3, изображение 2 из 3 Razer Blade 15" (2018) Speakers Replacement, Insert an opening pick: шаг 3, изображение 3 из 3
      • Depending on the age and condition of your laptop, the back cover may come off sooner than this guide instructs. If the cover feels loose, remove it at any time.

      • Apply a suction handle to the right edge of the back cover, between the middle screws and the screws closest to you.

      • Pull up on the suction handle to create a small gap between the back cover and the frame.

      • Insert an opening pick into the gap.

      Спросите у FixBot

      Добавить комментарий

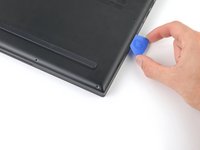
    3. Razer Blade 15" (2018) Speakers Replacement, Angle the opening pick: шаг 4, изображение 1 из 3 Razer Blade 15" (2018) Speakers Replacement, Angle the opening pick: шаг 4, изображение 2 из 3 Razer Blade 15" (2018) Speakers Replacement, Angle the opening pick: шаг 4, изображение 3 из 3
      • Angle your opening pick upward, away from the frame. Keep it angled upward as long as it's between the back cover and the frame.

      • Insert your pick up to 10 mm (0.4 in) deep.

      Спросите у FixBot

      Добавить комментарий

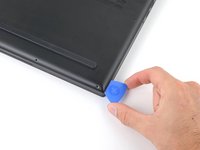
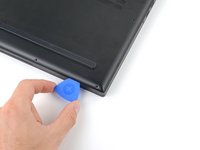
    4. Razer Blade 15" (2018) Speakers Replacement, Free the bottom right corner: шаг 5, изображение 1 из 3 Razer Blade 15" (2018) Speakers Replacement, Free the bottom right corner: шаг 5, изображение 2 из 3 Razer Blade 15" (2018) Speakers Replacement, Free the bottom right corner: шаг 5, изображение 3 из 3
      • Slide your opening pick around the bottom right corner of the back cover to free it from the frame.

      Спросите у FixBot

      Добавить комментарий

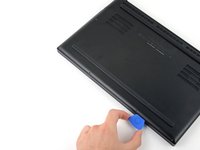
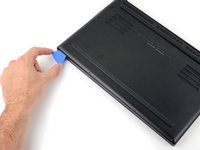
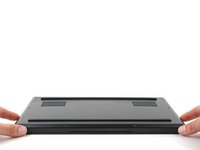
    5. Razer Blade 15" (2018) Speakers Replacement, Free the front edge: шаг 6, изображение 1 из 3 Razer Blade 15" (2018) Speakers Replacement, Free the front edge: шаг 6, изображение 2 из 3 Razer Blade 15" (2018) Speakers Replacement, Free the front edge: шаг 6, изображение 3 из 3
      • Slide your opening pick along the front edge and around the front left corner of the back cover to free it from the frame.

      Спросите у FixBot

      Добавить комментарий

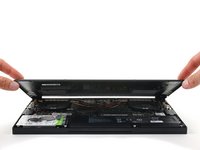
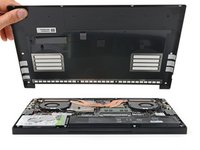
    6. Razer Blade 15" (2018) Speakers Replacement, Remove the back cover: шаг 7, изображение 1 из 3 Razer Blade 15" (2018) Speakers Replacement, Remove the back cover: шаг 7, изображение 2 из 3 Razer Blade 15" (2018) Speakers Replacement, Remove the back cover: шаг 7, изображение 3 из 3
      • Remove the back cover.

      • Lay the back cover down on its rubber feet to avoid damaging the gray thermal pads on its underside.

      Спросите у FixBot

      Добавить комментарий

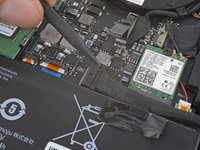
    1. Razer Blade 15" (2018) Speakers Replacement, Soften the battery cable tape adhesive: шаг 8, изображение 1 из 2 Razer Blade 15" (2018) Speakers Replacement, Soften the battery cable tape adhesive: шаг 8, изображение 2 из 2
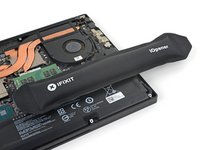
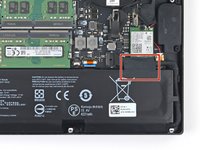
      • Apply a heated iOpener to the battery cable tape for one minute.

      • You can also use a hair dryer—but be careful, as overheating the battery may damage it or create a fire hazard.

      Спросите у FixBot

      Добавить комментарий

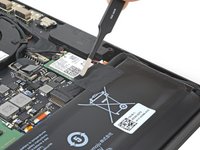
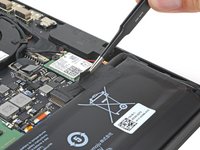
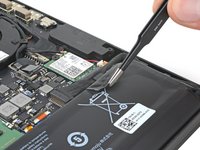
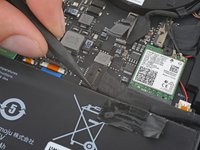
    2. Razer Blade 15" (2018) Speakers Replacement, Peel up the battery cable tape: шаг 9, изображение 1 из 3 Razer Blade 15" (2018) Speakers Replacement, Peel up the battery cable tape: шаг 9, изображение 2 из 3 Razer Blade 15" (2018) Speakers Replacement, Peel up the battery cable tape: шаг 9, изображение 3 из 3
      Инструмент, используемый на этом этапе:
      Tweezers
      $4.99
      • Be careful not to damage the battery with your tool.

      • Use blunt nose tweezers or your fingers to peel the battery cable tape away from the cable.

      Спросите у FixBot

      Добавить комментарий

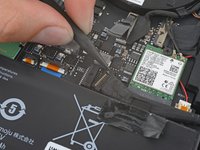
    3. Razer Blade 15" (2018) Speakers Replacement, Disconnect the battery: шаг 10, изображение 1 из 3 Razer Blade 15" (2018) Speakers Replacement, Disconnect the battery: шаг 10, изображение 2 из 3 Razer Blade 15" (2018) Speakers Replacement, Disconnect the battery: шаг 10, изображение 3 из 3
      • Use the point of a spudger to press on alternating sides of the battery connector and walk it out of its socket.

      Спросите у FixBot

      Добавить комментарий

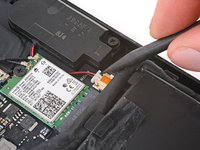
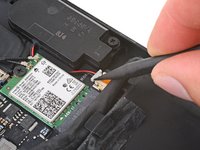
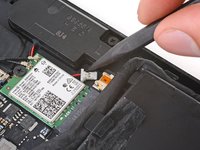
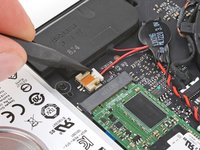
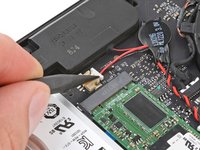
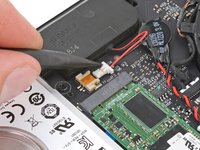
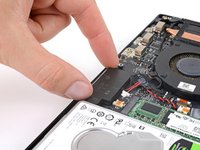
    1. Razer Blade 15" (2018) Speakers Replacement, Disconnect the left speaker: шаг 11, изображение 1 из 3 Razer Blade 15" (2018) Speakers Replacement, Disconnect the left speaker: шаг 11, изображение 2 из 3 Razer Blade 15" (2018) Speakers Replacement, Disconnect the left speaker: шаг 11, изображение 3 из 3
      • If you're only replacing the right speaker, skip the next three steps.

      • Use the point of a spudger to push on alternating sides of the left speaker connector to "walk" it out of its socket.

      Спросите у FixBot

      Добавить комментарий

    2. Razer Blade 15" (2018) Speakers Replacement, Unfasten the left speaker: шаг 12, изображение 1 из 1
      • Use a Phillips screwdriver to remove the two 7.6 mm screws securing the left speaker.

      • Rubber grommets hold these screws in place. If the screws don't come out, just fully loosen them.

      Спросите у FixBot

      Добавить комментарий

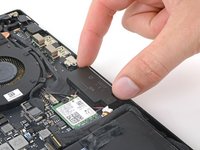
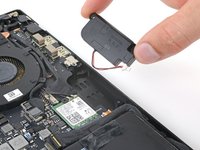
    3. Razer Blade 15" (2018) Speakers Replacement, Remove the left speaker: шаг 13, изображение 1 из 2 Razer Blade 15" (2018) Speakers Replacement, Remove the left speaker: шаг 13, изображение 2 из 2
      • Remove the left speaker.

      Спросите у FixBot

      Добавить комментарий

    4. Razer Blade 15" (2018) Speakers Replacement, Disconnect the right speaker: шаг 14, изображение 1 из 3 Razer Blade 15" (2018) Speakers Replacement, Disconnect the right speaker: шаг 14, изображение 2 из 3 Razer Blade 15" (2018) Speakers Replacement, Disconnect the right speaker: шаг 14, изображение 3 из 3
      • If you only needed to replace the left speaker, skip the next three steps.

      • Use the point of your spudger to push on alternating sides of the right speaker connector to "walk" it out of its socket.

      Спросите у FixBot

      Добавить комментарий

    5. Razer Blade 15" (2018) Speakers Replacement, Unfasten the right speaker: шаг 15, изображение 1 из 1
      • Use a Phillips screwdriver to remove the two 7.6 mm screws securing the right speaker.

      • Rubber grommets hold these screws in place. If the screws don't come out, just fully loosen them.

      Спросите у FixBot

      Добавить комментарий

    6. Razer Blade 15" (2018) Speakers Replacement, Remove the right speaker: шаг 16, изображение 1 из 2 Razer Blade 15" (2018) Speakers Replacement, Remove the right speaker: шаг 16, изображение 2 из 2
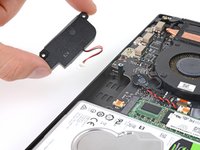
      • Remove the right speaker.

      Спросите у FixBot

      Добавить комментарий

    7. Razer Blade 15" (2018) Speakers Replacement, Reassembly information: шаг 17, изображение 1 из 2 Razer Blade 15" (2018) Speakers Replacement, Reassembly information: шаг 17, изображение 2 из 2
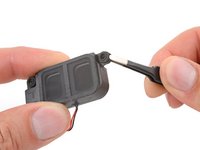
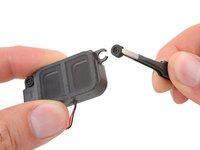
      • During reassembly, make sure the rubber grommets are in place at each screw cutout.

      Спросите у FixBot

      Добавить комментарий

Заключение

To reassemble your device, follow these instructions in reverse order.

Take your e-waste to an R2 or e-Stewards certified recycler.

Repair didn’t go as planned? Try some basic troubleshooting, or ask our Answers community for help.

Отменить: Я не выполнил это руководство.

Clay Eickemeyer

Участник с: 09/19/22

106 166 Репутация

Автор 472 руководств

Команда

Guide Team Участник Guide Team

Staff

10 членов

Автор 46 037 руководств

0 Комментарии к руководству

Добавить комментарий

Статистика просмотров:

За последние 24 часов: 0

За последние 7 дней: 8

За последние 30 дней: 27

За всё время: 681