Введение
Use this guide to replace the battery in a Razer DeathAdder V2 Pro. The battery is a very important part of this device as it provides power capacity. Since the Razer DeathAdder V2 is a wireless mouse, it operates with a battery that needs to be charged. However, a frequent use of the mouse and repeated charges will decrease the performance of the battery which will need to be replaced.
No complicated skills or tools are needed to follow this guide.
If you need any other help or more tips on your device go to our troubleshooting guide page.
Выберете то, что вам нужно
-
-
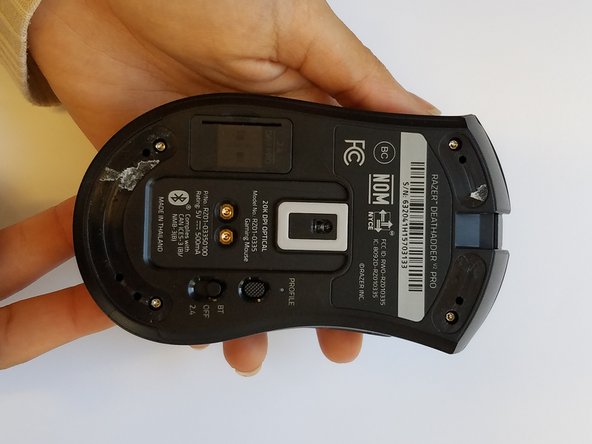
Turn the mouse over so that the writing on the bottom faces up.
 Спросите у FixBot
-
-
-
Use a spudger to remove the three pads on the bottom of the mouse.
-
-
-
Remove the four 1.2 mm screws from each corner of the mouse using a T6 Torx screwdriver.
-
-
-
-
Use a nylon spudger to pry the back cover away from the mouse.
-
-
-
Detach the white connector with red wires gently from the side that connects the side buttons to the PCB.
-
-
-
Make sure the PCB is disconnected as shown before pulling apart the two halves of the mouse.
-
-
-
Place both the top and bottom pieces of the mouse on their backs.
-
-
-
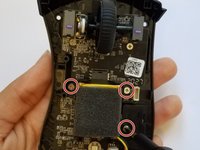
Remove the three 1 mm screws that hold the battery to the circuit board using a Phillips #1 screwdriver.
-
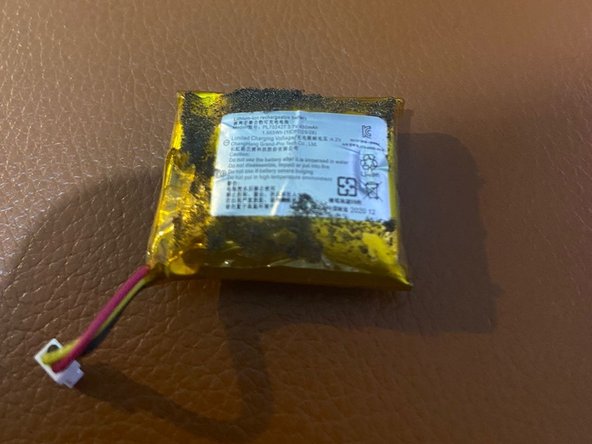
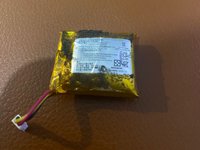
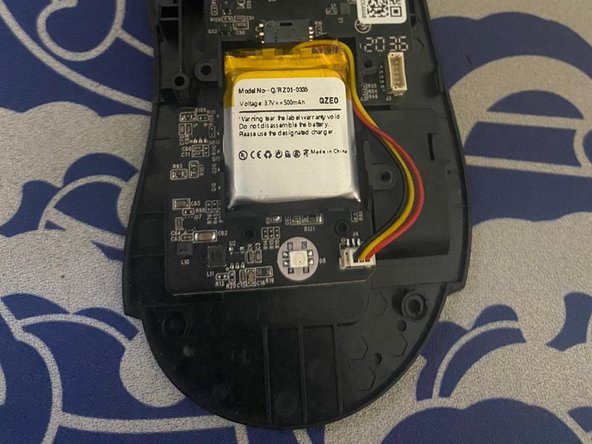
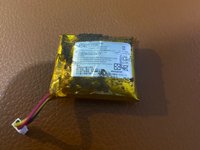
Remove the battery from the mouse.
-





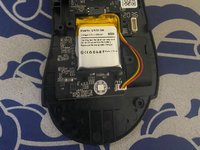
To reassemble your device, follow these instructions in reverse order.
Отменить: Я не выполнил это руководство.
5 человек успешно провели ремонт по этому руководству.

Команда

University of Memphis, Team 3-4, Lane Fall 2022 Участник University of Memphis, Team 3-4, Lane Fall 2022
UM-LANE-F22S3G4
4 членов
Автор 3 руководств
9 Комментарии к руководству
What Voltage and mAh is the battery?
AliExpress ex. has the apropriate battery for this mouse.
It´s a battery with 1500mAh and 3,7V .
Are you referring to LOSONCOER?
In case someone is in the same boat as me:
The original was a 3.7v 450mah battery.
I put in a 1500mah, 3.7v LOSONCOER battery, but also saw a 450 variant on AliExpress. The only problem with the losoncoer is that wasn't the same connector as the original, the losoncoer one was slimmer, so it was a bit odd and only worked with a lot of tinkering, but the guide is perfect!
Hi! Could you link a battery that works for this mouse? Are the 1500mah batteries just as big? The battery life is just 3 times as good? Do you know the name of the connector that the original uses?
