Введение
Follow this guide to replace the USB-C port and charging board on your Samsung Galaxy S22 Ultra.
Before disassembling your device, completely discharge the battery. This reduces the risk of a dangerous thermal event if the battery is accidentally damaged during the repair. If your battery is swollen, take appropriate precautions.
Note: Retaining water resistance after the repair will depend on how well you reapply the adhesive, but your device will lose its IP (Ingress Protection) rating.
Выберете то, что вам нужно
-
-
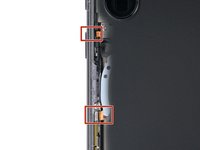
Insert a SIM eject tool, bit, or straightened paper clip into the SIM card tray hole on the bottom edge of the phone.
-
Press the SIM eject tool into the SIM card tray hole to eject the SIM card tray.
-
Remove the SIM card tray.
-
-
-
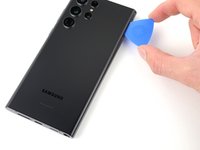
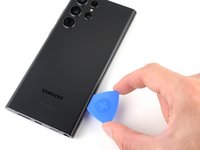
Heat an iOpener and apply it to the right edge of the back cover for two minutes.
-
-
-
While you wait for the adhesive to soften, note the following:
-
There's adhesive securing the back cover around the perimeter of the frame.
-
-
-
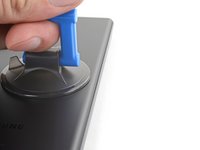
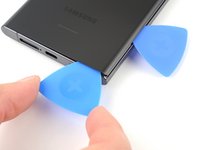
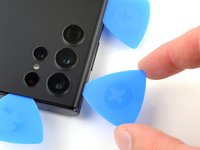
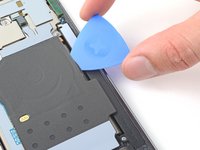
Apply a suction handle to the back cover, as close to the center of the right edge as possible.
-
Pull up on the suction handle with strong, steady force to create a gap between the cover and the frame.
-
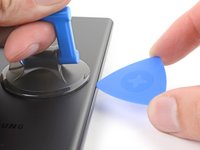
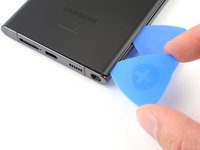
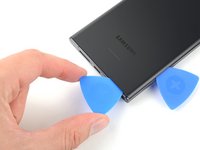
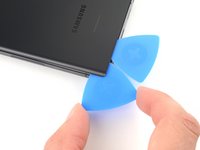
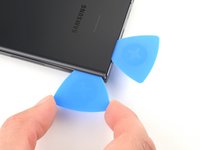
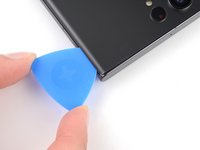
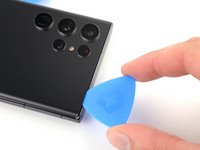
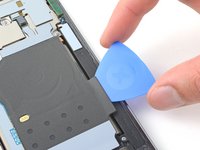
Insert an opening pick into the gap.
-
-
-
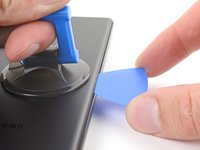
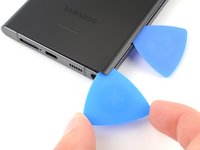
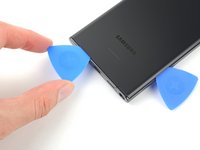
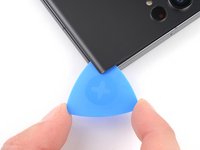
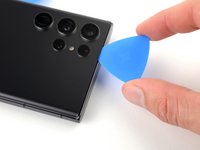
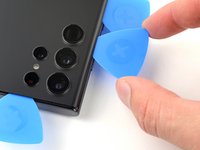
Slide the pick back and forth along the right edge to slice through the adhesive.
-
Leave the pick inserted near the bottom of the right edge to prevent the adhesive from resealing.
-
-
-
Apply a heated iOpener to the bottom edge of the back cover for two minutes.
-
-
-
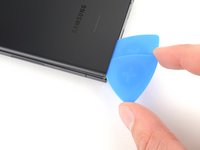
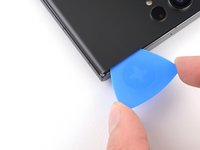
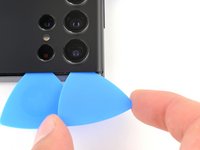
Insert a second opening pick at the bottom right corner.
-
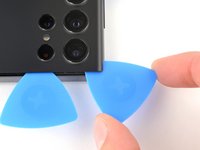
Angle the pick upward to match the curved edge and rotate it around the bottom right corner.
-
-
-
Slide your opening pick to the bottom left corner to slice the adhesive.
-
Leave the pick in the bottom left corner to prevent the adhesive from resealing.
-
-
-
Apply a heated iOpener to the left edge of the back cover for two minutes.
-
-
-
Insert a third opening pick at the bottom left corner.
-
Angle the pick upward to match the curved edge and rotate it around the bottom left corner.
-
-
-
-
Slide your opening pick along the left edge to slice the adhesive, stopping when you reach the power button.
-
Leave the pick in the left edge to prevent the adhesive from resealing.
-
-
-
Heat an iOpener and apply it to the top edge of the back cover for two minutes.
-
-
-
Insert an opening pick in the gap at the top right edge.
-
Angle the pick upward to match the curved edge and rotate it around the top right corner.
-
-
-
Slide the pick to the top left corner to slice the adhesive.
-
Leave the pick in to prevent the adhesive from resealing.
-
-
-
Insert an opening pick in the gap at the top left edge.
-
Angle the pick upward to match the curved edge and rotate it around the top left corner.
-
-
-
Slide the pick toward the bottom camera to slice through the remaining adhesive, stopping before you reach the power button.
-
-
Инструмент, используемый на этом этапе:Tweezers$4.99
-
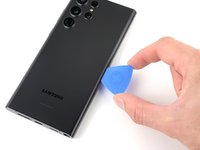
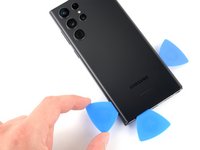
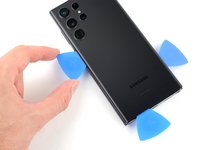
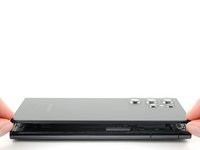
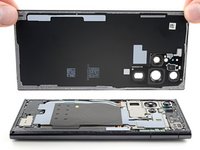
Grab and remove the back cover.
-
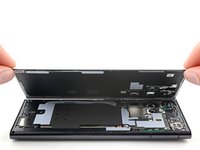
This is a good point to power on your phone and test all functions before sealing it up. Be sure to power your phone back down completely before you continue working.
-
Remove any adhesive chunks with a pair of tweezers or your fingers. Apply heat if you're having trouble separating the adhesive.
-
If you're using custom-cut adhesives, follow this guide.
-
If you're using double-sided tape, follow this guide.
-
-
-
Insert an opening pick between the right edge of the wireless charging coil and the battery.
-
Slide the pick along the right edge to separate the adhesive.
-
-
-
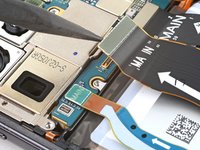
Use the pointed end of a spudger to pry and disconnect the NFC antenna press connector from the motherboard.
-
Repeat for the wireless charging coil press connector.
-
-
-
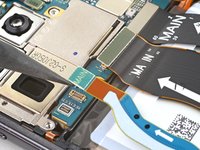
Use your Phillips screwdriver to remove the five 3.5 mm-long screws securing the NFC antenna and charging coil.
-
-
-
Use your Phillips screwdriver to remove the six 3.5 mm screws securing the loudspeaker.
-
-
-
Insert the pointed end of your spudger between the upper right corner of the loudspeaker and the frame.
-
Pry up to unclip the loudspeaker from the frame.
-
-
-
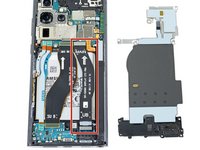
Grab and remove the NFC, wireless charging coil, and loudspeaker from the frame.
-
-
-
Use the pointed end of your spudger to pry up and disconnect the battery press connector.
-
-
-
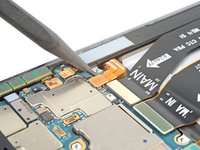
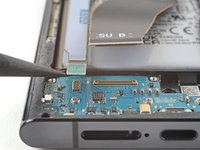
Use the pointed end of your spudger to pry up and disconnect the primary interconnect cable's press connector from the motherboard.
-
Repeat for the secondary interconnect cable.
-
-
-
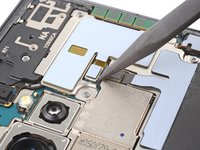
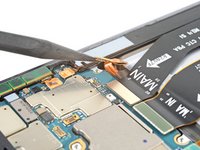
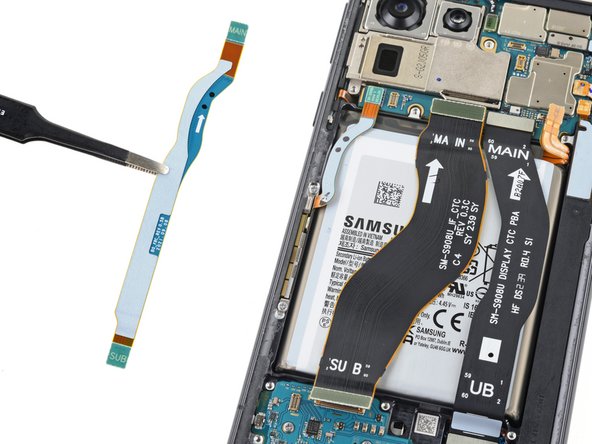
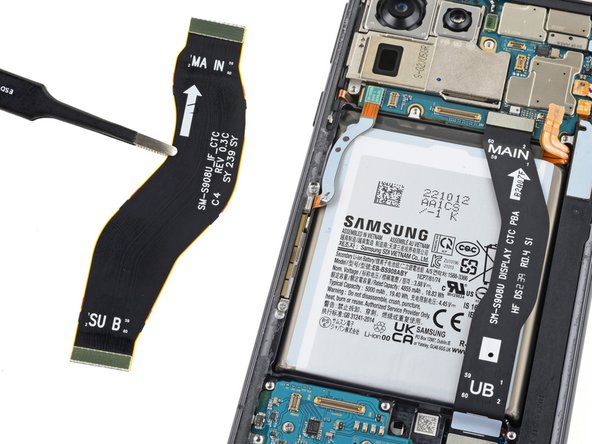
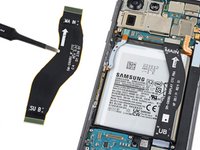
Use the pointed end of your spudger to pry up and disconnect the primary interconnect cable's press connector from the charging board.
-
Repeat for the secondary interconnect cable.
-
-
-
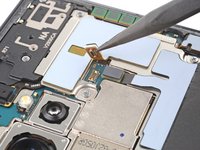
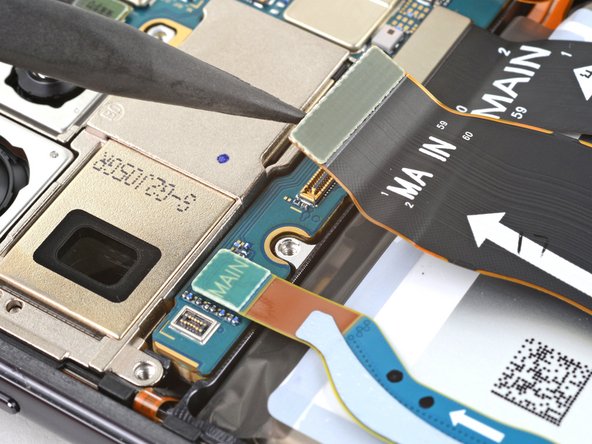
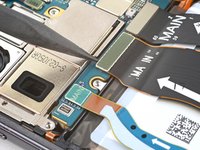
Grab and remove the interconnect cables from the frame.
-
-
-
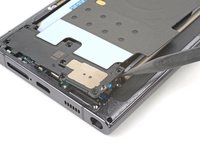
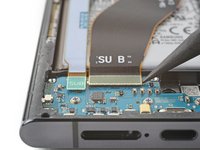
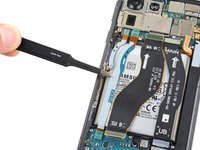
Use your Phillips screwdriver to remove the three 3.5 mm-long screws securing the charging board.
-
-
-
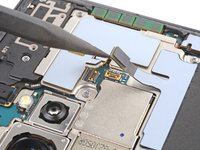
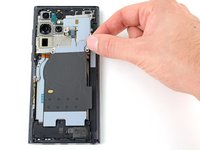
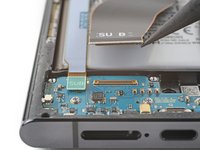
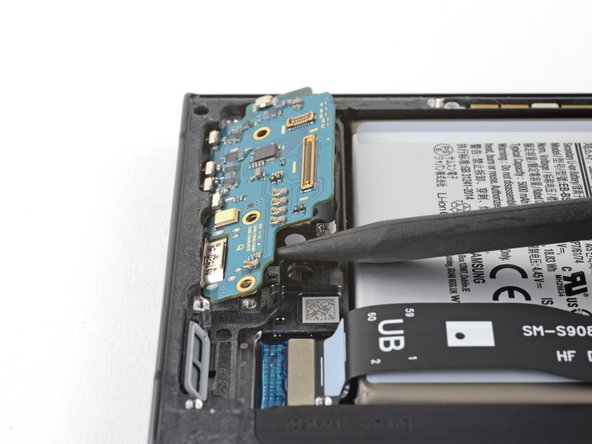
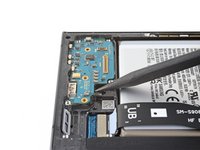
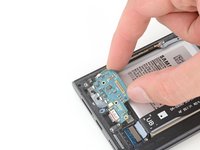
Insert the pointed end of your spudger under the charging board opposite the USB-C port.
-
Pry the charging board up from its recess until you can grab it with your fingers.
-
-
-
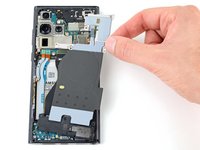
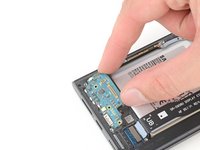
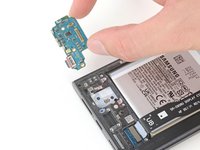
Grip the charging board by its corners and slide it out of its recess in the frame.
-
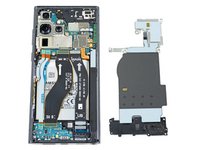
Remove the charging board.
-


To reassemble your device, follow these instructions in reverse order.
Take your e-waste to an R2 or e-Stewards certified recycler.
Repair didn’t go as planned? Check out our Answers community for troubleshooting help.
To reassemble your device, follow these instructions in reverse order.
Take your e-waste to an R2 or e-Stewards certified recycler.
Repair didn’t go as planned? Check out our Answers community for troubleshooting help.
Отменить: Я не выполнил это руководство.
12 человек успешно провели ремонт по этому руководству.

Команду

9 Комментариев
Do you have access to a Samsung S10 SM-G973U USB-C port charger?
Hi! Would you be able to clarify which part you're asking about? We do sell that specific charging port, here. This replacement involves micro-soldering, and you would start at the S10 motherboard removal. If you're looking for an easier part to replace, such as the guide we are on now, we don't sell an equivalent kit for the S10.
After finishing this in about an hour, I would definitely recommend a heat gun over the Iopener. I spent around 15 minutes trying to pry the case open with the Iopener and found that it does get hot enough, but it doesn't seem to put that heat into the phone very well. I had the back cover off in around 5 minutes with a heat gun. Second, I would recommend buying the Ifixit precut adhesive seal kit, it is a few dollars, and you can be sure that you maintain the water proof seal on the phone. I did not need two of the seals, but I would have felt more secure if I had a backup in case I misaligned it and needed to start over.
Most smartphones have multiple water damage indicators all around the device in the form of small non-electronic pads that discolor after exposure to water. If you're referring to an issue where persistent "Moisture Detected" type warnings are preventing you from charging your phone, then multiple causes, both software and hardware, could be factors. If, after troubleshooting, you rule out any software issues, then this repair is likely to fix a hardware or corrosion issue in your port. Good luck!