Введение
If your Sony Xperia TL isn’t charging, keeps shutting off, or won’t turn on at all, this guide will walk you through replacing the battery harness. This small part connects the battery to the rest of the phone, and if it’s loose or damaged, the phone won’t get steady power.
Before you jump into the repair, make sure the problem isn’t something simple. Try a different charger and outlet, and check the charging port for dust or lint. If the phone still won’t respond, the battery harness might be the cause.
To get to the harness, you’ll need to remove the back cover of the phone. Since the Xperia TL is an older model, the plastic can be stiff or a little brittle, so go slowly when prying it open. Once the cover is off, you’ll have to disconnect the battery and move a couple of small parts out of the way to reach the harness. It’s held in place by a tiny connector that you’ll gently pop off and replace.
Before you begin, make sure the phone is completely powered down and not plugged in. Taking out the SIM card tray first will also make the disassembly easier and help prevent any damage.
Выберете то, что вам нужно
-
-
Use the plastic opening tool to pry the top plastic section off.
 Спросите у FixBot
-
-
-
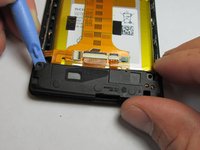
Use the plastic opening tool to pry the bottom plastic section off.
-
-
-
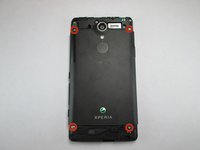
Remove the four 5mm screws.
-
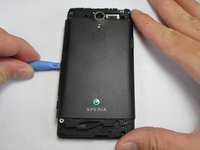
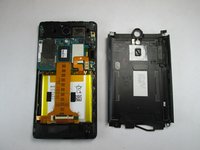
Use the plastic opening tool to pry off the back.
-
-
-
-
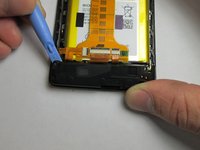
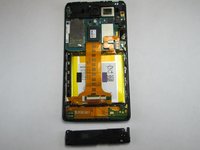
Use the plastic opening tool to remove the loud speaker module.
-
-
-
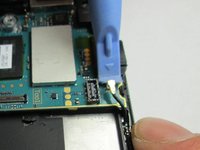
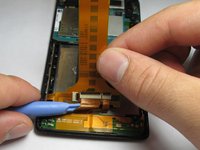
Use the plastic opening tool to unlatch the cord's ends off the motherboard and loud speaker module. The cord can be located on the right side of the phone.
-
-
-
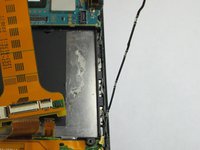
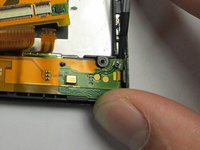
Unhook the 2 connections between the harness and phone shell.
-
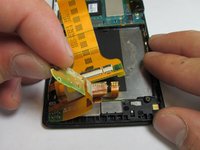
Using the plastic opening tool, pry the harness up and remove it.
-









To reassemble your device, follow these instructions in reverse order. Take your e-waste to an R2 or e-Stewards certified recycler.
Отменить: Я не выполнил это руководство.
Еще один человек закончил это руководство.

Команда

USF Tampa, Team 4-4, Brown Fall 2014 Участник USF Tampa, Team 4-4, Brown Fall 2014
USFT-BROWN-F14S4G4
3 членов
Автор 10 руководств
