Введение
Read me: Before attempting this repair, read the provided guide notes (and warnings) for critical information.
If your Pioneer VSX-918V receiver has developed control problems and would like to try and fix the problem without a new board, it may be possible to fix the problem without new parts. This guide will show you how to disassemble the receiver and use contact cleaner to clean the potentiometer as a cheap fix.
————————————————————————————————————————————
Guide warnings
- You will be working with high voltage equipment. I am not responsible for any attained injuries (or your stupidity).
- Use common sense when following this guide. If you are questioning your ability to complete this repair safely, let a professional handle it.
- Professionals: This is not a long term fix. This is for a capable home user can attempt it to try and put off a repair or replacement receiver. These boards should be replaced if you are doing a professional repair.
————————————————————————————————————————————
Guide notes
- There is NO GUARANTEE this will work. The repair lifetime is also not guaranteed.
- While this fix may repair units with dirty potentiometers for life at the expense of losing the factory heavy feel, abused units may not be as easily fixed. If the potentiometer is damaged or abused, it may be best to replace the switch assembly. While not covered in this guide, removing the front control PCB grants access to the connector(s).
- This WILL NOT work 100% of the time. If this does not work, the board is damaged and needs to be repaired or replaced.
Выберете то, что вам нужно
-
-
Before working on the unit, disconnect the unit from the wall. Hold the power button in for 60 seconds to drain the capacitors.
 Спросите у FixBot
-
-
-
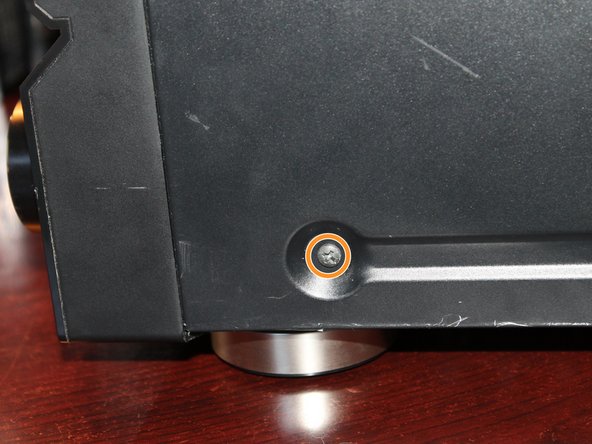
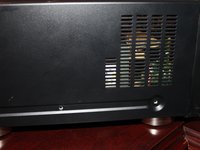
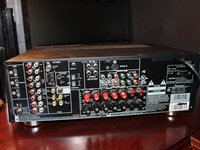
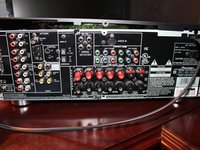
If present, remove this screw. This was not in my unit, but may be in yours.
-
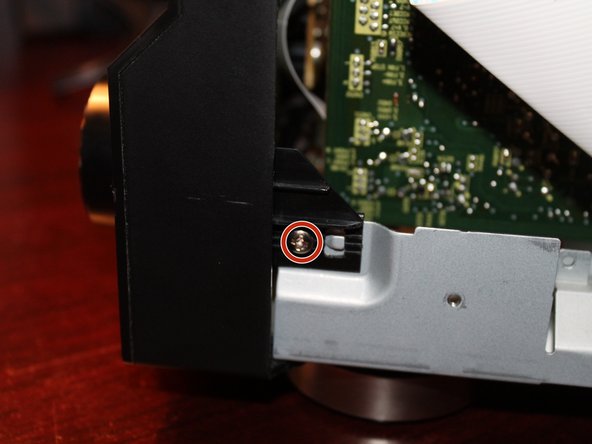
Remove the two Phillps screws holding the faceplate on the receiver. Sort these individually as they are different.
-
-
-
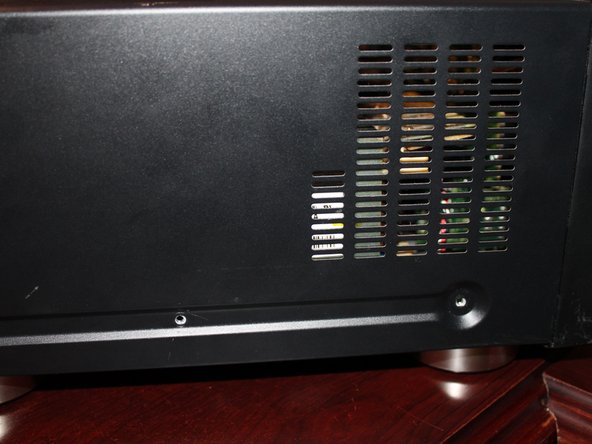
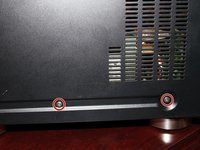
Remove the 2 Phillips #2 screws from the left side of the receiver. They are the same length.
-
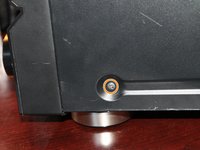
Remove the 1 screw on the right side of the receiver, it is the same bit size as the previous screws. While it appears to be the same, sort it separately.
-
-
-
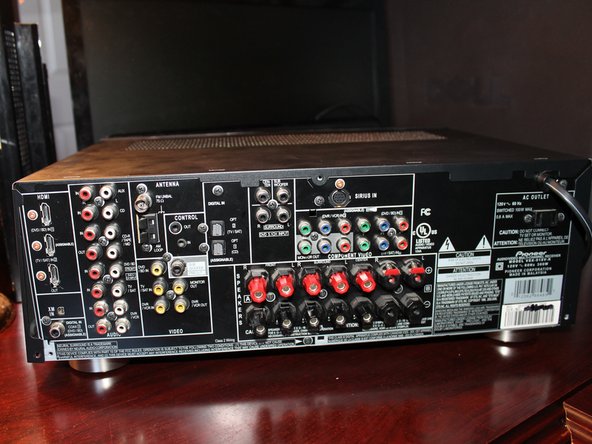
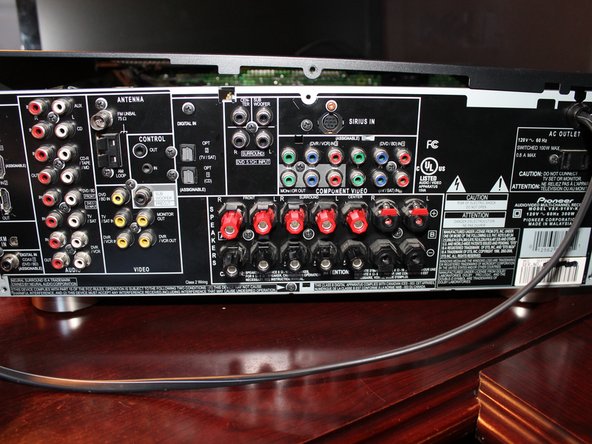
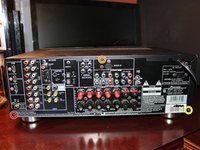
Remove the 3 Phillips #2 screws from the back of the receiver. Once these are removed, the cover will come off.
-
-
-
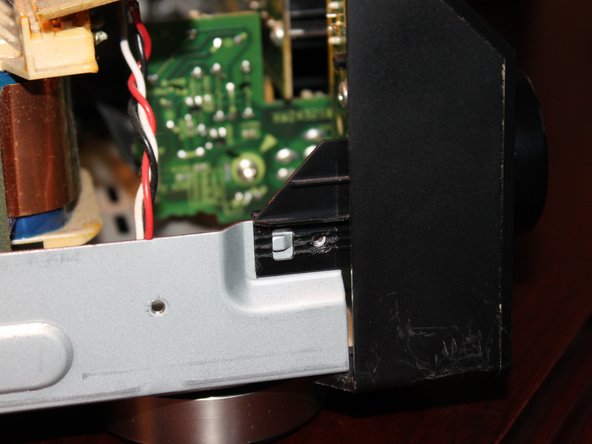
This pin is installed by the factory. To remove this pin, push it out from the back until it is loose. Remove the pin when it is loose.
-
-
-
-
After the faceplate pin is removed, remove the 2 Phillips #2 screws that hold it to the chassis. Both screws are the same length.
-
-
-
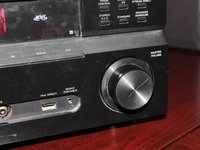
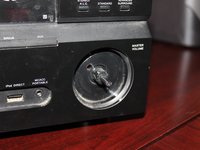
Remove the control knob from the receiver. To do this, pull the knob off firmly. Too much pressure may result in a broken knob and potentiometer.
-
-
-
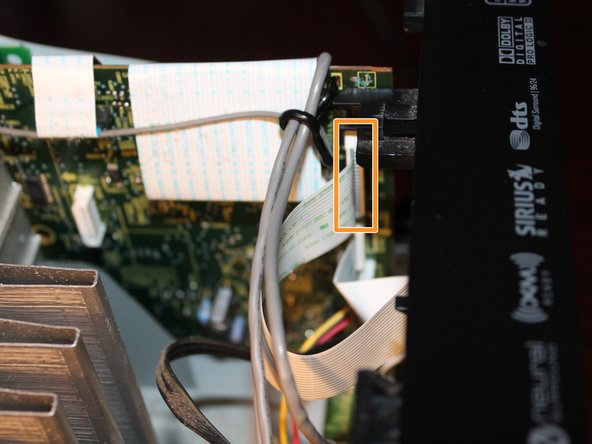
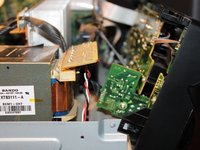
iPod Direct: Disconnect the wire that plugs into the board as shown in the 1st picture. The board will need to be removed as well.
-
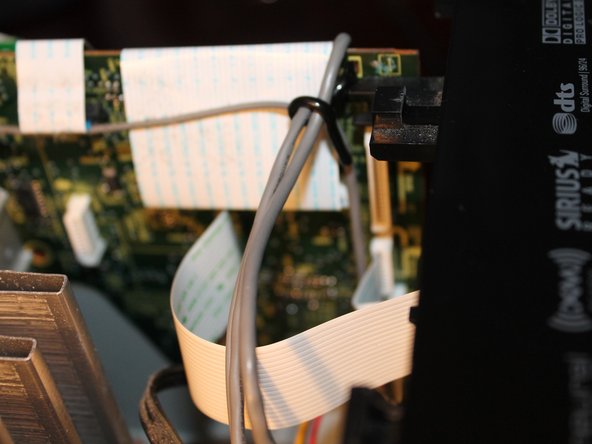
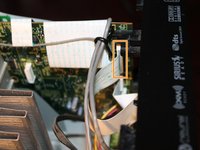
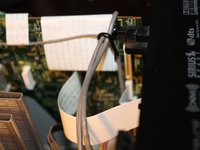
Disconnect the flatflex that connects the front panel display to the rest of the receiver.
-
-
-
Cut the zipties that hold the front panel wires on the fan. This provides better component access.
-
With the faceplate loose and all of the cables disconnected, unclip the faceplate one side at a time. Lay the faceplate flat on your workspace. Leave enough room to access the boards on the front panel.
-
-
-
iPod Direct: Remove all 4 Phillips #1 screws. Remove the support bracket and PCB.
-
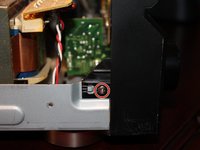
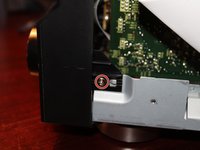
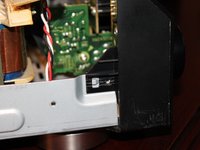
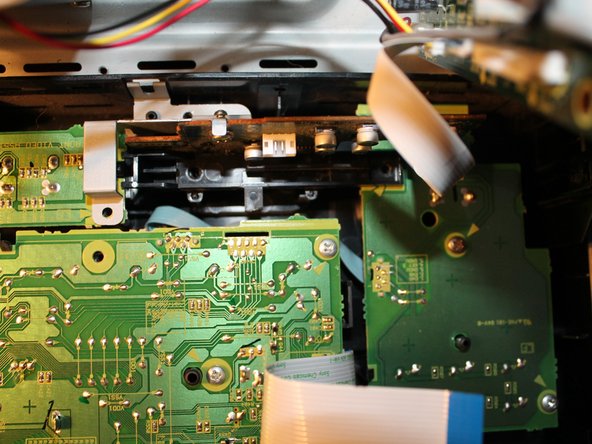
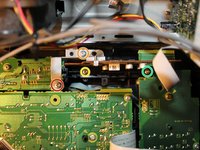
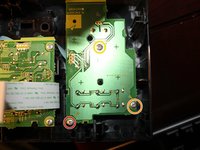
Non iPod Direct: Remove the Green and Red screws. No additional screws need to be removed.
-
-
-
WARNING: This screw is unique and has a different thrad. Sort it separately.
-
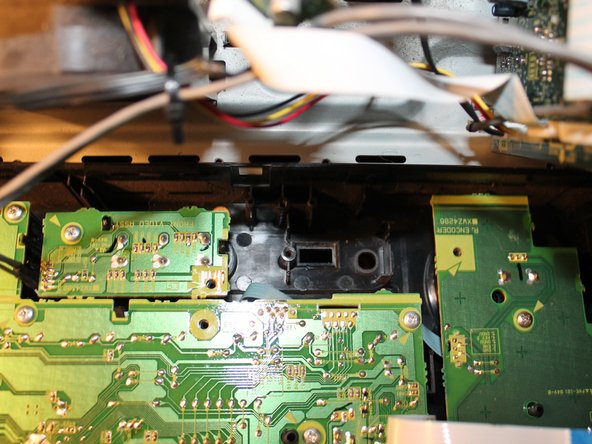
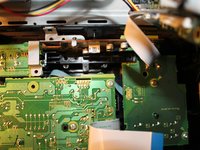
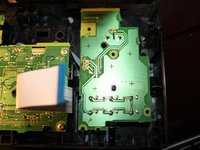
Remove the 3 Phillips #2 screws that hold the volume control board in the receiver's front faceplate.
-
-
-
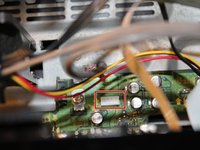
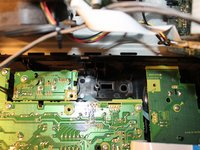
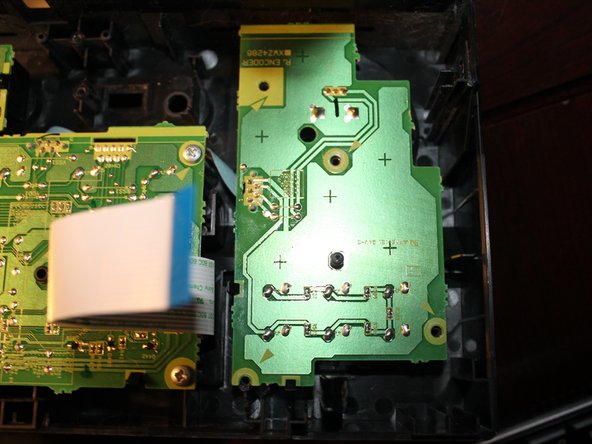
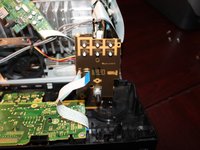
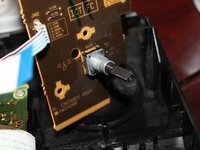
With the control board loose from the front panel, spray contact cleaner into the potentiometer. Clean up any excess contact cleaner once you are done.
-
-
-
Wipe off any excess contact cleaner on the PCB. Reinstall the board once the contact cleaner is dry.
-









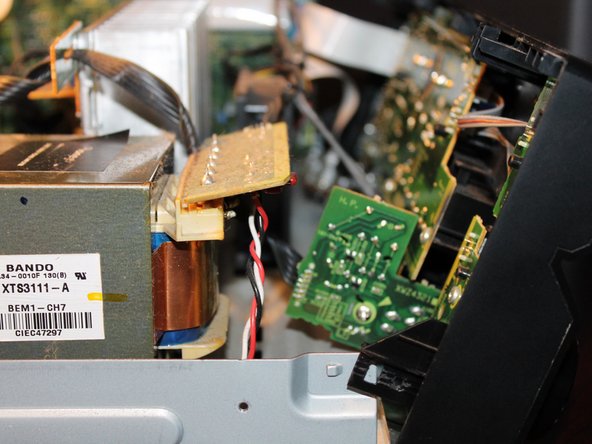





To reassemble your device, follow these instructions in reverse order.
Отменить: Я не выполнил это руководство.
2 человек успешно провели ремонт по этому руководству.

2 Комментарии к руководству
Independant of this post, I went through the same procedure to fix a volume control problem on my VSX-1015. But I went one step further: knowing the volume control could not be a good old fashion "potentiometer" (analog resistor), but rather a pulse generator, I was curious what could possibly go wrong inside it. So I de-soldered the thing (need solder suction pump), and opened it by gently plying the 4 lips holding it together. The problem was... grease, having seeped in from the axis (probably injected to generate the heavy duty quality feeling when turning the knob). So I removed the grease using cooton swabs firt, then the finest paintbrush I could find from my kid, and then cleaned the contacts and copper tracks with isopropyl alcohol - ALL VERY CAREFULLY. After having put everything back together - works like a charm now :)
I certainly think I lost some of the heavy duty feeling using Deoxit to fix the problem but I'd rather lose the heavy duty feel for a more gentle knob feeling where I know the problem probably isn't coming back (I said temporary because I don't know how the unit was treated or if the unit was damaged by pushing it hard, which damaged the potentiometer.) I haven't had to mess with the other knob yet, thankfully. If there is, I clearly haven't noticed for sure so it's not enough to care about. Yeah it's now prone to slipping when you want 50 rather then 65 but I would take that over a repeat of the issue.
