Введение
Is your SIM card getting stuck in your phone? Use this guide to replace, or reseat, a faulty SIM eject lever in your iPhone 6 Plus.
Выберете то, что вам нужно
-
-
Power off your iPhone before beginning disassembly.
-
Remove the two 3.6 mm P2 Pentalobe screws next to the Lightning connector.
-
-
Инструмент, используемый на этом этапе:Clampy - Anti-Clamp$24.95
-
Pull the blue handle backwards to unlock the Anti-Clamp's arms.
-
Slide the arms over either the left or right edge of your iPhone.
-
Position the suction cups near the bottom edge of the iPhone just above the home button—one on the front, and one on the back.
-
Squeeze the cups together to apply suction to the desired area.
-
-
-
Pull the blue handle forwards to lock the arms.
-
Turn the handle clockwise 360 degrees or until the cups start to stretch.
-
Insert an opening pick or tool under the screen when the Anti-Clamp creates a large enough gap.
-
Skip the next three steps.
-
-
-
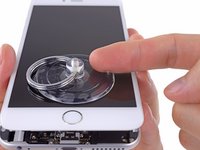
Use a single suction cup to lift the front panel:
-
Press a suction cup onto the screen, just above the home button.
-
-
-
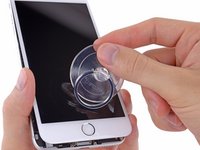
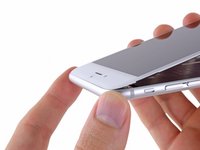
While holding the iPhone down with one hand, pull up on the suction cup to slightly separate the front panel assembly from the rear case.
-
Using a plastic opening tool, begin to gently pry the rear case down, away from the display assembly, while continuing to pull up with the suction cup.
-
-
-
Pull the plastic nub to release the vacuum seal on the suction cup.
-
Remove the suction cup from the display assembly.
-
-
-
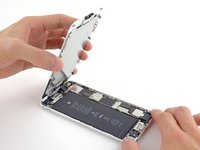
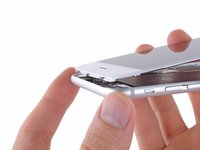
Pull the home button end of the front panel assembly away from the rear case, using the top of the phone as a hinge.
-
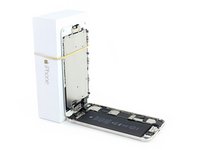
Open the display to about a 90º angle, and lean it against something to keep it propped up while you're working on the phone.
-
Add a rubber band to keep the display securely in place while you work. This prevents undue strain on the display cables.
-
-
-
-
Remove the following Phillips screws from the battery connector bracket:
-
One 2.3 mm screw
-
One 3.1 mm screw
-
-
-
Use a clean fingernail or the edge of an opening tool to gently pry the battery connector up from its socket on the logic board.
-
-
-
Remove the following Phillips screws securing the front panel assembly cable bracket:
-
Three 1.2 mm screws
-
One 1.5 mm screw
-
One 2.9 mm screw
-
-
-
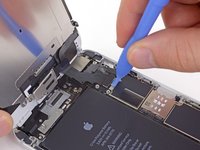
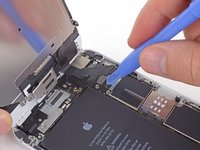
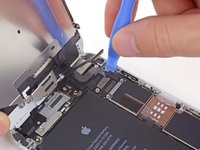
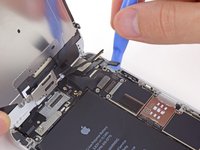
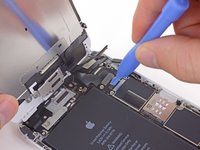
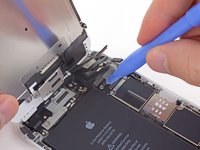
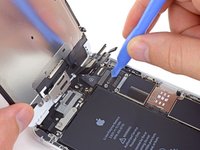
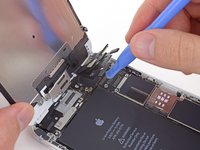
While still supporting the front panel, use a fingernail or the edge of an opening tool to disconnect the front-facing camera and earpiece speaker connector.
-
-
-
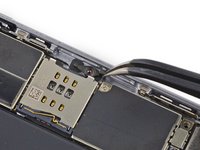
Insert a SIM card eject tool or a paperclip into the small hole in the SIM card tray.
-
Press to eject the tray.
-
-
-
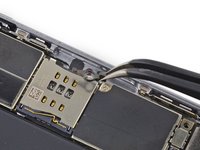
Remove the single 1.7 mm Phillips #00 screw securing the SIM eject lever.
-


To reassemble your device, follow these instructions in reverse order.
Отменить: Я не выполнил это руководство.
20 человек успешно провели ремонт по этому руководству.


3 Комментарии к руководству
is the sim ejector lever made of plastic?
is the sim ejector lever made of plastic? or its just a colored aluminum lever?
It appears to be colored aluminum, not plastic.