Введение
This guide is retained solely for historical purposes. Use the updated version of the guide to perform your repair. You can find the updated version of this guide here.
Выберете то, что вам нужно
-
-
Remove the two 3.4 mm Pentalobe screws surrounding the Lightning connector.
-
-
-
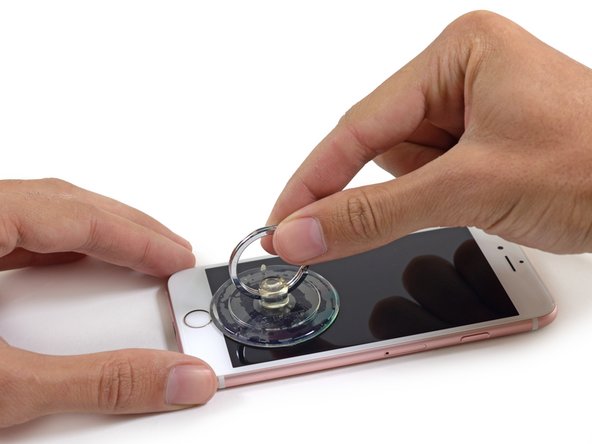
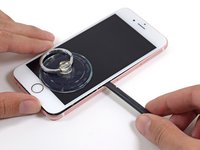
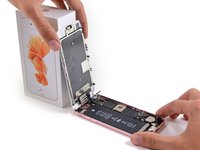
If you don't have an iSclack, use a single suction cup to lift the front panel:
-
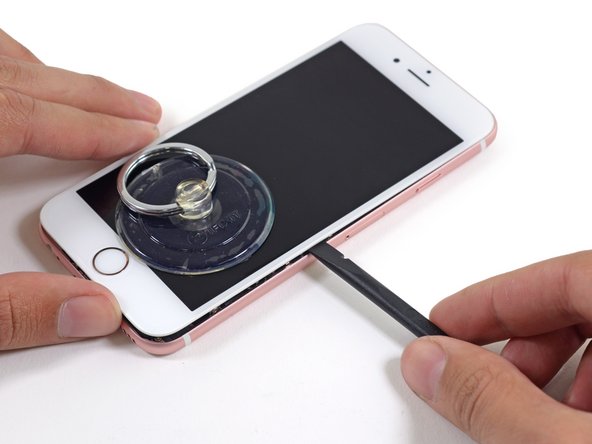
Press a suction cup onto the screen, just above the home button.
-
-
-
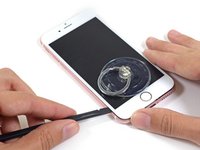
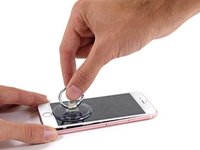
Pull up on the suction cup to slightly separate the front panel assembly from the rear case.
-
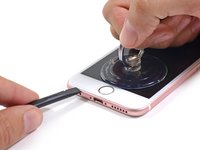
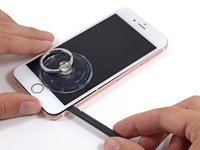
Once a small gap has been opened, insert the flat end of a spudger above the headphone jack.
-
-
-
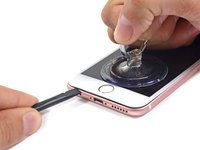
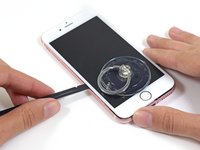
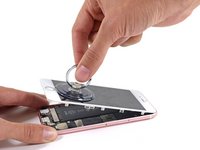
Use the edge of a spudger to slice through the adhesive on either side of the phone.
-
-
-
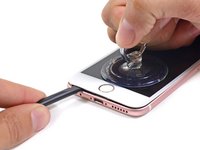
Use the edge of a spudger to slice through the adhesive on either side of the phone.
-
-
-
-
Remove the following screws from the battery connector bracket:
-
One 3.0 mm Phillips #00 screw
-
One 2.3 mm Phillips #00 screw
-
-
-
Use the flat end of a spudger to disconnect the battery connector from the logic board.
-
Push the connector to the side to ensure it doesn't accidentally make contact and power on the phone while you're working on it.
-
-
-
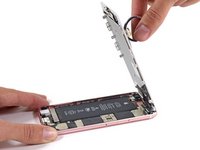
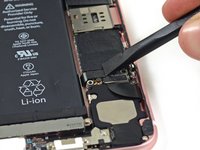
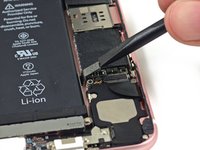
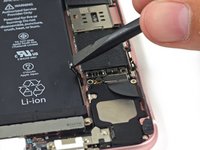
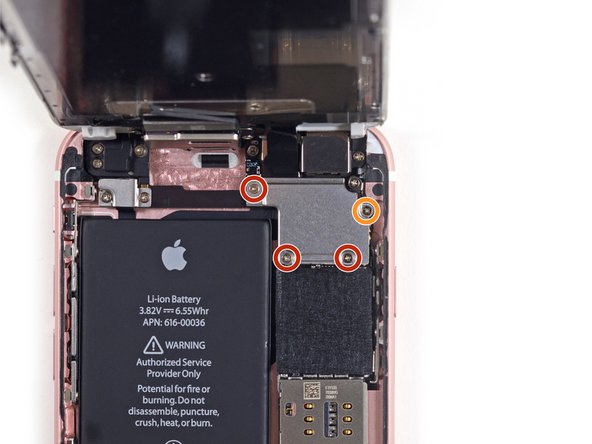
While holding the front panel open at about a 90º angle, remove the following screws securing the front panel assembly cable bracket:
-
Three 1.3 mm Phillips #00 screws
-
One 3.0 mm Phillips #00 screw
-
-
-
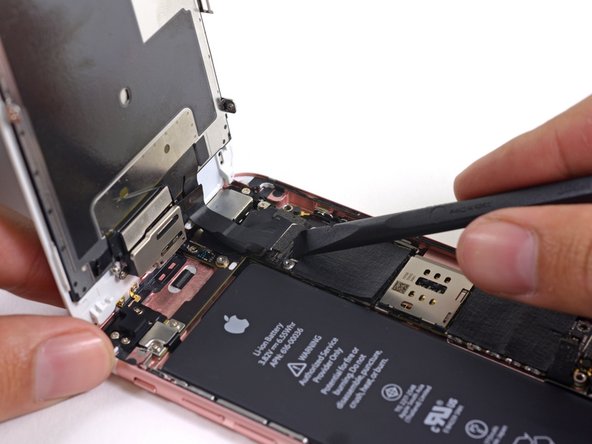
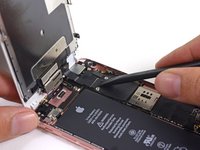
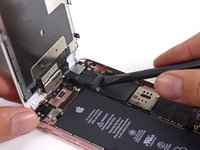
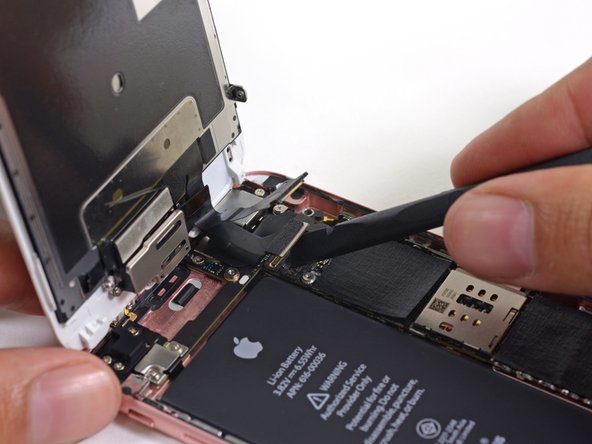
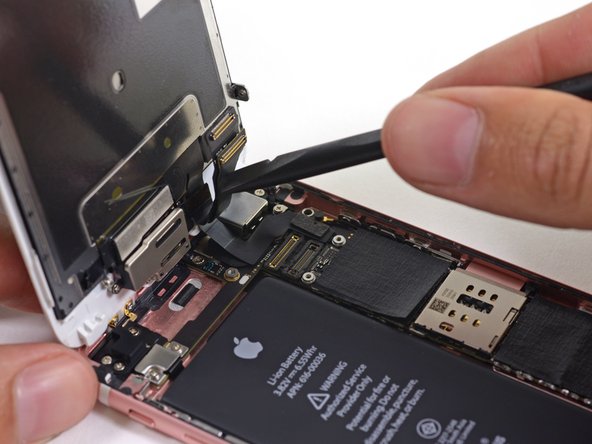
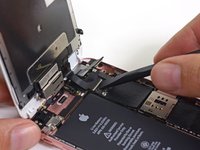
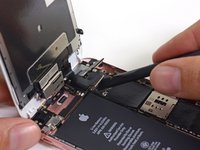
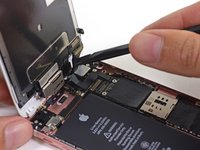
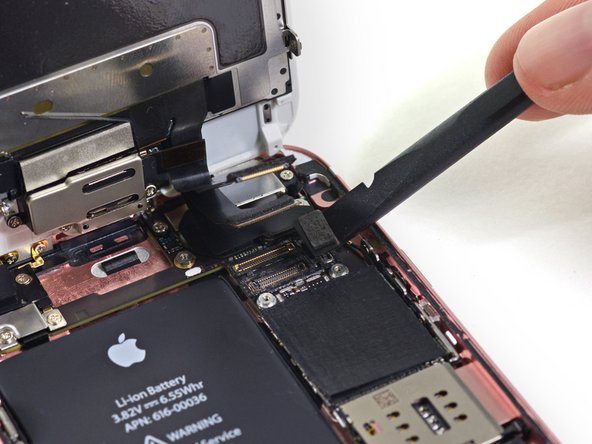
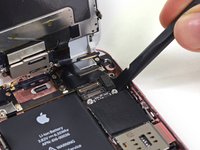
Use the flat end of a spudger to disconnect the front-facing camera and sensor cable connector.
-
-
-
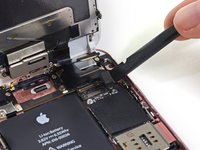
Finally, use the flat end of a spudger to disconnect the digitizer cable connector.
-


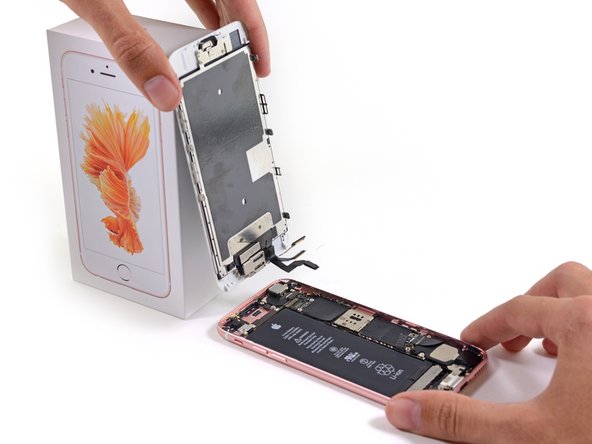

To reassemble your device, follow these instructions in reverse order.
Отменить: Я не выполнил это руководство.
153 человек успешно провели ремонт по этому руководству.


21 Комментарии к руководству
while technically correct, this guide is not complete in the sense that a new tech cannot follow it step-by-step to successfully complete a screen replacement. You should include the steps necessary to move the parts over from the old screen. Yes you can buy screen replacements with small parts but most repair operations don't do that as it isn't that hard to move them and much less expensive.
There are many small parts involved in moving from one screen to another. There are also a few steps that require prying a flex from the frame that is taped down. Having the additional steps in this guide that point out exactly where each small parts go and how to successfully pull the flex off without tearing it would be a huge improvement to this guide (and all the other screen replacement guides as they all have the same gap)
thanks - this is a great site and my techs use it for training every day.
The demo ends before it does what is stated in the heading (Display Replacement.) This demo is for Front Panel Assembly Replacement.
As stated in the intro, this is just the full front panel assembly guide. We'll be posting more thorough screen replacement guides in the future. Stay tuned ;)
When will you be selling the 6S replacement screen. I only see on for the 6 and it says not compatible with the 6S.
Additionally is it possible to replace just the glass and not all the other parts?
That is what i am curious about as well!!!
just cracked the glass in the bottom left corner of my 6s Plus.