Введение
Prereq-only for detaching the display assembly.
Выберете то, что вам нужно
-
Инструмент, используемый на этом этапе:Magnetic Project Mat$19.95
-
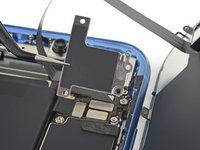
Remove three 1.2 mm Y000 screws securing the battery connector cover bracket.
-
Remove the bracket.
-
-
-
Use the point of a spudger to pry the battery connector straight up out of its socket.
-
Bend the connector slightly away from the logic board to prevent it from accidentally making contact with the socket and providing power to the phone during your repair.
-
-
-
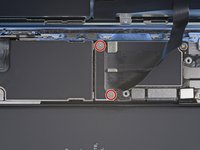
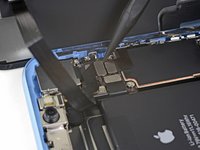
Remove the two 1.2 mm Y000 screws securing the display connector bracket.
-
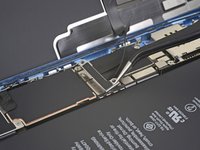
Remove the bracket.
-
-
-
-
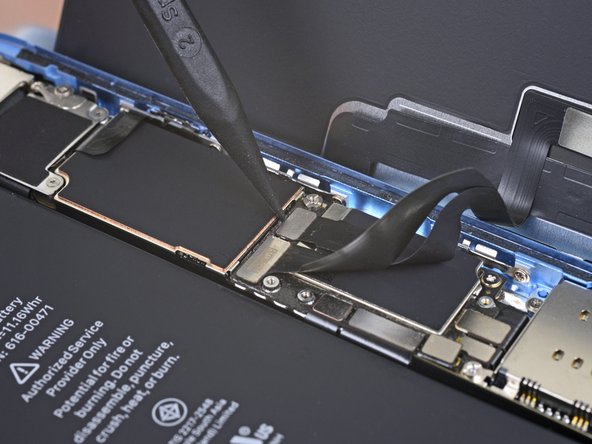
Use the tip of a spudger to pry up and disconnect the digitizer cable.
-
-
-
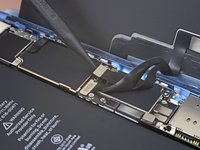
Use the tip of a spudger to disconnect the display cable connector.
-
-
-
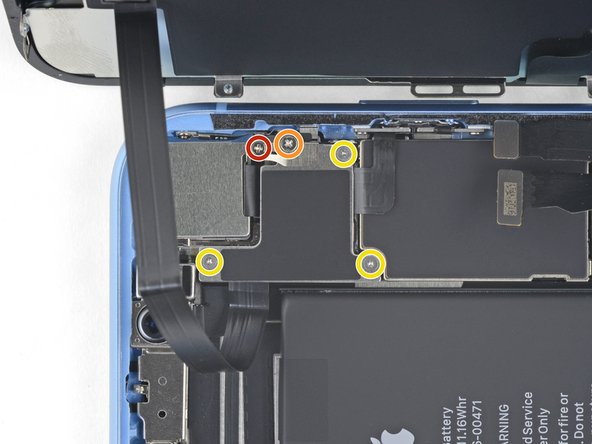
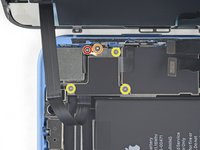
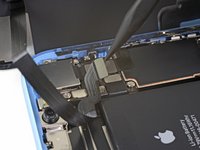
Remove the five screws securing the logic board connector bracket to the rear case:
-
One 1.3 mm Phillips #000 screw
-
One 1.5 mm Phillips #000 screw
-
Three 1.2 mm Y000 screws
-
Remove the bracket.
-
-
-
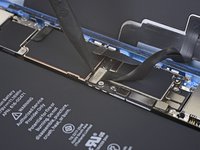
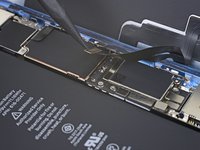
Use the tip of a spudger to pry the front sensor assembly connector up from its socket.
-


To reassemble your device, follow these instructions in reverse order.
Отменить: Я не выполнил это руководство.
2 человек успешно провели ремонт по этому руководству.
