Введение
Use this guide to correctly apply replacement adhesive under your iPhone's display after a repair. Replacing the adhesive can help maintain your iPhone's water resistance. The pre-cut adhesive strips are very delicate and are easily damaged if not applied correctly, so you may want to have a spare on hand if following this guide for the first time.
Be sure you purchase adhesive that matches the color of your display to maintain the original look of the phone.
This procedure applies to iPhone models 6s and newer (earlier models don't use adhesive).
Before you begin, you should have already removed your iPhone's display assembly and set it aside. If not, return to your specific iPhones repair guide and follow it until you're ready to reinstall the display assembly.
Выберете то, что вам нужно
Видеообзор
-
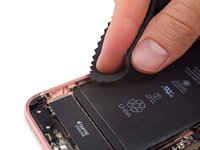
Инструмент, используемый на этом этапе:Tweezers$4.99
-
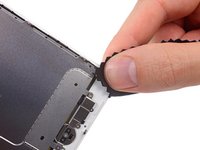
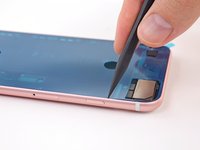
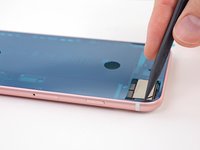
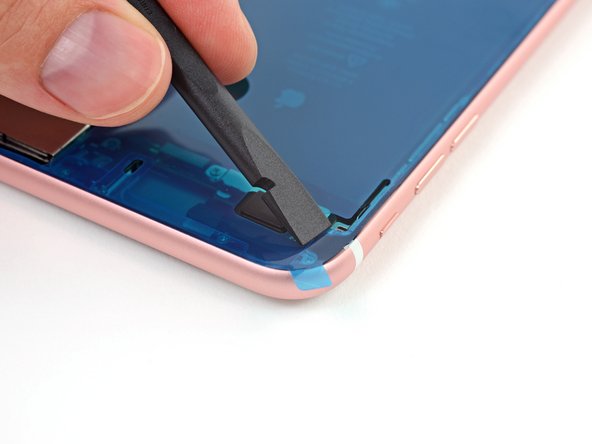
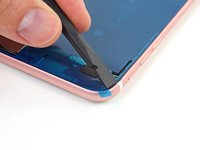
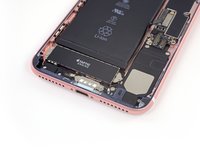
Begin by removing all the old display adhesive around the perimeter of your iPhone's case.
 Спросите у FixBot
-
-
-
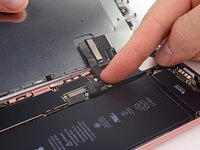
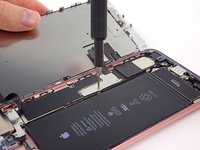
Use the tip of your spudger to remove any remaining smaller bits of adhesive.
-
-
-
If you're reinstalling your existing display rather than replacing it with a new one, be sure to remove any remaining adhesive from the back of your display as well.
-
-
-
Using a lint-free cloth (or coffee filter) with a bit of isopropyl alcohol, clean the areas of the case and rear display where you removed the old adhesive.
-
For best results, swipe your cleaning cloth in one direction, not back and forth.
-
-
-
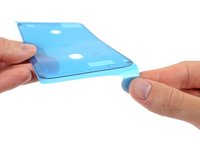
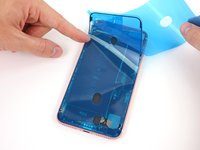
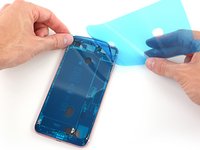
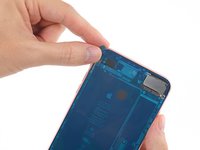
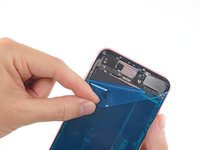
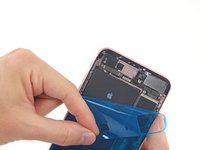
Begin peeling the large backing from your replacement adhesive, starting from the bottom edge.
-
You'll usually find a large tab of some kind on the bottom edge.
-
-
-
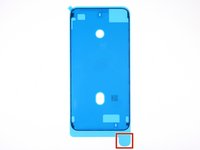
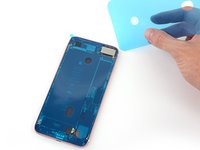
Carefully align the exposed lower edge of the adhesive strip with the bottom edge of your iPhone's case.
-
When it's correctly aligned, gently press the exposed lower adhesive strip into place.
-
-
-
Continue peeling away the backing from the adhesive, gently pressing the adhesive into place from the bottom of your iPhone to the top.
-
-
-
-
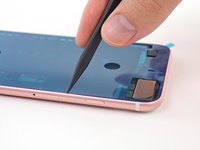
Use the tip of a spudger to press all the adhesive into place around the entire perimeter of your iPhone.
-
-
-
Use the flat edge of your spudger to press the adhesive into place at all four corners of your iPhone.
-
-
-
Grab the small pull tab (located at one of the corners) and peel off the large front liner from the adhesive.
-
-
-
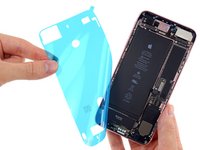
Completely separate the front adhesive liner(s) and discard it.
-
-
-
Refer to your iPhone's display replacement guide in order to:
-
Reconnect all display cables
-
Reconnect the battery
-
Reinstall the cable connector cover brackets, and secure their screws.
-
-
-
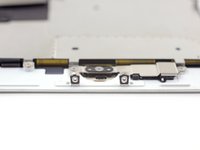
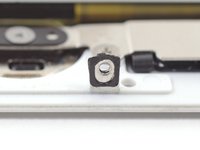
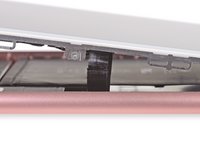
iPhone 7 / 7 Plus only: Before installing your display, check the condition of the black gaskets on the two small screw bosses on the bottom edge of your display, near the home button.
-
If the gaskets are misaligned, use tweezers to carefully recenter them.
-
-
-
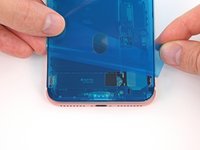
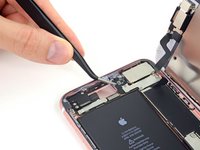
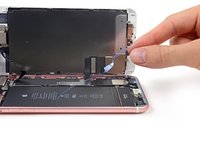
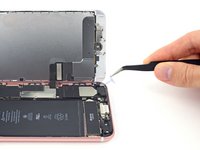
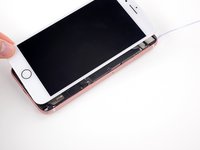
While supporting the display, use tweezers to begin peeling off the final release liners, exposing the adhesive.
-
-
-
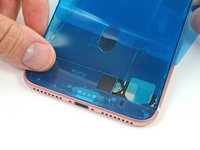
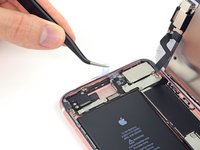
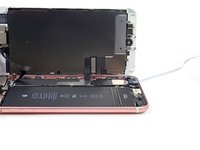
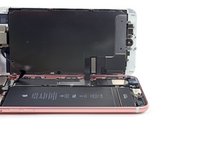
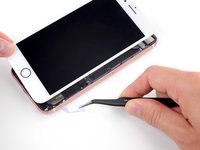
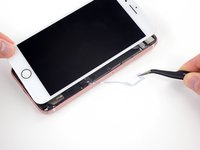
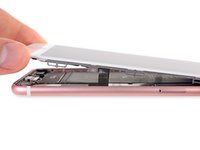
Continue removing the release liner from the entire perimeter of the iPhone.
-
-
-
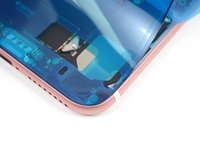
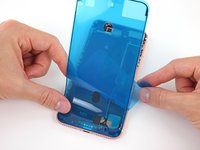
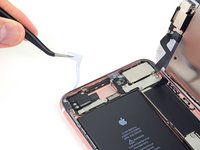
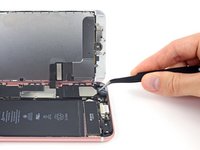
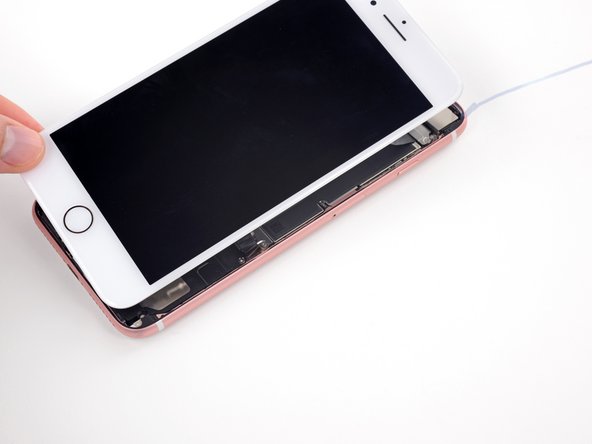
Hold the display out of the way as you remove the final piece of release liner.
-
-
-
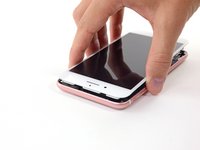
Carefully align the top edge of the display with the top edge of the phone body.
-
Position the display so that the tabs along the top edge fit into place just underneath the top edge of the iPhone's case.
-
-
-
Before closing up the display, check to make sure that all cables are clear.
-
-
-
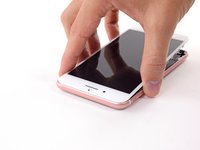
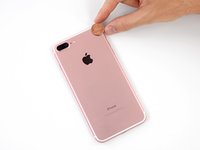
As you lower the display into place, apply gentle pressure against the display's bottom edge so that the top edge stays flush with the top edge of the iPhone.
-
Press on the sides of the display near the top of the iPhone, and work your way down to click the display into place.
-
-
-
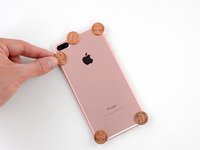
You can use coins of any denomination, so long as they are as thick or slightly thicker than the camera bump.
-
Place a coin at each corner of your iPhone, and place two coins on either side of the camera bump.
-
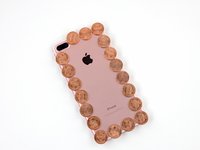
Place additional coins around the entire perimeter of your iPhone.
-
Using a hair dryer or heat gun, evenly heat the side edges all the way around the iPhone until they are slightly too hot to touch. The heat will help the adhesive form a more complete bond. Don't overheat the iPhone, or you may cause the battery to ignite or damage other heat-sensitive components, like the display.
-
-
-
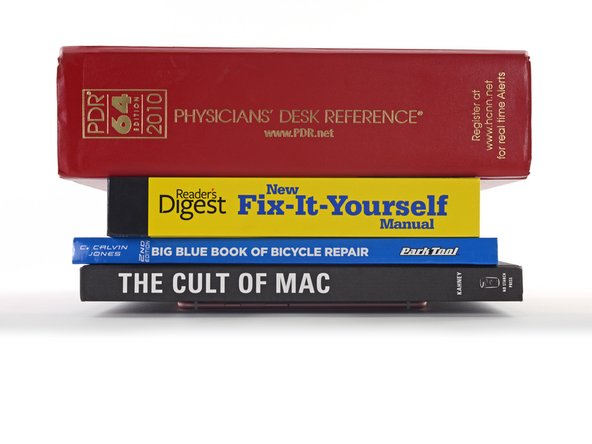
While the iPhone is still hot, grab at least four or five of your heaviest hardcover books, and place them squarely on top of your iPhone.
-
Leave the books in place for about thirty minutes.
-
-
-
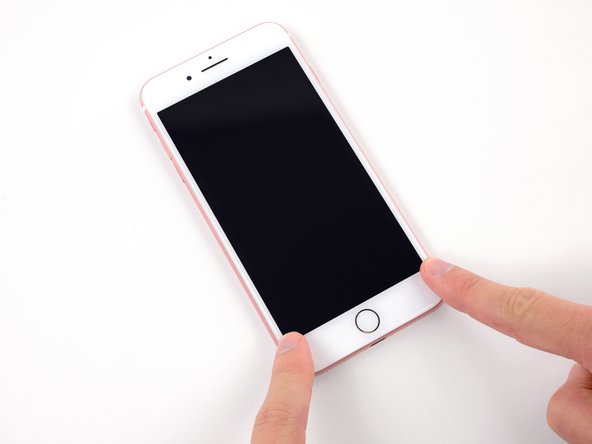
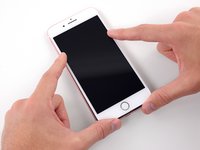
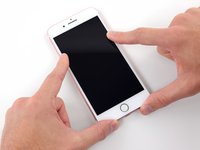
Remove the books and use your fingers to press firmly on all four corners of the display.
-
Press for about 3 seconds and then release.
-


Отменить: Я не выполнил это руководство.
1126 человек успешно провели ремонт по этому руководству.


52 Комментарии к руководству
I just bought few iPhone 7 adhesives from my supplier, and I noticed that the adhesive is not really fitting on the frame.
The iFixit shop pictures show us the iPhone 7 Plus adhesive for black color and the iPhone 7 adhesive for white color.
The iPhone 7 Plus seems to be more precise and correct than the iPhone 7 one : the iPhone 7 Plus one respect the screw hole at upper left corner for example, but the iPhone 7 one doesn’t, it has extra curves (same as iPhone 6s lower left corner) and it doesn’t take up the full width of the frame edge.
Can anyone show us the shape of an original adhesive from a brand new iPhone 7 to compare ?
This was the trickiest part of my screen replacement. Slim double sided adhesives always intimidate me because you only get one chance to line it up. I succeeded on my first attempt by following this guide and taking my time to line up the first edge as best as I could. The sides are the hardest part as they are very thin and I almost failed getting them lined up. Luckily I hadn’t pressed them down and was able to correct my alignment. Good preperation of the phone by removing the old adhesive completely and cleaning the area is my number one recommendation.
Adhesive makes everything harder. I chose to replace the adheasive on my 6s plus during a battery replacement, and it was easily the hardest part. No fault of Ifixit or this guide… the instructions above are spot on. But the cleaning of the adheasive takes forever, easily tripled my total repair time. And its really, really nerve racking to place the new adheasive. I do stuff like that all the time, but this was nuts. The strips are so tiny and delicate! Be really, really careful and take your time. This earns its “moderate” difficulty and then some.
wow that was hard to get in place. clean the edges well and use isopropyl alcohol. also practice a lot before removing the cover protection.
am working on this now