Перейти к основному содержанию
Присоединяйся к сообществу ремонтников - Создай аккаунт

How To Use Screen Vise Clamps

Выберете то, что вам нужно

  1. How To Use Screen Vise Clamps, Fit your device into a clamp: шаг 1, изображение 1 из 1
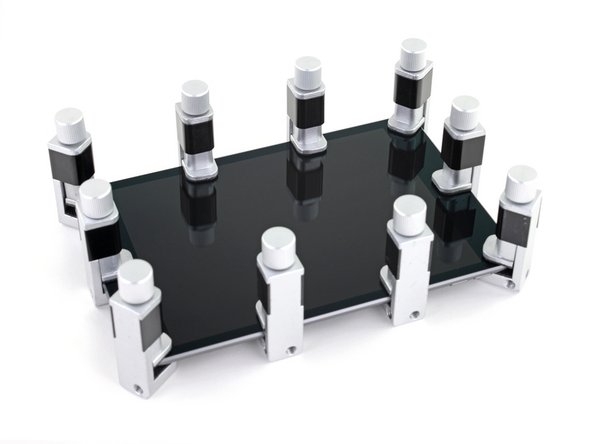
    Инструмент, используемый на этом этапе:
    Screen Vise Clamps 6-Pack
    $25.95
    • In order for the adhesive to bond correctly, you'll need to apply even pressure around the perimeter of your device.

    • Do not use vise clamps to forcibly close a bulging device.

    • Before beginning this repair, we recommend cleaning your device to avoid catching debris between the vise jaws and the device.

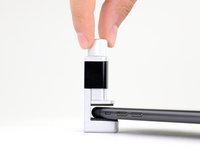
    • Open a screen vise clamp and slide it over the edge of your device, as far as it will go.

    Спросите у FixBot
  2. How To Use Screen Vise Clamps: шаг 2, изображение 1 из 2 How To Use Screen Vise Clamps: шаг 2, изображение 2 из 2
    • If your device has a camera bump and the clamp is able to sit squarely over the center of a lens, you only need to use one clamp for the camera bump.

    • If the clamp is not able to sit squarely over the center of a lens, use two clamps spaced evenly over the camera bump.

    Спросите у FixBot
  3. How To Use Screen Vise Clamps: шаг 3, изображение 1 из 2 How To Use Screen Vise Clamps: шаг 3, изображение 2 из 2
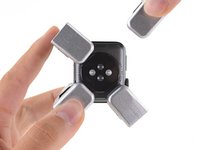
    • For watches, place clamps near the edges, and make sure the jaws press down flat on the display and not at an angle.

    Спросите у FixBot
  4. How To Use Screen Vise Clamps, Lightly secure the clamp: шаг 4, изображение 1 из 2 How To Use Screen Vise Clamps, Lightly secure the clamp: шаг 4, изображение 2 из 2
    • Over-tightening may damage your device's screen or back cover.

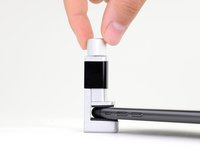
    • Spin the vise clamp knob clockwise to lower the upper jaw onto the screen.

    • Spin the knob until the jaw makes light contact with the screen, and then tighten down one half turn.

    • The clamp isn't meant to be very tight just yet.

    Спросите у FixBot
  5. How To Use Screen Vise Clamps: шаг 5, изображение 1 из 3 How To Use Screen Vise Clamps: шаг 5, изображение 2 из 3 How To Use Screen Vise Clamps: шаг 5, изображение 3 из 3
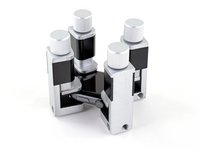
    • Repeat the previous steps for the five remaining vise clamps: one at each of the four corners, and one in the middle of each long edge.

    • For larger tablets, more than six vise clamps may be needed to ensure the adhesive bonds evenly around the entire perimeter.

    • Using a hair dryer or heat gun, evenly heat the edges all the way around the device until they are slightly too hot to touch. The heat will help the adhesive form a more complete bond.

    • Don't overheat the device, or you may cause the battery to ignite or damage other heat-sensitive components, like the display.

    • While the device is still hot, tighten all six vise clamps down one full turn.

    • Don't tighten any further to avoid damaging your device.

    • Leave the vise clamps in place for about thirty minutes.

    Спросите у FixBot
Финишная прямая

31 человек успешно провели ремонт по этому руководству.

Carsten Frauenheim

Участник с: 03/10/20

164 538 Репутация

Автор 439 руководств

Команда

iFixit Участник iFixit

Staff

123 членов

Автор 25 708 руководств

0 Комментарии к руководству

Добавить комментарий

Статистика просмотров:

За последние 24 часов: 13

За последние 7 дней: 88

За последние 30 дней: 529

За всё время: 25,141