Введение
Use this guide to replace a worn-out or dead battery in your Roomba.
If your battery is swollen, take appropriate precautions.
Выберете то, что вам нужно
-
-
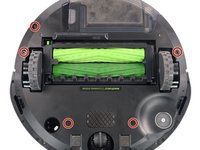
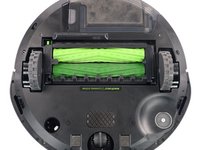
Make sure your Roomba is turned off and flip it over to access its underside.
-
Use a Phillips screwdriver to loosen the single captive screw securing the edge-sweeping brush. Make sure to keep the brush from rotating while screwing.
-
-
-
Use your fingers to gather all three brush arms and grab them simultaneously.
-
Steadily pull upwards to release the brush from its hexagonal axle. You can gently rock it back and forth if it sits too tight.
-
-
-
-
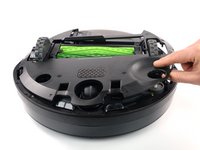
Use a Phillips screwdriver to loosen the five captive screws that hold the bottom plate in place.
-
-
-
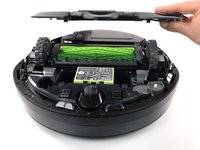
Grab the bottom plate with your hand and remove it by lifting it straight up to reveal the battery.
-
-
-
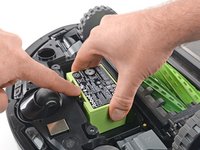
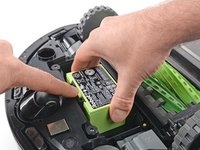
Use your finger to bend the plastic clip and unlatch the battery.
-
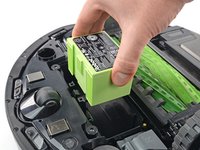
Grab the battery with your hand and lift it straight up from inside its recess to remove it.
-


To reassemble your device, follow these instructions in reverse order.
Take your e-waste to an R2 or e-Stewards certified recycler.
Repair didn’t go as planned? Try some basic troubleshooting, or ask our Answers community for help.
Отменить: Я не выполнил это руководство.
2 человек успешно провели ремонт по этому руководству.

Команда

Tobias Isakeit - Repairability Engineer Участник Tobias Isakeit - Repairability Engineer
Business
1 член
Автор 1 145 руководств