-
-
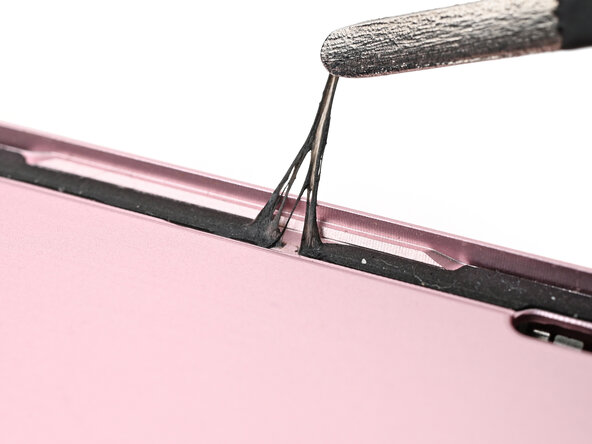
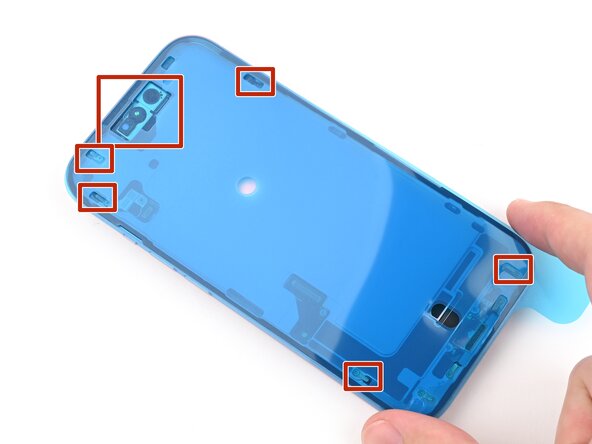
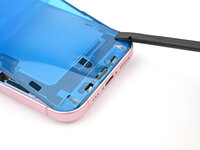
Use a spudger to push the screen adhesive up until you can grab it with a pair of tweezers.
-
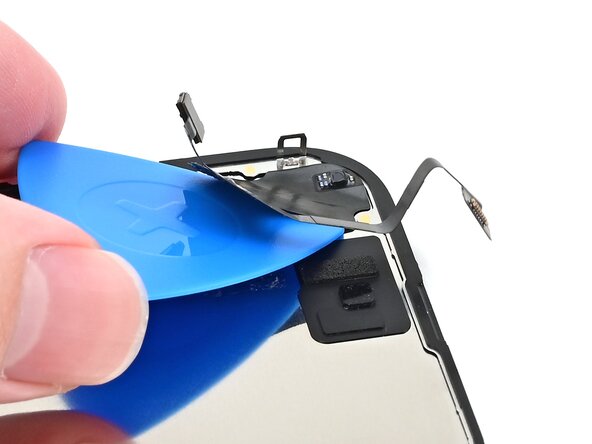
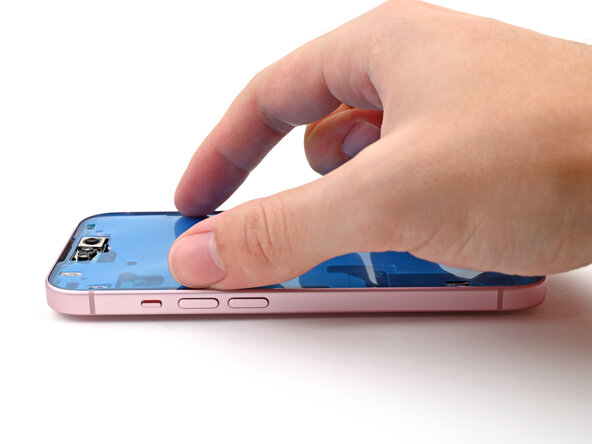
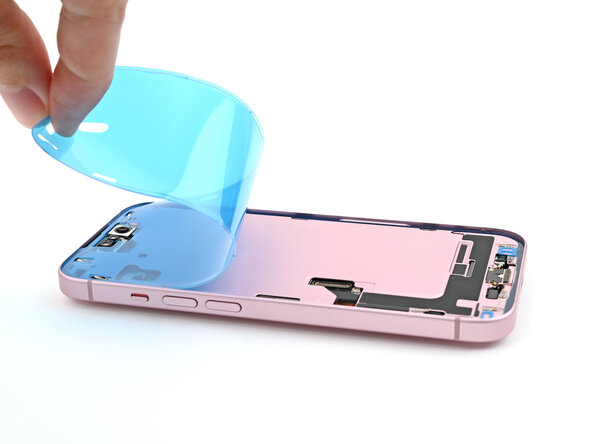
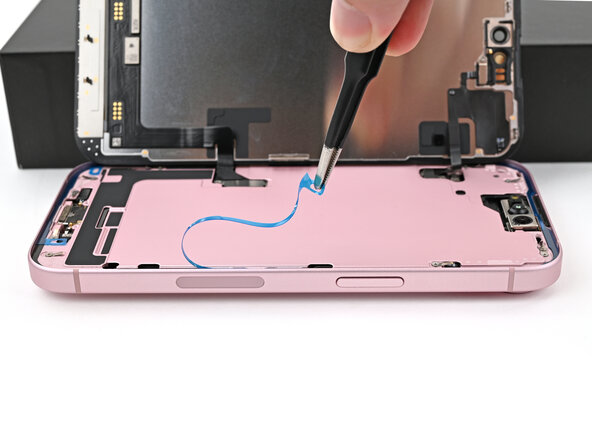
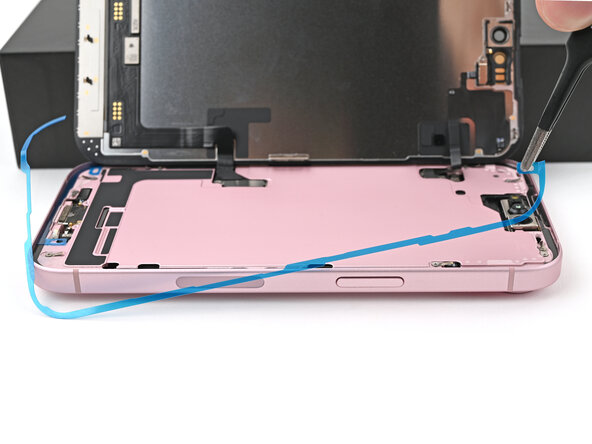
Use a pair of tweezers, or your fingers, to remove the adhesive around the entire perimeter of the iPhone.
-
-
-
Wrap a microfiber or lint-free cloth around the pointed end of a spudger and apply a few drops of high-concentration (greater than 90%) isopropyl alcohol to the cloth.
-
Wipe in one direction along the perimeter of the frame to clean the adhesive residue.
-
Wait a few minutes before proceeding to make sure any excess alcohol has evaporated.
-
-
-
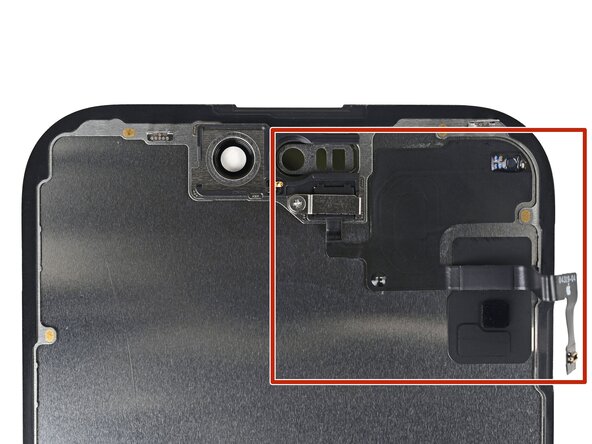
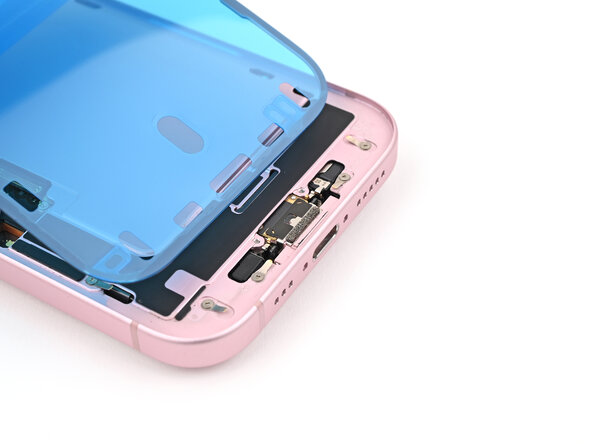
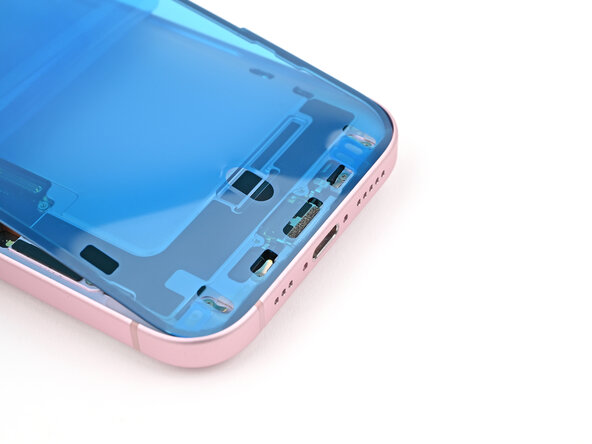
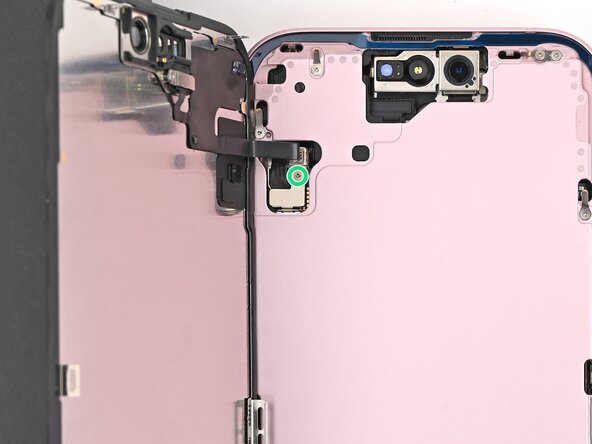
The ambient light sensor is located behind the screen, directly beneath the cut‑out for the Face ID sensors.
-
Check if the replacement screen comes with one installed. If it does, skip to this step.
-
-
-
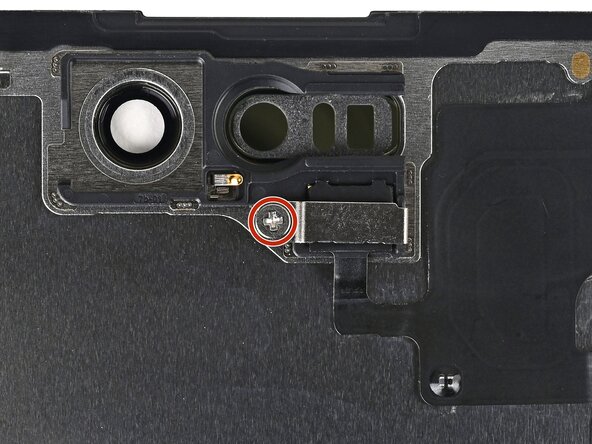
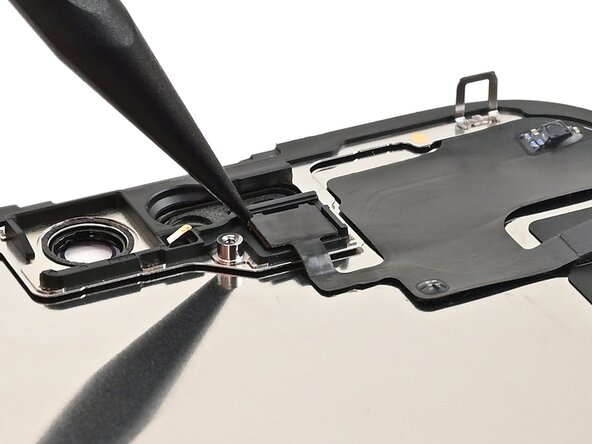
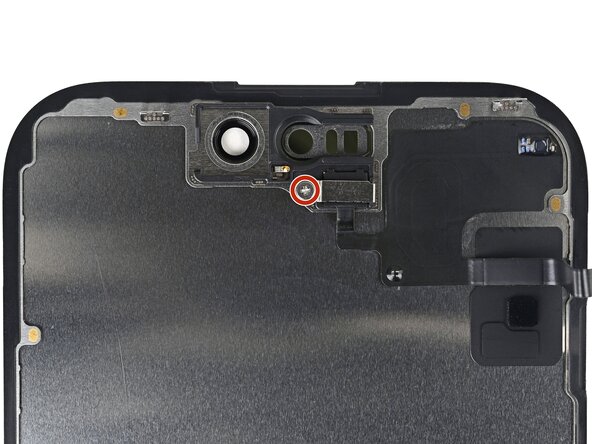
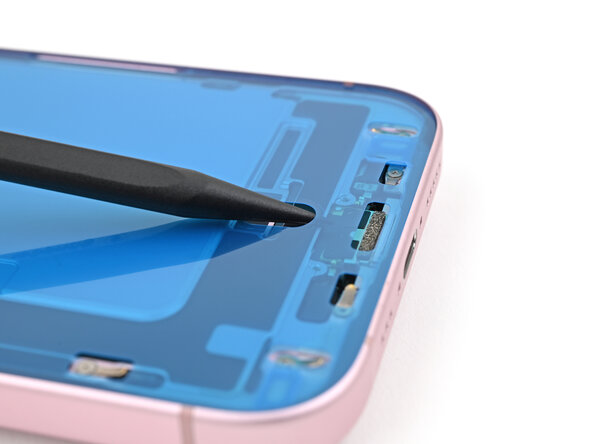
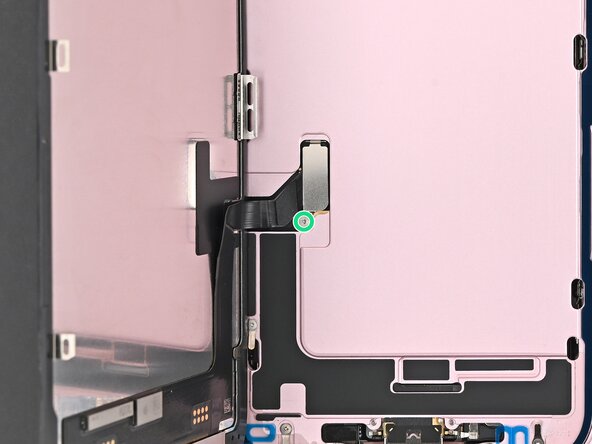
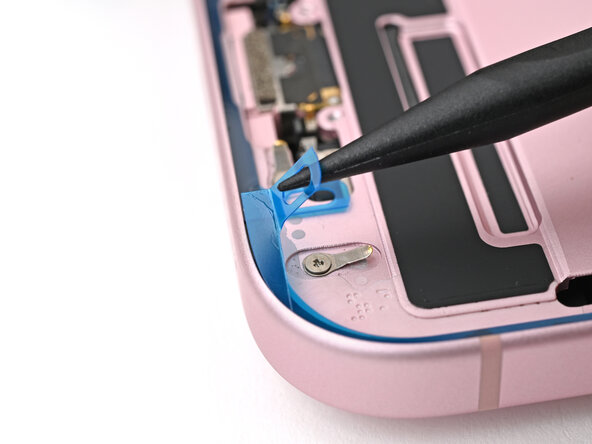
Use a Phillips screwdriver to remove the 1.3 mm‑long screw securing the ambient light sensor bracket.
-
-
-
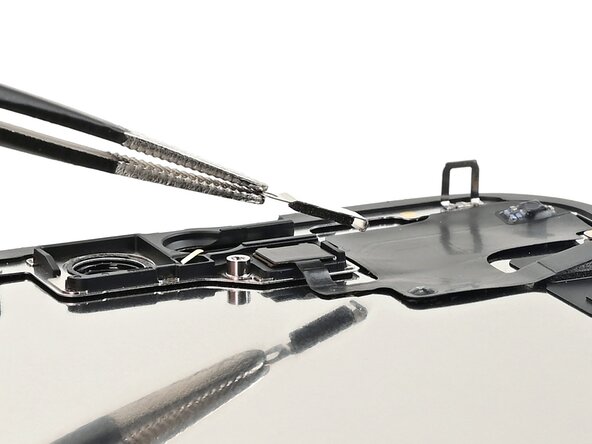
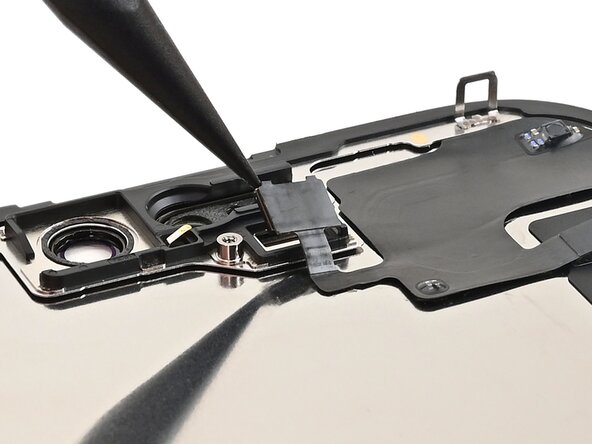
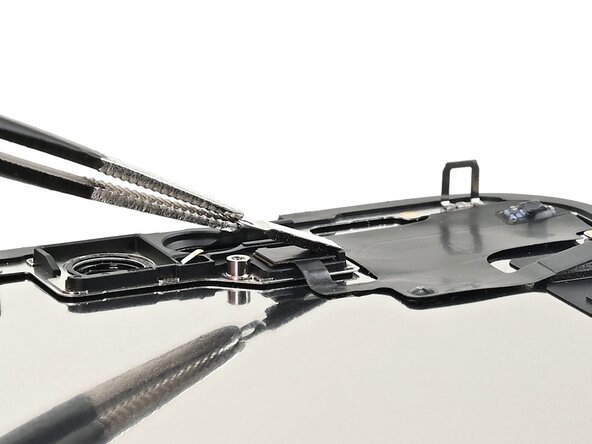
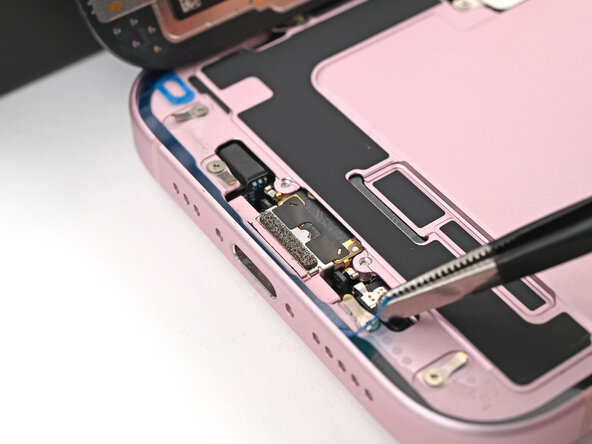
Use a pair of tweezers or your fingers to lift and remove the ambient light sensor bracket.
-
-
-
Use a hair dryer, heat gun, or heated iOpener to soften the adhesive under the ambient light sensor and ambient light sensor cable.
-
-
-
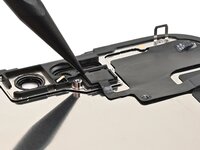
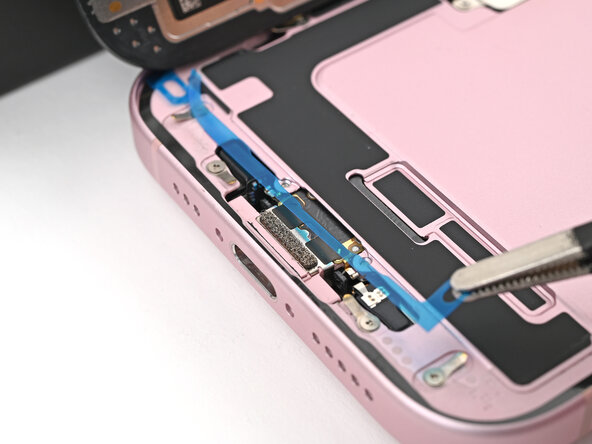
Use a spudger to pry up the ambient light sensor.
-
-
-
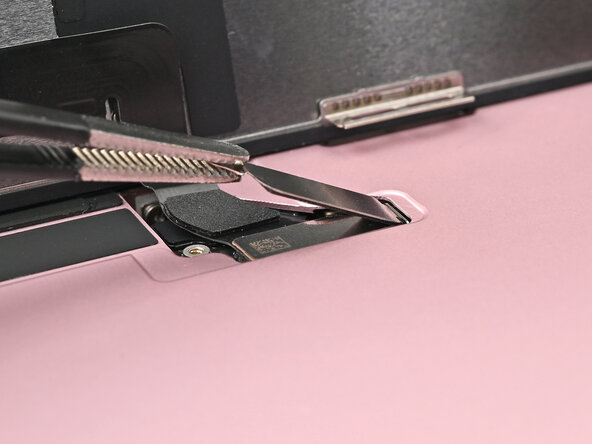
Gently slide an opening pick under the ambient light sensor cable, starting near the sensor and moving towards to the opposite corner until it's free from the screen.
-
-
-
Use a pair of tweezers to lift the ambient light sensor off of the screen.
-
-
Инструмент, используемый на этом этапе:Tesa 61395 Tape$2.99
-
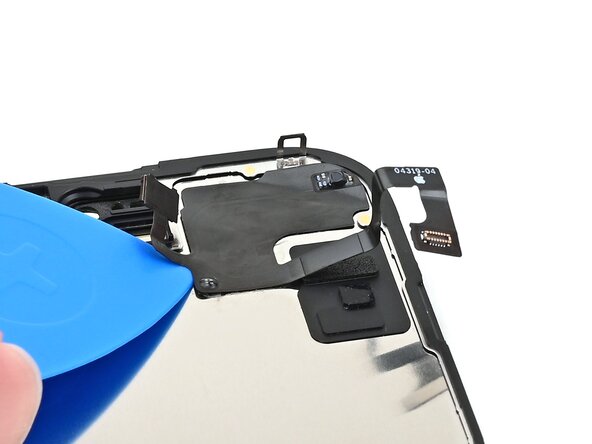
Use tweezers to reposition any adhesive that may have covered the ambient light sensor during removal. The adhesive should form a border around the raised white rectangle.
-
If the adhesive was damaged or stayed with the old screen, replace it with a 1 mm wide strip of thin, double-sided tape along its bottom border.
-
-
-
Align the ambient light sensor with its recess in the back of the screen.
-
Use a spudger or your finger to press the ambient light sensor into its recess.
-
-
-
Use a hair dryer, heat gun, or heated iOpener to soften the adhesive under the ambient light sensor and ambient light sensor cable. It only needs to be warm—not hot.
-
-
Инструмент, используемый на этом этапе:Tesa 61395 Tape$2.99
-
Use your finger to press down the ambient light sensor cable.
-
-
-
-
Use tweezers or your fingers to hook the ambient light sensor bracket over the back of the sensor and set it into place.
-
-
-
Use a Phillips screwdriver to install the 1.3 mm‑long screw securing the ambient light sensor bracket.
-
-
-
Lay the adhesive next to the phone and use features like cutouts for spring contacts and the front‑facing camera to make sure the adhesive is oriented correctly.
-
-
-
Use the pull tab to begin peeling the back liner off of the adhesive starting from the bottom, but do not remove the liner all the way.
-
While holding the back liner out of the way, carefully align the exposed edge of the adhesive to the bottom edge of the iPhone's frame.
-
-
-
When the adhesive is aligned, use the flat end of a spudger, or your finger, to press it down firmly along the bottom edge.
-
-
-
Continue peeling the back liner off of the adhesive while pressing the adhesive into place along the edges of the iPhone's frame.
-
-
-
Make sure the liner is aligned properly by checking that all spring contacts and the front-facing camera are in their cutouts. If they aren't, remove the adhesive and start over with a new sheet.
-
Use the flat end of a spudger to press the adhesive firmly into place all around the iPhone.
-
-
-
Insert the point of a spudger under the top liner's hole at the bottom of the frame.
-
Pry up to separate the liner from the frame—enough to grip it with your fingers.
-
-
-
Prop the screen up along the left edge of the iPhone frame, using a box or similar sturdy object to support the screen.
-
-
-
Use the flat end of a spudger or your finger to connect the screen and front sensor press connectors.
-
-
-
Insert the top of the screen connector cover into its slot in the frame and lay it over the press connector.
-
-
-
Insert the front sensor connector cover into its slot in the frame at a 90‑degree angle vertically.
-
Lay the cover over the press connector.
-
-
-
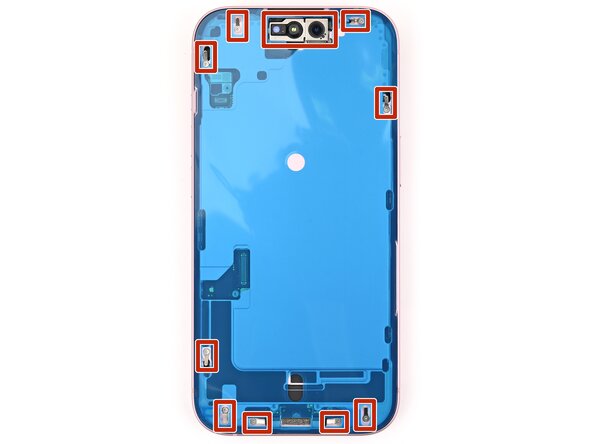
Use a tri-point Y000 driver to install the two 0.9 mm‑long screws securing the front sensor connector and screen connector covers.
-
-
-
Use a spudger, or your fingers, to separate the pull tabs at the bottom right corner of the frame.
-
-
-
Remove the narrow liner covering the adhesive along the right and top edges of the frame.
-
-
-
Without letting the screen touch the adhesive, hold the screen over the phone so you can access the final liner along the left edge of the phone.
-
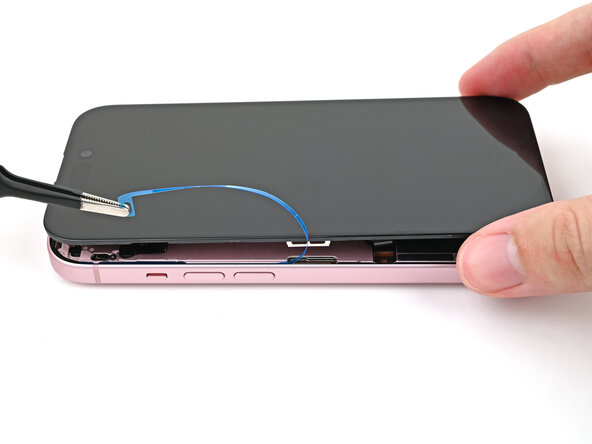
Use a pair of tweezers or your fingers to remove the final liner along the left edge of the phone.
-
-
-
Lay the screen straight down onto the frame and press until the clips engage.
-
Press around the perimeter of the screen to engage all clips.
-
-
-
To help the adhesive bond, apply heat to the edges of the screen using an iOpener, hair dryer, or heat gun until it's hot to the touch.
-
If you have screen vise clamps, use them to strengthen the bond of your new adhesive. If not, keep reading for more ways to secure the screen.
-
-
-
If you have the box your iPhone came in, take the lid and place it on a flat surface.
-
Place your iPhone screen-side-up in the lid of your box with the camera bump in its recess.
-
Find something close to the size of your iPhone, but taller than the sides of the box. Stack it on top of the iPhone, followed by a few heavy objects.
-
Leave the objects in place for at least thirty minutes. The lighter the objects, the longer they should be left. Ideally, leave them stacked overnight.
-
-
-
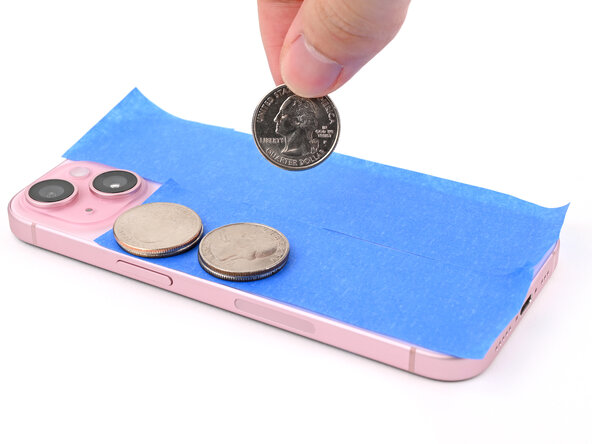
Place the iPhone screen-side-down on a soft, flat surface.
-
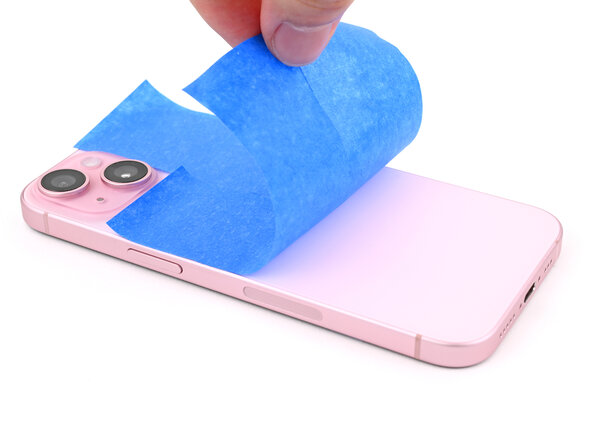
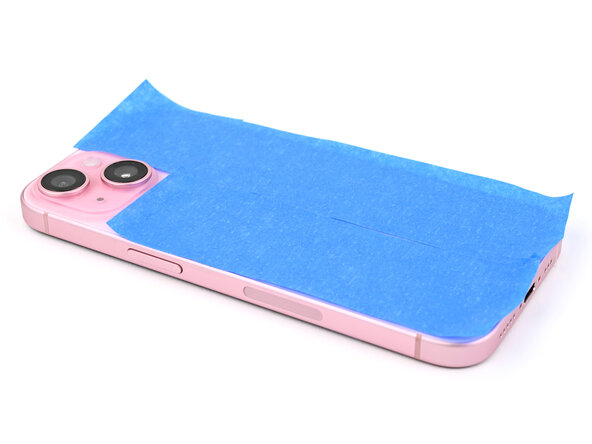
Apply tape to the back glass to protect its finish.
-
-
-
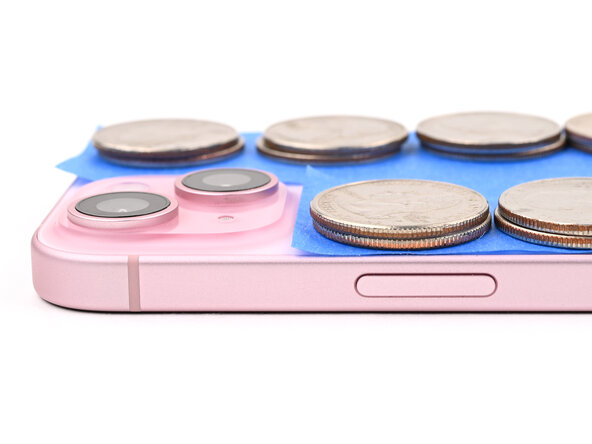
Place evenly spaced layers of coins or similarly thick objects on the tape along the edges of the back glass.
-
Stack them to a consistent height taller than the camera bump.
-
-
-
Stack multiple books or other heavy objects on your iPhone.
-
Leave the objects in place for at least thirty minutes. The lighter the objects, the longer they should be left. Ideally, leave them stacked overnight.
-


To reassemble your device, follow these instructions in reverse order.
