Введение
If the speakers on your tablet are not working to their full capacity and you aren't getting the sound you want (or no sound at all), then you will need to replace your speakers. This guide will show you how to replace them by opening up the device and desoldering the speaker's wire connections.
Выберете то, что вам нужно
-
-
-
To begin, locate the two 4.9mm Phillips #00 screws at the top corners of the case and remove them.
 Спросите у FixBot
-
-
-
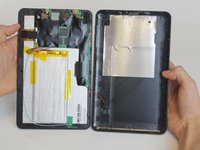
Squeeze the plastic opening tool in between the seam where the screen joins the plastic case.
-
Begin separating the bottom of the case from the screen by carefully going around the whole edge of the case and slowly prying it apart.
-
-
-
Инструмент, используемый на этом этапе:Tweezers$4.99
-
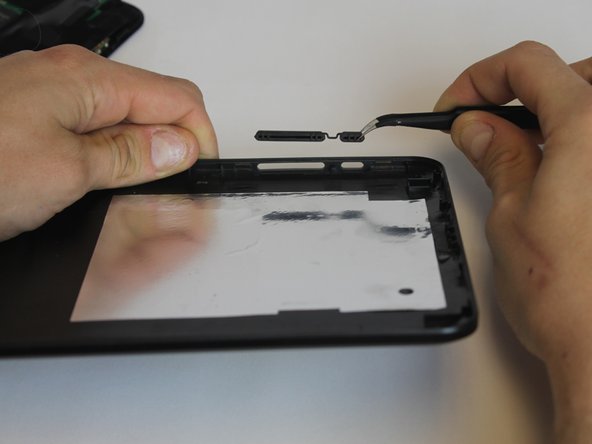
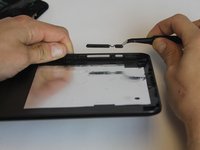
Carefully place the bottom lid next to the screen case. The power/speaker buttons should be visible at the corner of the lid. Remove the buttons with the tweezers.
-
-
-
-
-
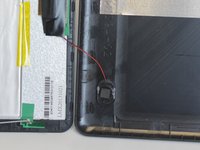
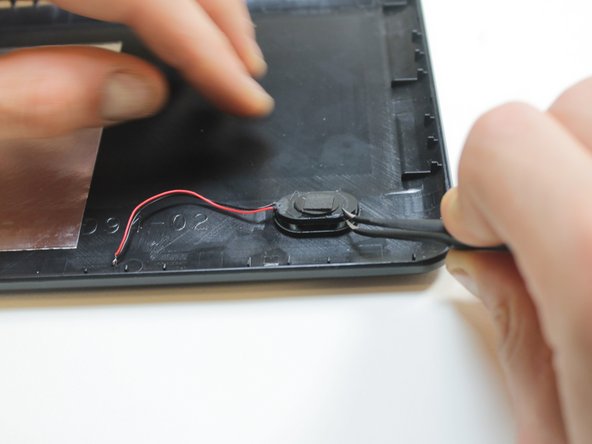
The speaker is attached to the bottom lid with with a small amount of glue and the wires are soldered to the motherboard.
-
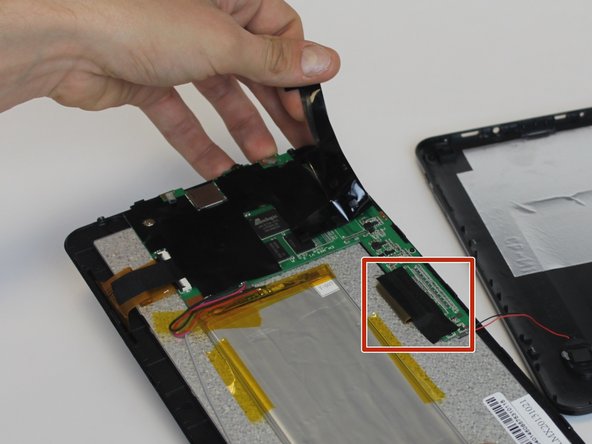
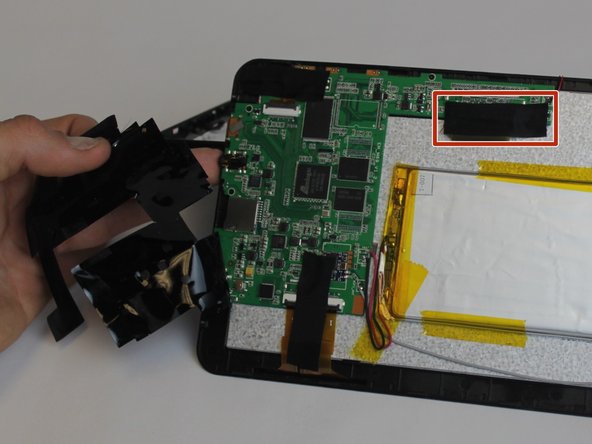
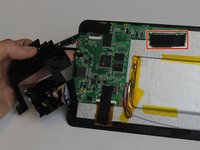
Start by peeling back the black electrical tape covering the motherboard components
-
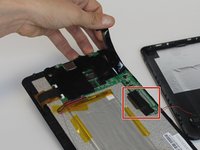
You will also need to remove the black cloth tape covering the wire contact points.
-
-
-
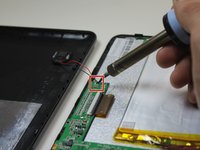
Now that the contacts are exposed, you can desolder them.
-
Touch the hot iron to the contact points and gently pull on the wires to loosen them from the solder. They should release easily.
-
The speaker can now be removed. You may need to pull it with some force since there is a small bead of hot glue holding the speaker to its housing
-
-





To reassemble your device, follow these instructions in reverse order.

Команда

USF Tampa, Team 9-1, Leahy Winter 2015 Участник USF Tampa, Team 9-1, Leahy Winter 2015
USFT-LEAHY-W15S9G1
3 членов
Автор 9 руководств
