Введение
This guide outlines the removal of the RAM for repair or replacement.
Выберете то, что вам нужно
-
-
-
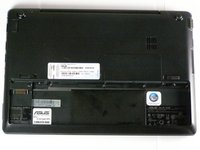
Lay the laptop flat on a hard surface with the bottom facing up and the battery pack on the side closest to you.
 Спросите у FixBot
-
-
-
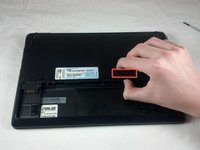
Use both index fingers to push both spring tabs inwards towards the center of the laptop.
-
-
-
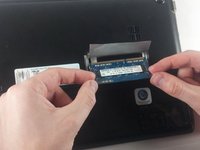
With the spring tabs pressed inward, use your fingernails to lift of the edge of the battery, pivoting it up and towards you.
-
Pull the battery pack up and away from you to completely free it from its recess in the case.
-
-
-
-
-
-
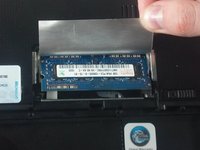
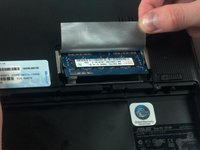
Use your thumb to pry up the exposed edge of the RAM cover. Once this edge is lifted, the cover will come free.
-
With the RAM cover removed, carefully peel back the silver foil that protects the RAM.
-
-
-
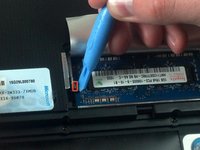
Use the plastic opening tool to push aside the two silver tabs that hold down the RAM module.
-
In order to detach the tabs , use the plastic opening tool to pull the tab slightly toward the battery pack, then push outward away from the RAM module.
-
-
-
Carefully grasping the edges of the RAM module, slowly pull it free from the pin connectors underneath the edge of the foil.
-


To reassemble your device, follow these instructions in reverse order.
Отменить: Я не выполнил это руководство.
Еще один человек закончил это руководство.
Команда

Cal Poly, Team 8-13, Maness Winter 2012 Участник Cal Poly, Team 8-13, Maness Winter 2012
CPSU-MANESS-W12S8G13
4 членов
Автор 11 руководств