Введение
This guide is for battery’s replacement. The guide follows a step-by-step sequence to take out the back panel, unplug cables and replace the batter. The battery type is 6760mAh Li-polymer with 10 hours battery life.
Выберете то, что вам нужно
-
-
-
Unplug the charger and remove any memory card you may have in the device.
-
Wedge the plastic opening tool between the front and back cover on every side.
-
Slide the plastic opening tool back and forth to make sure that the back cover is disconnected.
-
Once disconnected, remove the back cover from the device screen.
 Спросите у FixBot
-
-
Инструмент, используемый на этом этапе:Tweezers$4.99
-
Remove the protective copper sticker and all tape fixed on the device.
-
Using tweezers, remove the ribbon cable from their connections attached to the motherboard.
-
-
-
-
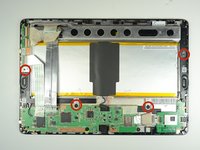
Remove the four 2 mm Phillips #00 screws holding the battery tray in place.
-
-
-
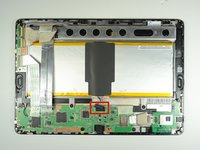
Locate the battery cable attached to the motherboard. Using the same technique used on the ribbons, do the same with the battery.
-
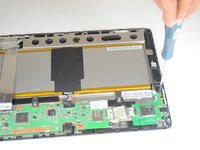
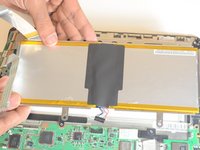
Remove the battery from the device. Once removed, use the plastic tool to separate the metal frame from the battery.
-
-




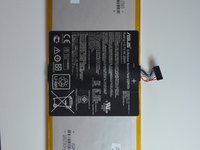
To reassemble your device, follow these instructions in reverse order.
Отменить: Я не выполнил это руководство.
5 человек успешно провели ремонт по этому руководству.

Команда

USF Tampa, Team 9-5, Blackwell Winter 2015 Участник USF Tampa, Team 9-5, Blackwell Winter 2015
USFT-BLACKWELL-W15S9G5
4 членов
Автор 10 руководств
1 Комментарий к руководству
Where i can get new battery for this tablet?
