Перейти к основному содержанию
Присоединяйся к сообществу ремонтников - Создай аккаунт

Alienware 17 R2 Screen Replacement

Выберете то, что вам нужно

    1. Alienware 17 R2  Screen Replacement, Display: шаг 1, изображение 1 из 1
      • Put the laptop on a hard surface.

      • Make sure that the Alienware is not plugged into any power source.

      • First, we need to unplug the battery.

      Спросите у FixBot

      Добавить комментарий

    2. Alienware 17 R2  Screen Replacement: шаг 2, изображение 1 из 2 Alienware 17 R2  Screen Replacement: шаг 2, изображение 2 из 2
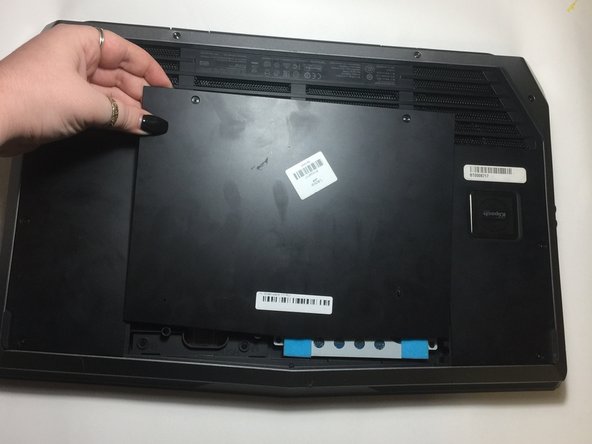
      • To unplug the battery, turn the computer upside down.

      • Remove the two 4mm screws from the plastic covering protecting the inner part of the laptop.

      Спросите у FixBot

      Добавить комментарий

    3. Alienware 17 R2  Screen Replacement: шаг 3, изображение 1 из 2 Alienware 17 R2  Screen Replacement: шаг 3, изображение 2 из 2
      • Gently, pull the cover up and slide it off.

      Спросите у FixBot

      Добавить комментарий

    4. Alienware 17 R2  Screen Replacement: шаг 4, изображение 1 из 3 Alienware 17 R2  Screen Replacement: шаг 4, изображение 2 из 3 Alienware 17 R2  Screen Replacement: шаг 4, изображение 3 из 3
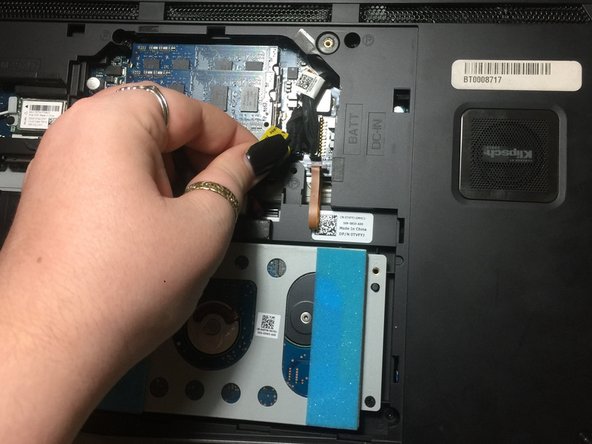
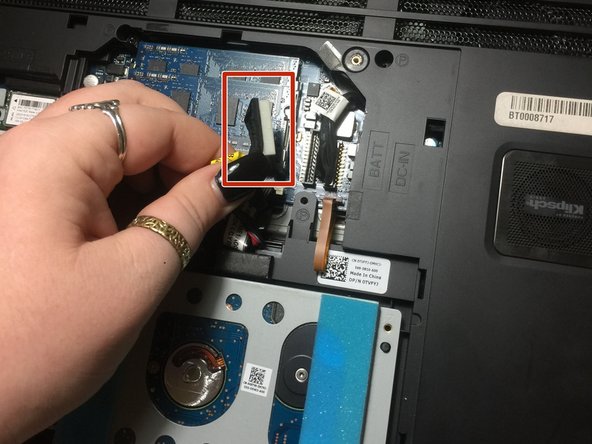
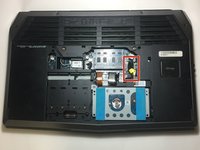
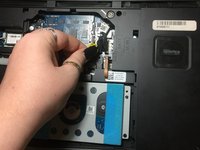
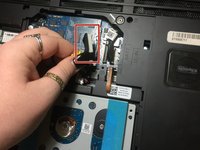
      • Now, you are going to look for a yellow tag.

      • Unplug the black wire that has the yellow tag.

      • This with successfully disconnect your battery.

      Спросите у FixBot

      Добавить комментарий

    5. Alienware 17 R2  Screen Replacement: шаг 5, изображение 1 из 2 Alienware 17 R2  Screen Replacement: шаг 5, изображение 2 из 2
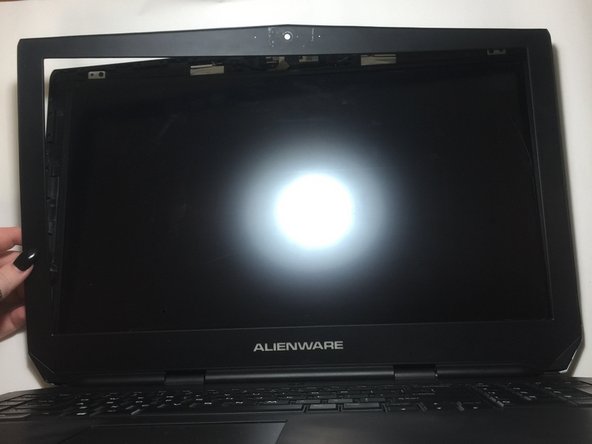
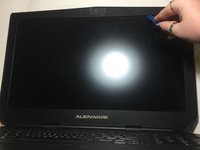
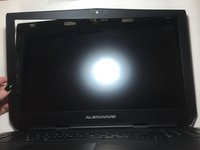
      • Using the plastic opening tool, gently remove the black plastic casing from the LCD screen.

      • Run the opening tool along the inner side of the computer where the screen and the plastic covering meet.

      Спросите у FixBot

      Добавить комментарий

    6. Alienware 17 R2  Screen Replacement: шаг 6, изображение 1 из 1
      • No you will unscrew the 2mm screws on the top and bottom side of the screen.

      Спросите у FixBot

      Добавить комментарий

    7. Alienware 17 R2  Screen Replacement: шаг 7, изображение 1 из 1
      • Tilt the screen forward towards the keyboard.

      • Disconnect the plug that is connecting the screen to the main body.

      Спросите у FixBot

      Добавить комментарий

    8. Alienware 17 R2  Screen Replacement: шаг 8, изображение 1 из 1
      • Gently, lift the display away from the laptop.

      Спросите у FixBot

      Добавить комментарий

Заключение

To reassemble your device, follow these instructions in reverse order.

Отменить: Я не выполнил это руководство.

Luis Garcia

Участник с: 09/20/17

402 Репутация

Автор 4 руководств

Команда

University of North Texas, Team S6-G4, Thomas Fall 2017 Участник University of North Texas, Team S6-G4, Thomas Fall 2017

UNT-THOMAS-F17S6G4

3 членов

Автор 6 руководств

0 Комментарии к руководству

Добавить комментарий

Статистика просмотров:

За последние 24 часов: 0

За последние 7 дней: 16

За последние 30 дней: 38

За всё время: 3,669