Перейти к основному содержанию
Присоединяйся к сообществу ремонтников - Создай аккаунт

Alienware 17 R4 Battery Replacement

Выберете то, что вам нужно

    1. Alienware 17 R4 Battery Replacement, Base Cover: шаг 1, изображение 1 из 1
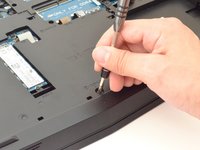
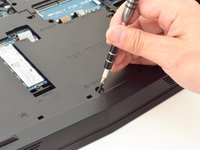
      • Use a PH1 screwdriver bit to remove the six M2.5x13 screws (2.4 mm) on the back of the laptop.

      • Use a PH1 screwdriver bit to loosen the one M2x3 screw (1.9 mm).

      • The M2x3 screw (1.9 mm) does not come out completely.

      Спросите у FixBot

      Добавить комментарий

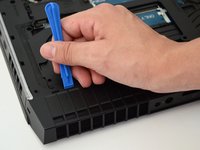
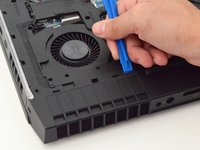
    2. Alienware 17 R4 Battery Replacement: шаг 2, изображение 1 из 2 Alienware 17 R4 Battery Replacement: шаг 2, изображение 2 из 2
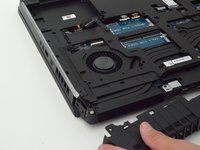
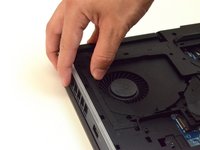
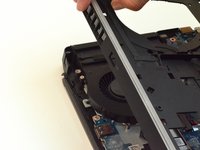
      • Pull the base cover up to remove it.

      • If you are having trouble, insert a plastic opening tool into the divots along the laptop's edges to loosen.

      • Removing the cover may require some force.

      Спросите у FixBot

      Добавить комментарий

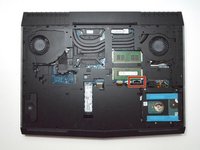
    1. Alienware 17 R4 Battery Replacement, Hard Disk Drive (HDD): шаг 3, изображение 1 из 3 Alienware 17 R4 Battery Replacement, Hard Disk Drive (HDD): шаг 3, изображение 2 из 3 Alienware 17 R4 Battery Replacement, Hard Disk Drive (HDD): шаг 3, изображение 3 из 3
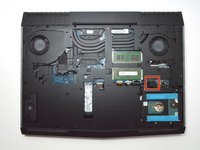
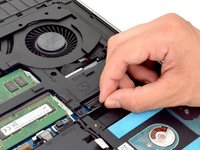
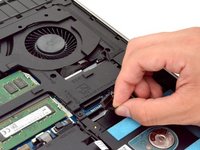
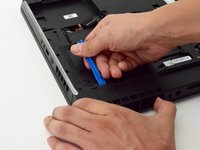
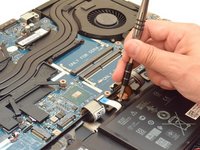
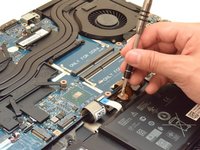
      • Disconnect the battery connector cable, located on the right side of the laptop, above the hard disk drive.

      • Once you have removed the cable, wait 5-10 minutes to allow the laptop to power down.

      • Failure to remove the battery connector cable properly may damage other parts of the laptop.

      Спросите у FixBot

      Добавить комментарий

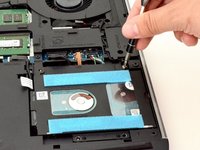
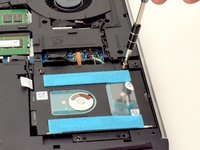
    2. Alienware 17 R4 Battery Replacement: шаг 4, изображение 1 из 3 Alienware 17 R4 Battery Replacement: шаг 4, изображение 2 из 3 Alienware 17 R4 Battery Replacement: шаг 4, изображение 3 из 3
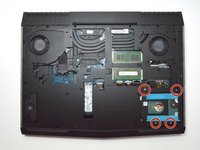
      • Use a PH1 screwdriver bit to remove the four M2.5x5 screws (2.4 mm) on the hard disk drive.

      Спросите у FixBot

      Добавить комментарий

    3. Alienware 17 R4 Battery Replacement: шаг 5, изображение 1 из 3 Alienware 17 R4 Battery Replacement: шаг 5, изображение 2 из 3 Alienware 17 R4 Battery Replacement: шаг 5, изображение 3 из 3
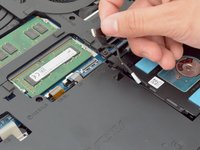
      • Gently lift the HDD cable to disconnect it from the laptop.

      Спросите у FixBot

      Добавить комментарий

    4. Alienware 17 R4 Battery Replacement: шаг 6, изображение 1 из 2 Alienware 17 R4 Battery Replacement: шаг 6, изображение 2 из 2
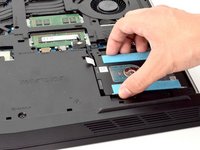
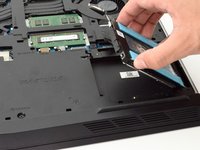
      • Pull the hard drive up to remove.

      Спросите у FixBot

      Добавить комментарий

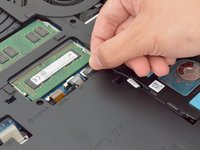
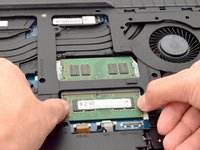
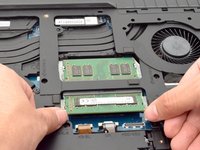
    1. Alienware 17 R4 Battery Replacement, RAM: шаг 7, изображение 1 из 3 Alienware 17 R4 Battery Replacement, RAM: шаг 7, изображение 2 из 3 Alienware 17 R4 Battery Replacement, RAM: шаг 7, изображение 3 из 3
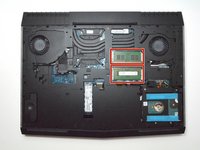
      • Move the metal sidings outward to release the RAM card.

      Спросите у FixBot

      Добавить комментарий

    2. Alienware 17 R4 Battery Replacement: шаг 8, изображение 1 из 1
      • Slide the RAM card out towards yourself to remove it.

      • Repeat the same step for the RAM card above.

      • Slide the RAM card out carefully to avoid damaging it.

      Спросите у FixBot

      Добавить комментарий

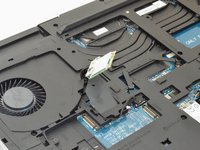
    1. Alienware 17 R4 Battery Replacement, Wi-Fi card: шаг 9, изображение 1 из 1
      • Locate the WI-FI card.

      Спросите у FixBot

      Добавить комментарий

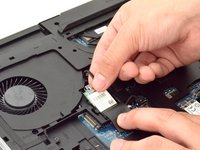
    2. Alienware 17 R4 Battery Replacement: шаг 10, изображение 1 из 2 Alienware 17 R4 Battery Replacement: шаг 10, изображение 2 из 2
      • Peel back plastic cover of wi-fi card.

      • Use a PH1 screwdriver bit and remove the one M2x3 screw (1.9 mm)

      Спросите у FixBot

      Добавить комментарий

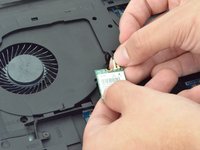
    3. Alienware 17 R4 Battery Replacement: шаг 11, изображение 1 из 3 Alienware 17 R4 Battery Replacement: шаг 11, изображение 2 из 3 Alienware 17 R4 Battery Replacement: шаг 11, изображение 3 из 3
      • Gently undo the clips attached to the wi-fi card.

      • If the clip is not gently removed it is possible that the entire base will be torn off the wi-fi card. You will need to purchase a new wi-fi card if this occurs.

      Спросите у FixBot

      Добавить комментарий

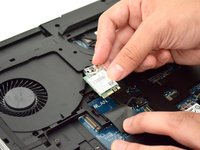
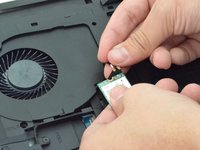
    4. Alienware 17 R4 Battery Replacement: шаг 12, изображение 1 из 2 Alienware 17 R4 Battery Replacement: шаг 12, изображение 2 из 2
      • Locate the cables that connect the wi-fi card.

      • Gently pull upwards to remove cables and slide the wi-fi card out from its slot.

      Спросите у FixBot

      Добавить комментарий

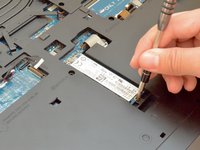
    1. Alienware 17 R4 Battery Replacement, Solid State Drive: шаг 13, изображение 1 из 2 Alienware 17 R4 Battery Replacement, Solid State Drive: шаг 13, изображение 2 из 2
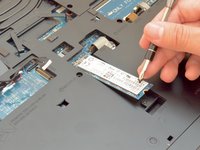
      • Remove the one M2x3 screw (1.9 mm) using a PH1 screwdriver bit

      Спросите у FixBot

      Добавить комментарий

    2. Alienware 17 R4 Battery Replacement: шаг 14, изображение 1 из 2 Alienware 17 R4 Battery Replacement: шаг 14, изображение 2 из 2
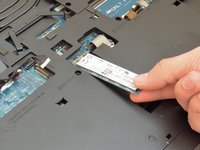
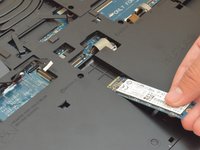
      • Slide the solid state drive towards yourself to prevent damage to the card.

      Спросите у FixBot

      Добавить комментарий

    1. Alienware 17 R4 Battery Replacement, Fan Shroud: шаг 15, изображение 1 из 3 Alienware 17 R4 Battery Replacement, Fan Shroud: шаг 15, изображение 2 из 3 Alienware 17 R4 Battery Replacement, Fan Shroud: шаг 15, изображение 3 из 3
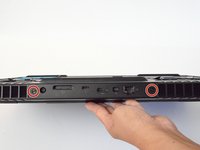
      • Remove the two M2.5x7 screws (2.44 mm) located on the rear panel using a PH1 screwdriver bit.

      Спросите у FixBot

      Добавить комментарий

    2. Alienware 17 R4 Battery Replacement: шаг 16, изображение 1 из 2 Alienware 17 R4 Battery Replacement: шаг 16, изображение 2 из 2
      • Insert the plastic opening tool under the fan shroud to slowly lift it up.

      • Repeat process on the middle and opposite side.

      Спросите у FixBot

      Добавить комментарий

    3. Alienware 17 R4 Battery Replacement: шаг 17, изображение 1 из 2 Alienware 17 R4 Battery Replacement: шаг 17, изображение 2 из 2
      • Firmly lift the plastic opening tool and pull the fan shroud towards you.

      • This will take a large amount of force and will not come out easily the first time.

      • Careful not to tear out the piece causing damage to the fan shroud

      Спросите у FixBot

      Добавить комментарий

    1. Alienware 17 R4 Battery Replacement, Plastic Cover: шаг 18, изображение 1 из 3 Alienware 17 R4 Battery Replacement, Plastic Cover: шаг 18, изображение 2 из 3 Alienware 17 R4 Battery Replacement, Plastic Cover: шаг 18, изображение 3 из 3
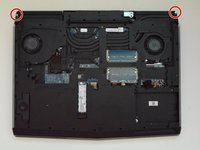
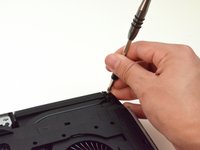
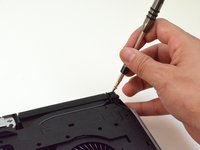
      • Unscrew the two M2x3 screws (1.9 mm) at the top right and top left of the laptop that hold the tron lights in place.

      Спросите у FixBot

      Добавить комментарий

    2. Alienware 17 R4 Battery Replacement: шаг 19, изображение 1 из 2 Alienware 17 R4 Battery Replacement: шаг 19, изображение 2 из 2
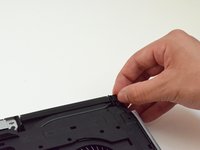
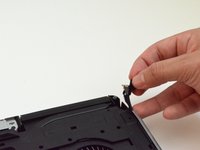
      • Follow the wiring to unplug the tron lights.

      Спросите у FixBot

      Добавить комментарий

    3. Alienware 17 R4 Battery Replacement: шаг 20, изображение 1 из 3 Alienware 17 R4 Battery Replacement: шаг 20, изображение 2 из 3 Alienware 17 R4 Battery Replacement: шаг 20, изображение 3 из 3
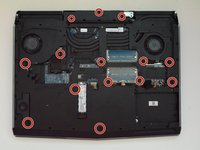
      • Remove the fourteen M2.5XL8' screws (2.4 mm) located in the plastic cover using the PH1 screwdriver.

      Спросите у FixBot

      Добавить комментарий

    4. Alienware 17 R4 Battery Replacement: шаг 21, изображение 1 из 1
      • Use the plastic opening tool to gently lift the sides of the cover.

      Спросите у FixBot

      Добавить комментарий

    5. Alienware 17 R4 Battery Replacement: шаг 22, изображение 1 из 2 Alienware 17 R4 Battery Replacement: шаг 22, изображение 2 из 2
      • Slowly lift up the plastic cover.

      Спросите у FixBot

      Добавить комментарий

    1. Alienware 17 R4 Battery Replacement, Battery: шаг 23, изображение 1 из 3 Alienware 17 R4 Battery Replacement, Battery: шаг 23, изображение 2 из 3 Alienware 17 R4 Battery Replacement, Battery: шаг 23, изображение 3 из 3
      • Unscrew the four M2.5 screws (2.4 mm) with a PH1 screwdriver bit.

      Спросите у FixBot

      Добавить комментарий

    2. Alienware 17 R4 Battery Replacement: шаг 24, изображение 1 из 2 Alienware 17 R4 Battery Replacement: шаг 24, изображение 2 из 2
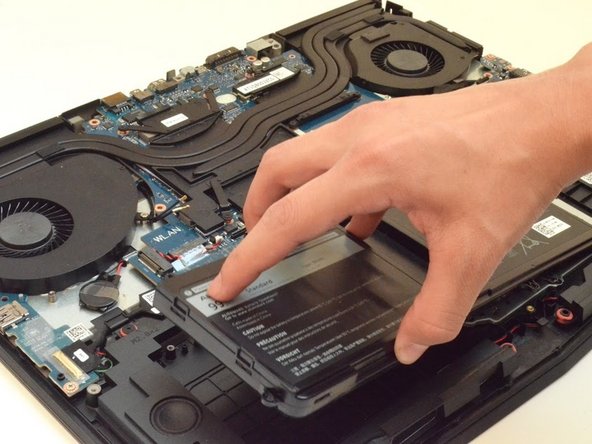
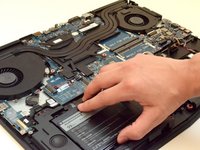
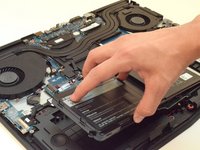
      • Lift the battery up to remove it.

      Спросите у FixBot

      Добавить комментарий

Заключение

To reassemble your device, follow these instructions in reverse order.

Отменить: Я не выполнил это руководство.

32 человек успешно провели ремонт по этому руководству.

Hector Mendez III

Участник с: 09/11/17

1 352 Репутация

Автор 8 руководств

Команда

CSU Fullerton, Team S2-G4, Bruce Fall 2017 Участник CSU Fullerton, Team S2-G4, Bruce Fall 2017

CSUF-BRUCE-F17S2G4

4 членов

Автор 81 руководств

9 Комментарии к руководству

Very good guide, just one error, step 11 comes first then step 10. You can't lift the card before remove the screw.

alex.afnet - Ответить Поделиться
Great guide, no issues at all!

Glenn Bell - Ответить Поделиться
First time I've cracked opened up a computer in decades. This step by step guide gave me the confidence I needed! Thank you so much. It took me longer, about two hours with stopping to label screws and things but everything is up and running again. I'm so happy!

Michelle - Ответить Поделиться
I would not recommend disconnecting the wifi card. the connectors are tiny. if you screw up, best case you need a new wifi card, worst case you are going to need to replace the antenna, and that isn’t fun.

John Wohlwend - Ответить Поделиться

After the battery replacement? do we need to do anything else for calibration so that the Alienware knows that it is a fresh battery and battery cycle ... as i have heard that you need to repeat 3X the process of discharging and charging for calibration. or can we just plug and play? I am getting a new battery for mine soon. Thanks =)

Yannick Docq - Ответить Поделиться

Добавить комментарий

Статистика просмотров:

За последние 24 часов: 9

За последние 7 дней: 53

За последние 30 дней: 245

За всё время: 39,729