Перейти к основному содержанию
Присоединяйся к сообществу ремонтников - Создай аккаунт

Alienware M14xR2 Optical Drive Replacement

Выберете то, что вам нужно

    1. Alienware M14xR2 Optical Drive Replacement, Battery: шаг 1, изображение 1 из 1
      • Turn the computer off.

      • Disconnect the charging cable from the computer.

      • Failure to unplug the charging cable could result in electric shock and serious injury.

      • Flip the computer upside down.

      Спросите у FixBot

      Добавить комментарий

    2. Alienware M14xR2 Optical Drive Replacement: шаг 2, изображение 1 из 3 Alienware M14xR2 Optical Drive Replacement: шаг 2, изображение 2 из 3 Alienware M14xR2 Optical Drive Replacement: шаг 2, изображение 3 из 3
      • Loosen the two 6.35 mm size 1 Phillips screws on the back cover.

      • The two screws are spring loaded and will not separate from the cover.

      • Slide the back cover towards you and then lift upwards to remove.

      Спросите у FixBot

      Добавить комментарий

    3. Alienware M14xR2 Optical Drive Replacement: шаг 3, изображение 1 из 1
      • Loosen the two 6.35 mm size 1 Philips screws attaching the battery to the laptop.

      • The two screws are clipped into the battery and will not detach.

      Спросите у FixBot

      Добавить комментарий

    4. Alienware M14xR2 Optical Drive Replacement: шаг 4, изображение 1 из 3 Alienware M14xR2 Optical Drive Replacement: шаг 4, изображение 2 из 3 Alienware M14xR2 Optical Drive Replacement: шаг 4, изображение 3 из 3
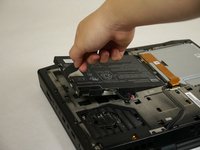
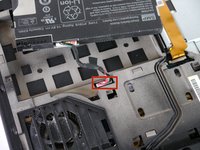
      • Pull up on the black tab on the battery to reveal the connection between the battery and laptop.

      • Pull up on the white connector to disconnect it from the laptop.

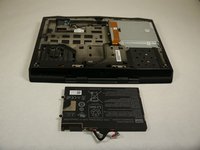
      • The battery is now free to remove from the laptop and can be set aside.

      Спросите у FixBot

      Добавить комментарий

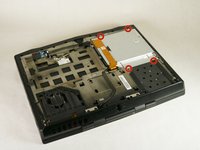
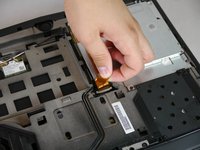
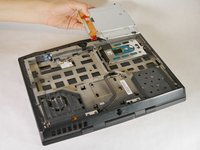
    1. Alienware M14xR2 Optical Drive Replacement, Optical Drive: шаг 5, изображение 1 из 3 Alienware M14xR2 Optical Drive Replacement, Optical Drive: шаг 5, изображение 2 из 3 Alienware M14xR2 Optical Drive Replacement, Optical Drive: шаг 5, изображение 3 из 3
      • Unscrew the four 6.35 mm size 1 screws.

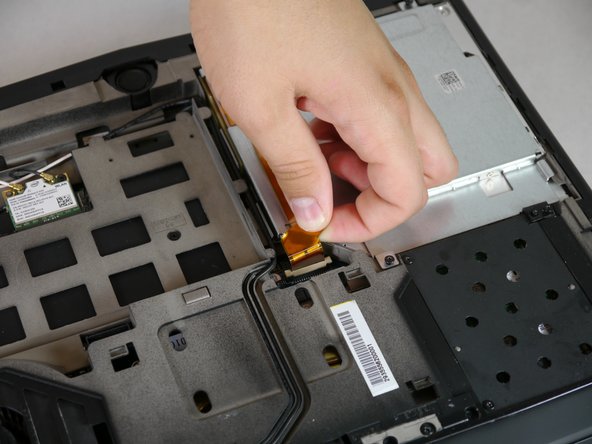
      • Pull up on the end of the orange tab to detach it from the white connector.

      • Lift the optical drive up and out of the laptop and set it aside.

      Спросите у FixBot

      Добавить комментарий

Заключение

To reassemble your device, follow these instructions in reverse order.

Отменить: Я не выполнил это руководство.

Еще один человек закончил это руководство.

Jordan Ramsey

Участник с: 09/30/13

402 Репутация

1 руководство автора

Команда

Cal Poly, Team 13-4, Forte Fall 2013 Участник Cal Poly, Team 13-4, Forte Fall 2013

CPSU-FORTE-F13S13G4

5 членов

Автор 6 руководств

0 Комментарии к руководству

Добавить комментарий

Статистика просмотров:

За последние 24 часов: 4

За последние 7 дней: 5

За последние 30 дней: 37

За всё время: 3,228