Перейти к основному содержанию
Присоединяйся к сообществу ремонтников - Создай аккаунт

Alienware M15x Memory Modules Replacement

Выберете то, что вам нужно

    1. Alienware M15x Memory Modules Replacement, Turn the Computer: шаг 1, изображение 1 из 1
      • WARNING: Before working inside your computer, read the safety information that shipped with your computer.

      • Turn the computer over.

      Спросите у FixBot

      Добавить комментарий

    2. Alienware M15x Memory Modules Replacement, Sliding the Battery: шаг 2, изображение 1 из 1
      • Slide the battery latch to the unlock position as shown.

      Спросите у FixBot
      Добавить комментарий

    3. Alienware M15x Memory Modules Replacement, Removing the Battery Pack: шаг 3, изображение 1 из 1
      • After the Battery Pack pops up, remove the Battery Pack.

      Спросите у FixBot
      Добавить комментарий

    4. Alienware M15x Memory Modules Replacement, Aligning the Battery Pack Tabs: шаг 4, изображение 1 из 1
      • Align the battery pack tabs with the slots in the battery bay.

      Спросите у FixBot

      Добавить комментарий

    5. Alienware M15x Memory Modules Replacement, Pushing the Battery Pack: шаг 5, изображение 1 из 1
      • Push the NEW battery pack into the battery bay until the battery pack clicks into place.

      Спросите у FixBot

      Добавить комментарий

    1. Alienware M15x Memory Modules Replacement, Loosen the Screws: шаг 6, изображение 1 из 1
      • WARNING: Before working inside your computer, read the safety information that shipped with your computer.

      • CAUTION: To avoid electrostatic discharge, ground yourself by using a wrist grounding strap or by periodically touching an unpainted metal surface (such as a connector on the back of the computer).

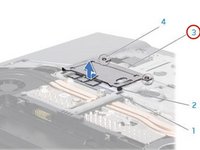
      • Loosen the two captive screws that secure the memory-module door to the computer base.

      Спросите у FixBot
      Добавить комментарий

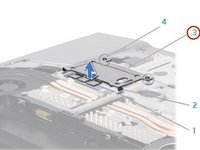
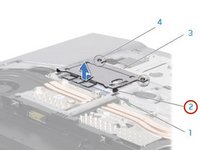
    2. Alienware M15x Memory Modules Replacement, Lifting the Memory Module Door: шаг 7, изображение 1 из 2 Alienware M15x Memory Modules Replacement, Lifting the Memory Module Door: шаг 7, изображение 2 из 2
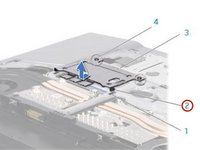
      • Slide the memory-module door to release the tabs and lift the memory-module door out of the computer base.

      Спросите у FixBot
      Добавить комментарий

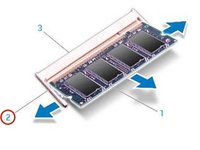
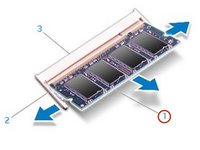
    3. Alienware M15x Memory Modules Replacement, Popping up the Memory Module: шаг 8, изображение 1 из 2 Alienware M15x Memory Modules Replacement, Popping up the Memory Module: шаг 8, изображение 2 из 2
      • CAUTION: If you need to remove memory modules from both connectors, remove the memory module in the upper connector before you remove the module in the lower connector.

      • CAUTION: To prevent damage to the memory module connector(s), do not use tools to spread the memory module spring-locks.

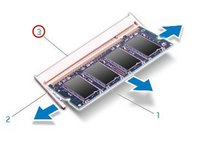
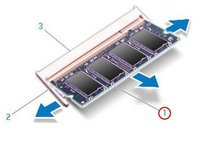
      • Use your fingertips to carefully spread apart the spring-locks on the memory-module connector until the memory module pops up.

      Спросите у FixBot

      Добавить комментарий

    4. Alienware M15x Memory Modules Replacement, Remove the Memory Module: шаг 9, изображение 1 из 1
      • Remove the memory module.

      Спросите у FixBot

      Добавить комментарий

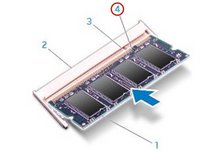
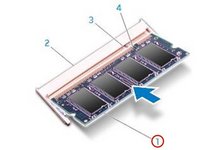
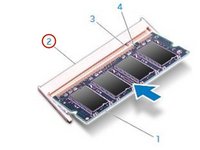
    5. Alienware M15x Memory Modules Replacement, Align the Notch: шаг 10, изображение 1 из 3 Alienware M15x Memory Modules Replacement, Align the Notch: шаг 10, изображение 2 из 3 Alienware M15x Memory Modules Replacement, Align the Notch: шаг 10, изображение 3 из 3
      • Align the notch on the NEW memory module with the tab on the memory-module connector.

      Спросите у FixBot

      Добавить комментарий

    6. Alienware M15x Memory Modules Replacement, Insert the Module: шаг 11, изображение 1 из 2 Alienware M15x Memory Modules Replacement, Insert the Module: шаг 11, изображение 2 из 2
      • Insert the module into the memory-module connector at a 45-degree angle, and press the memory module down until it clicks into place. If you do not hear the click, remove the module and reinstall it.

      Спросите у FixBot

      Добавить комментарий

    7. Alienware M15x Memory Modules Replacement, Align and Insert the Memory Module Tabs: шаг 12, изображение 1 из 2 Alienware M15x Memory Modules Replacement, Align and Insert the Memory Module Tabs: шаг 12, изображение 2 из 2
      • CAUTION: If the memory-module door is difficult to close, remove the memory module and reinstall it. Forcing the memory-module door to close may damage your computer.

      • NOTE: If the memory module is not installed properly, the computer may not boot.

      • Align and insert the memory-module door tabs into the slots on the computer base.

      Спросите у FixBot

      Добавить комментарий

    8. Alienware M15x Memory Modules Replacement, Replacing and Tightening the Screws: шаг 13, изображение 1 из 1
      • Replace and tighten the two captive screws that secure the memory-module door to the computer base.

      Спросите у FixBot

      Добавить комментарий

Заключение

To reassemble your device, follow these instructions in reverse order.

Отменить: Я не выполнил это руководство.

Terrence15

Участник с: 12/18/17

80 125 Репутация

Автор 441 руководств

Команда

RampUP America, Inc. Участник RampUP America, Inc.

Community

45 членов

Автор 8 881 руководств

0 Комментарии к руководству

Добавить комментарий

Статистика просмотров:

За последние 24 часов: 0

За последние 7 дней: 12

За последние 30 дней: 37

За всё время: 645