Перейти к основному содержанию
Присоединяйся к сообществу ремонтников - Создай аккаунт

Amazon Echo LED/Microphone Board Replacement

Выберете то, что вам нужно

    1. Amazon Echo LED/Microphone Board Replacement, Power and Speaker Driver Board: шаг 1, изображение 1 из 1
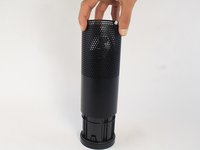
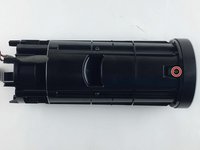
      • Power off and unplug your Echo before disassembly. Failure to do so could result in injury or damage to the device.

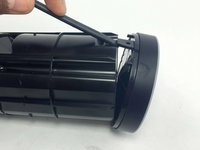
      • Peel off the rubber footing from the bottom of the Echo.

      • Do not pull the rubber footing too hard, as it could stretch out of shape. Use a spudger to help remove the foot if you have any trouble.

      Спросите у FixBot

      Добавить комментарий

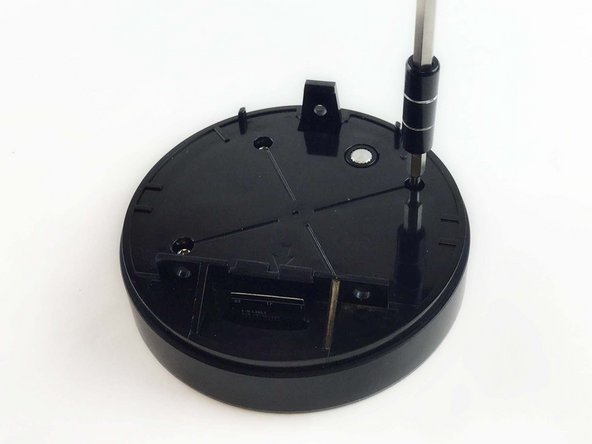
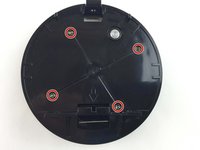
    2. Amazon Echo LED/Microphone Board Replacement: шаг 2, изображение 1 из 3 Amazon Echo LED/Microphone Board Replacement: шаг 2, изображение 2 из 3 Amazon Echo LED/Microphone Board Replacement: шаг 2, изображение 3 из 3
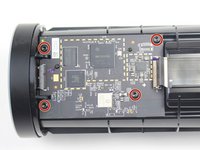
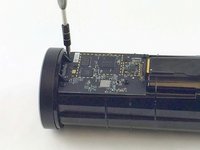
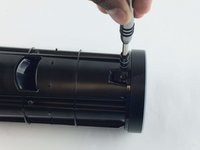
      • Remove the four 42.8 mm T10 Torx screws from the bottom of the Echo.

      Спросите у FixBot

      Добавить комментарий

    3. Amazon Echo LED/Microphone Board Replacement: шаг 3, изображение 1 из 1
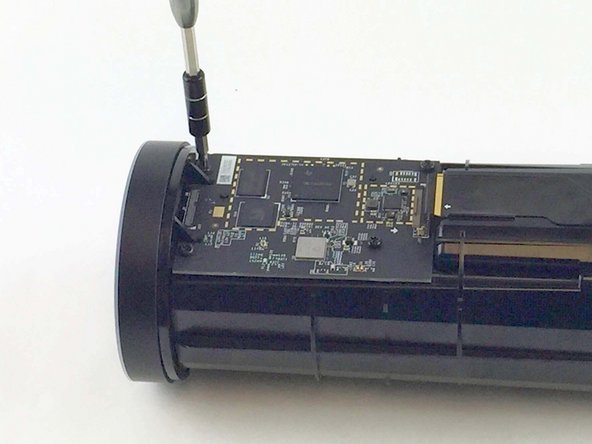
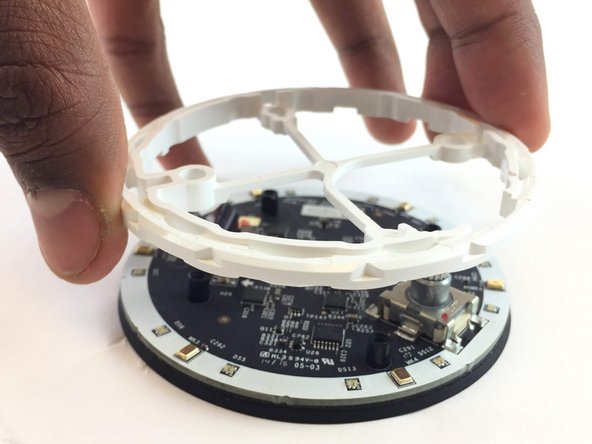
      • Slowly lift the plate containing the board. Be careful not to disconnect any of the wires.

      Спросите у FixBot

      Добавить комментарий

    4. Amazon Echo LED/Microphone Board Replacement: шаг 4, изображение 1 из 1
      Инструмент, используемый на этом этапе:
      Tweezers
      $4.99
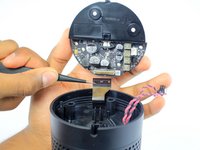
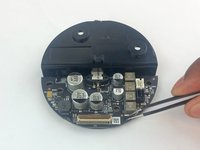
      • Using tweezers, carefully disconnect the two red and black cables from their sockets on the board.

      • Tugging on the wires may damage the device. Pull from the plastic connectors instead.

      Спросите у FixBot

      Добавить комментарий

    5. Amazon Echo LED/Microphone Board Replacement: шаг 5, изображение 1 из 2 Amazon Echo LED/Microphone Board Replacement: шаг 5, изображение 2 из 2
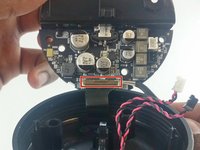
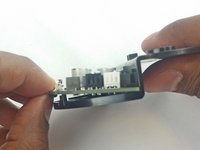
      • Lift the brown plastic latch on the ZIF connector securing the driver board ribbon cable.

      • Pull the ribbon cable from its connector. The plate and board should now be free from the Echo.

      Спросите у FixBot

      Добавить комментарий

    6. Amazon Echo LED/Microphone Board Replacement: шаг 6, изображение 1 из 3 Amazon Echo LED/Microphone Board Replacement: шаг 6, изображение 2 из 3 Amazon Echo LED/Microphone Board Replacement: шаг 6, изображение 3 из 3
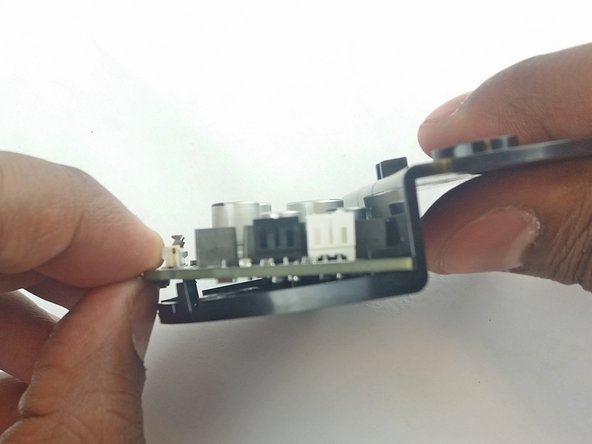
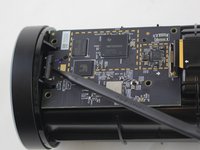
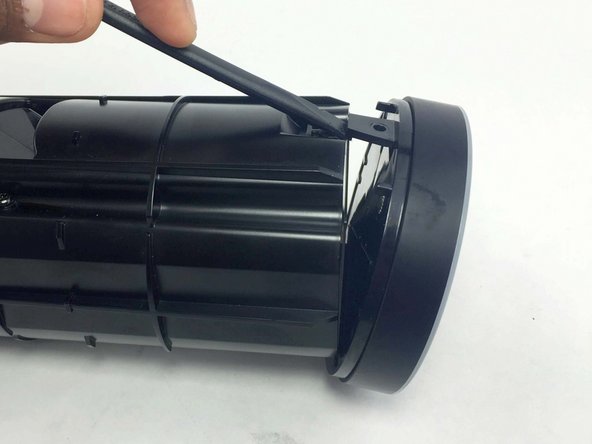
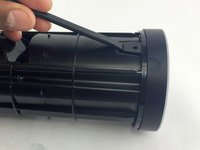
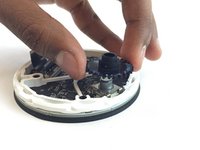
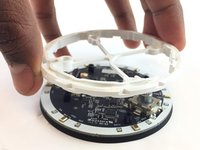
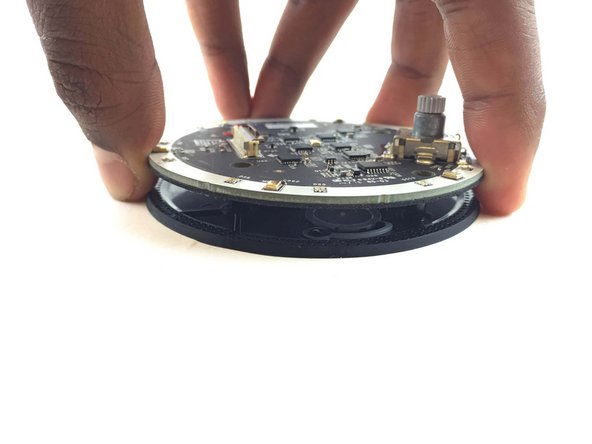
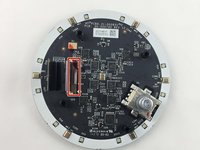
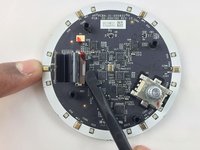
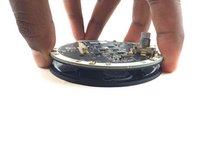
      • Using the spudger, pull back the two plastic clips on the plate.

      • Lift the board up and pull it away from the plate.

      Спросите у FixBot

      Добавить комментарий

    1. Amazon Echo LED/Microphone Board Replacement, Motherboard: шаг 7, изображение 1 из 2 Amazon Echo LED/Microphone Board Replacement, Motherboard: шаг 7, изображение 2 из 2
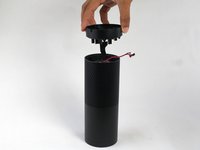
      • Remove the plastic plate from the bottom of the device. Then remove the plastic shrouding.

      Спросите у FixBot

      Добавить комментарий

    2. Amazon Echo LED/Microphone Board Replacement: шаг 8, изображение 1 из 1
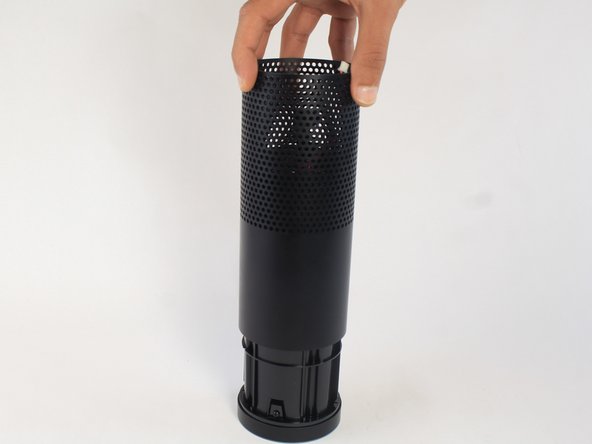
      • Peel off the black fabric wrapped around the device.

      • Be careful not to rip the fabric. Use a spudger to help remove the adhesive if you have any trouble.

      Спросите у FixBot

      Добавить комментарий

    3. Amazon Echo LED/Microphone Board Replacement: шаг 9, изображение 1 из 2 Amazon Echo LED/Microphone Board Replacement: шаг 9, изображение 2 из 2
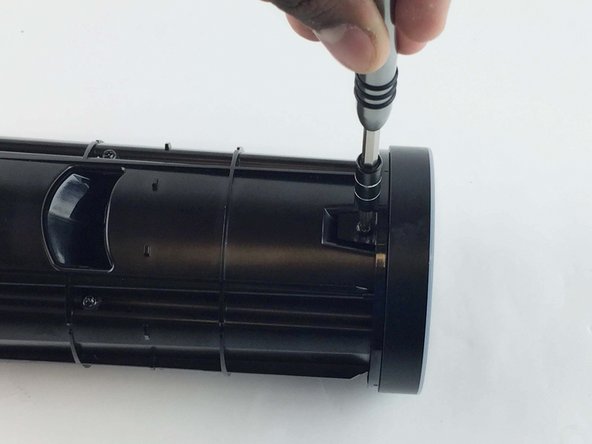
      • Remove the four 9.7 mm T10 screws.

      Спросите у FixBot

      Добавить комментарий

    4. Amazon Echo LED/Microphone Board Replacement: шаг 10, изображение 1 из 3 Amazon Echo LED/Microphone Board Replacement: шаг 10, изображение 2 из 3 Amazon Echo LED/Microphone Board Replacement: шаг 10, изображение 3 из 3
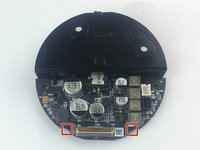
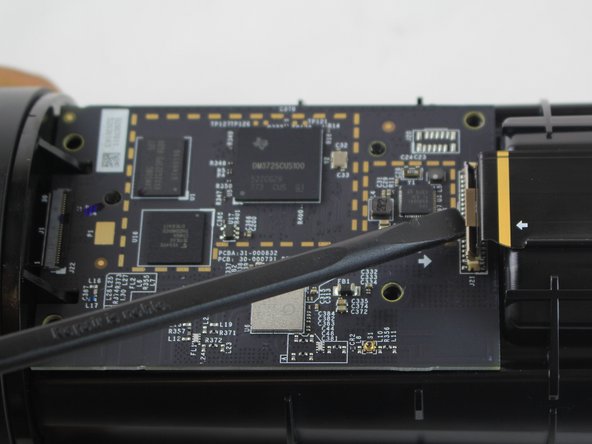
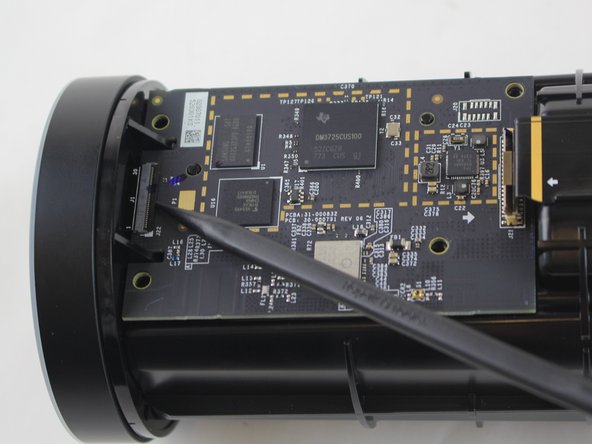
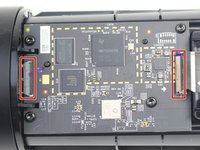
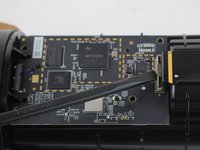
      • Lift the brown and black plastic latches securing the ZIF connectors at each end of the motherboard.

      • Pull the two ribbon cables from their connectors on the motherboard.

      Спросите у FixBot

      Добавить комментарий

    5. Amazon Echo LED/Microphone Board Replacement: шаг 11, изображение 1 из 1
      • Lift the motherboard up from the Echo.

      Спросите у FixBot

      Добавить комментарий

    1. Amazon Echo LED/Microphone Board Replacement, LED/Microphone Board: шаг 12, изображение 1 из 2 Amazon Echo LED/Microphone Board Replacement, LED/Microphone Board: шаг 12, изображение 2 из 2
      • Remove the 9.7 mm T10 Torx screw from the opposite side of the Echo.

      Спросите у FixBot

      Добавить комментарий

    2. Amazon Echo LED/Microphone Board Replacement: шаг 13, изображение 1 из 2 Amazon Echo LED/Microphone Board Replacement: шаг 13, изображение 2 из 2
      • Unclip and remove the top volume ring assembly from the Echo.

      Спросите у FixBot

      Добавить комментарий

    3. Amazon Echo LED/Microphone Board Replacement: шаг 14, изображение 1 из 2 Amazon Echo LED/Microphone Board Replacement: шаг 14, изображение 2 из 2
      • Unscrew the four 9.7 mm T9 torx screws from the bottom of the volume ring assembly.

      Спросите у FixBot

      Добавить комментарий

    4. Amazon Echo LED/Microphone Board Replacement: шаг 15, изображение 1 из 1
      • Turn the assembly over and lift up the plate with the buttons.

      Спросите у FixBot

      Добавить комментарий

    5. Amazon Echo LED/Microphone Board Replacement: шаг 16, изображение 1 из 2 Amazon Echo LED/Microphone Board Replacement: шаг 16, изображение 2 из 2
      • Turn the plate over, then lift and remove black gear and the white plastic ring.

      Спросите у FixBot

      Добавить комментарий

    6. Amazon Echo LED/Microphone Board Replacement: шаг 17, изображение 1 из 3 Amazon Echo LED/Microphone Board Replacement: шаг 17, изображение 2 из 3 Amazon Echo LED/Microphone Board Replacement: шаг 17, изображение 3 из 3
      • Remove the ribbon cable by lifting the brown latch on the ZIF connector.

      • Lift the LED/Microphone board from the plate.

      Спросите у FixBot

      Добавить комментарий

Заключение

To reassemble your device, follow these instructions in reverse order.

Отменить: Я не выполнил это руководство.

6 человек успешно провели ремонт по этому руководству.

Alexander Albert

Участник с: 02/04/16

1 169 Репутация

Автор 6 руководств

Команда

USF Tampa, Team 3-3, Wollert Spring 2016 Участник USF Tampa, Team 3-3, Wollert Spring 2016

USFT-WOLLERT-S16S3G3

4 членов

Автор 25 руководств

2 Комментарии к руководству

So in Step 15, I’m having a problem reassembling the Plate with buttons back into the volume ring… can someone give me any tricks/pointers please?

JaxyB - Ответить Поделиться
Where can i buy this LED/Microphone board for replacement?

Tuan Nguyen - Ответить Поделиться
Добавить комментарий

Статистика просмотров:

За последние 24 часов: 1

За последние 7 дней: 10

За последние 30 дней: 82

За всё время: 15,716