Перейти к основному содержанию
Присоединяйся к сообществу ремонтников - Создай аккаунт

Amazon Fire Phone Display Replacement

Выберете то, что вам нужно

    1. Amazon Fire Phone Display Replacement, Tape the screen: шаг 1, изображение 1 из 1
      • If the display is damaged, use clear packing tape to contain any glass shards.

      • Make sure the entire surface of the display is covered with tape.

      • Wear safety glasses to protect your eyes.

      Спросите у FixBot
      Добавить комментарий

    2. Amazon Fire Phone Display Replacement, Power off, remove SIM card, remove screws: шаг 2, изображение 1 из 3 Amazon Fire Phone Display Replacement, Power off, remove SIM card, remove screws: шаг 2, изображение 2 из 3 Amazon Fire Phone Display Replacement, Power off, remove SIM card, remove screws: шаг 2, изображение 3 из 3
      • Power off your phone.

      • Remove the SIM card from the left side of the phone by pressing the small hole and allowing it to eject using the 0.8 screwdriver head.

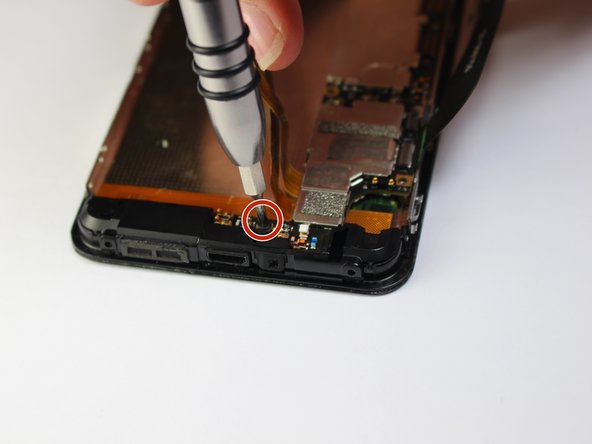
      • Remove the two 4mm screws on the bottom of the phone using the Torx T3 screwdriver.

      Спросите у FixBot
      Добавить комментарий

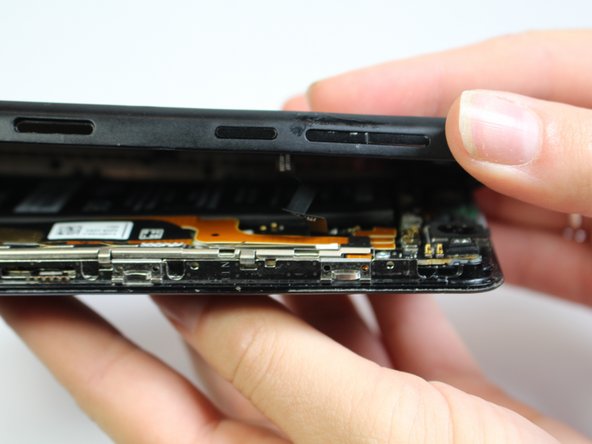
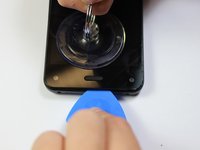
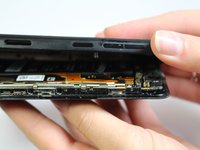
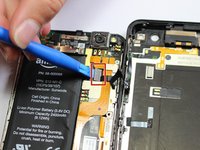
    3. Amazon Fire Phone Display Replacement: шаг 3, изображение 1 из 3 Amazon Fire Phone Display Replacement: шаг 3, изображение 2 из 3 Amazon Fire Phone Display Replacement: шаг 3, изображение 3 из 3
      • Press the small suction cup just above the home button.

      • While lifting up on the suction cup insert an opening pick into the crevice between the screen and back casing to pry the screen off carefully.

      • Carefully separate the two halves to avoid tearing the volume rocker ribbon cable.

      • Using the opening tool, disconnect the volume rocker ribbon cable from the base of the phone freeing the two halves of the phone.

      Спросите у FixBot
      Добавить комментарий

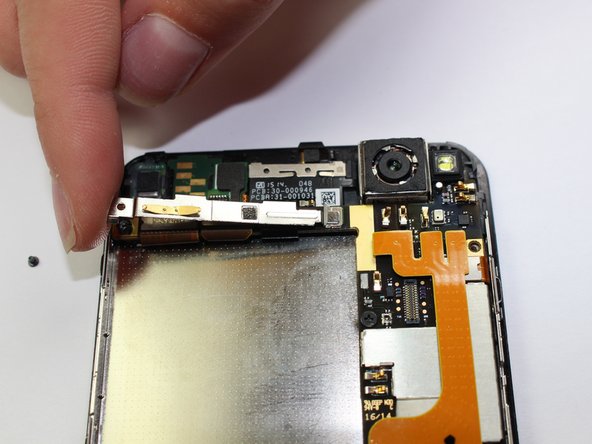
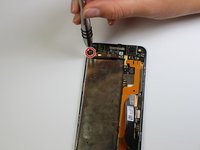
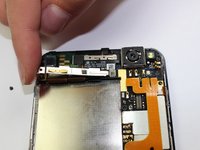
    4. Amazon Fire Phone Display Replacement, Remove Bracket: шаг 4, изображение 1 из 1
      • Using the J000 screwdriver head, remove the three 3mm screws holding the bracket in place.

      • Remove the silver bracket that was held into place by the three screws just removed.

      Спросите у FixBot

      Добавить комментарий

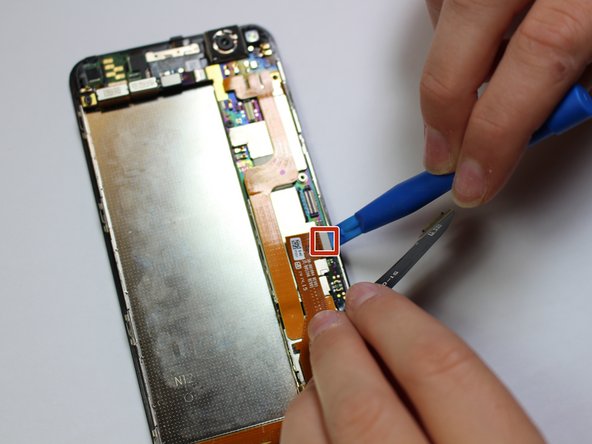
    5. Amazon Fire Phone Display Replacement, Disconnect Battery: шаг 5, изображение 1 из 1
      • Disconnect the battery connection cable by using the plastic opening tool and applying light pressure upwards on the cable.

      Спросите у FixBot

      Добавить комментарий

    1. Amazon Fire Phone Display Replacement, Micro-USB Port: шаг 6, изображение 1 из 2 Amazon Fire Phone Display Replacement, Micro-USB Port: шаг 6, изображение 2 из 2
      • Unscrew the 1mm screw on the top left side of the phone

      • Maneuver the bracket off slowly

      Спросите у FixBot

      Добавить комментарий

    2. Amazon Fire Phone Display Replacement: шаг 7, изображение 1 из 3 Amazon Fire Phone Display Replacement: шаг 7, изображение 2 из 3 Amazon Fire Phone Display Replacement: шаг 7, изображение 3 из 3
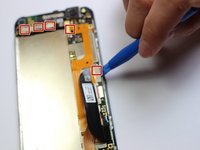
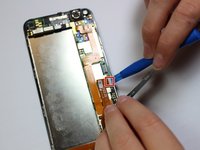
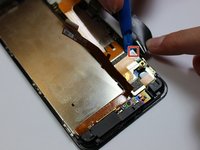
      • Disconnect the 9 cables along the top and right side of motherboard using the plastic opening tool

      Спросите у FixBot
      Добавить комментарий

    3. Amazon Fire Phone Display Replacement: шаг 8, изображение 1 из 1
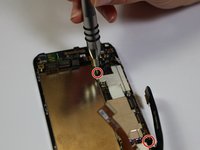
      • Unscrew the 3mm screw located on the top left side of the phone with a flat head

      Спросите у FixBot
      Добавить комментарий

    4. Amazon Fire Phone Display Replacement: шаг 9, изображение 1 из 3 Amazon Fire Phone Display Replacement: шаг 9, изображение 2 из 3 Amazon Fire Phone Display Replacement: шаг 9, изображение 3 из 3
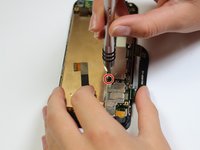
      • Unscrew the four 2mm screws along the right side of the motherboard with a philips head

      Спросите у FixBot
      Добавить комментарий

    5. Amazon Fire Phone Display Replacement: шаг 10, изображение 1 из 2 Amazon Fire Phone Display Replacement: шаг 10, изображение 2 из 2
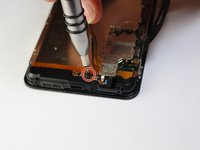
      • Carefully lift up the motherboard and using the spudger pry camera from the camera holder

      Спросите у FixBot
      Добавить комментарий

    6. Amazon Fire Phone Display Replacement: шаг 11, изображение 1 из 1
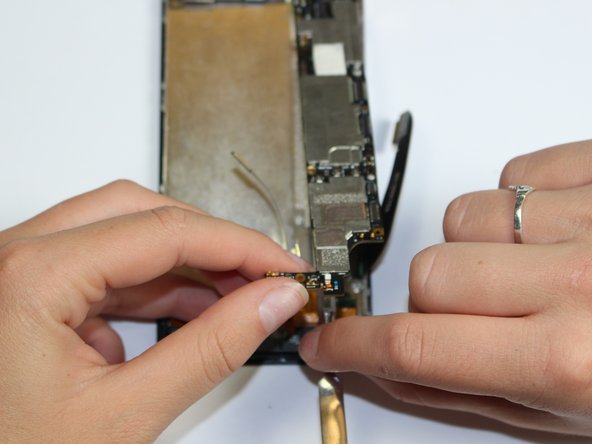
      • Lift off bottom plastic piece with flat antenna cables

      Спросите у FixBot

      Добавить комментарий

    1. Amazon Fire Phone Display Replacement, Display: шаг 12, изображение 1 из 1
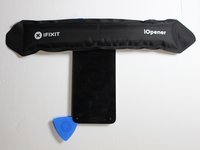
      • We recommend you clean your microwave before preceding to heat up the iOpener.

      • Place the iOpener in the center of the microwave.

      • Heat the iOpener for thirty seconds.

      • Be careful not to overheat the iOpener and always wait at least three minutes before reheating the iOpener

      Спросите у FixBot
      Добавить комментарий

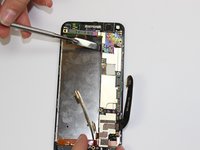
    2. Amazon Fire Phone Display Replacement: шаг 13, изображение 1 из 1
      • Lay the iOpener on side 1 of the phone for 90 seconds before attempting to open the front panel

      Спросите у FixBot
      Добавить комментарий

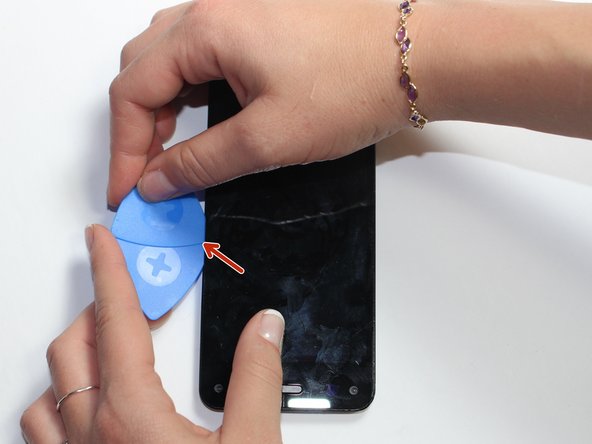
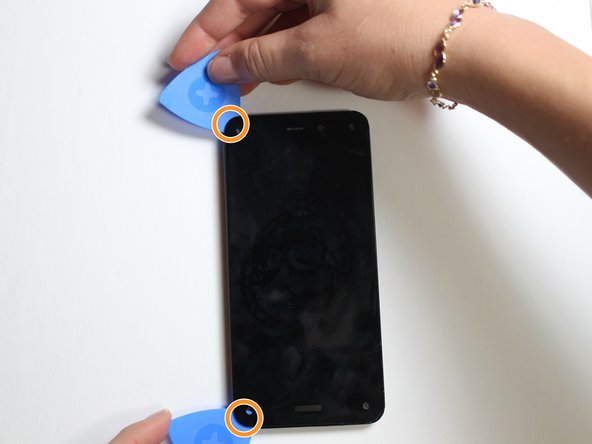
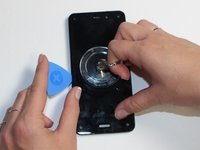
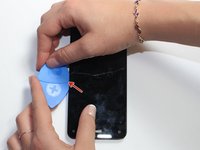
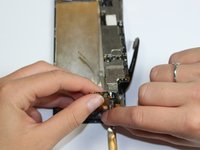
    3. Amazon Fire Phone Display Replacement: шаг 14, изображение 1 из 3 Amazon Fire Phone Display Replacement: шаг 14, изображение 2 из 3 Amazon Fire Phone Display Replacement: шаг 14, изображение 3 из 3
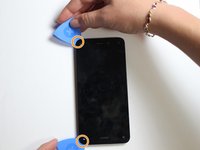
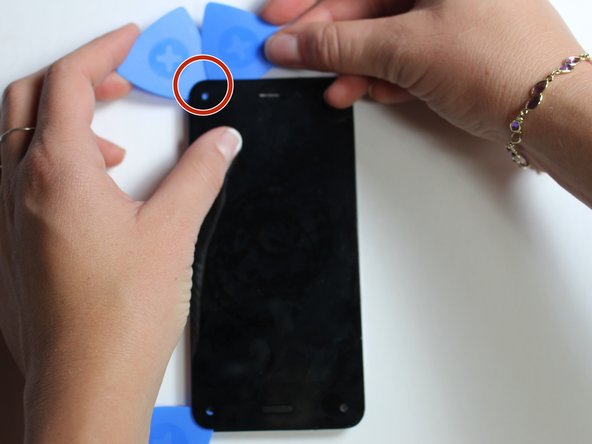
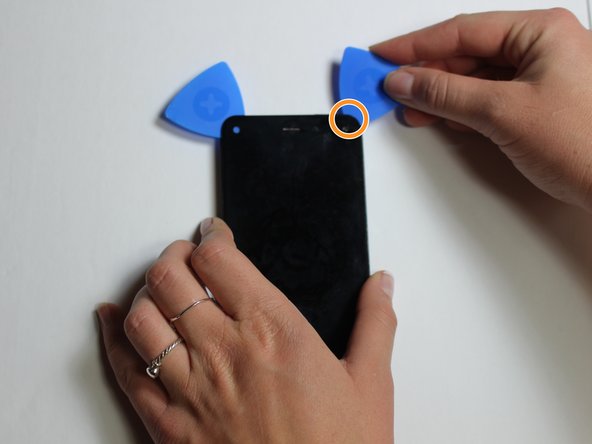
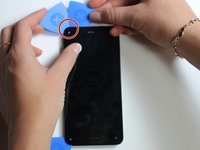
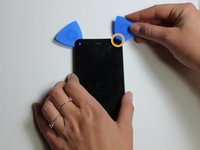
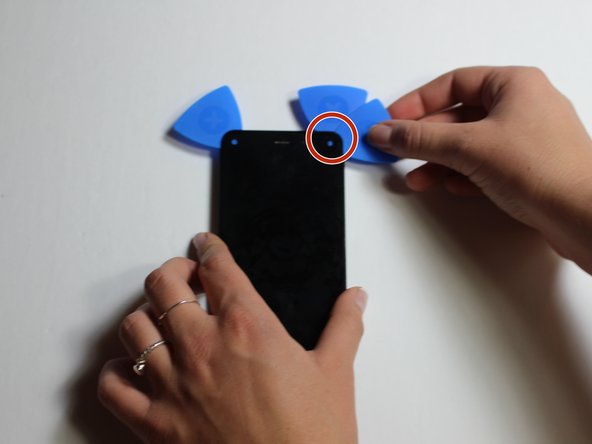
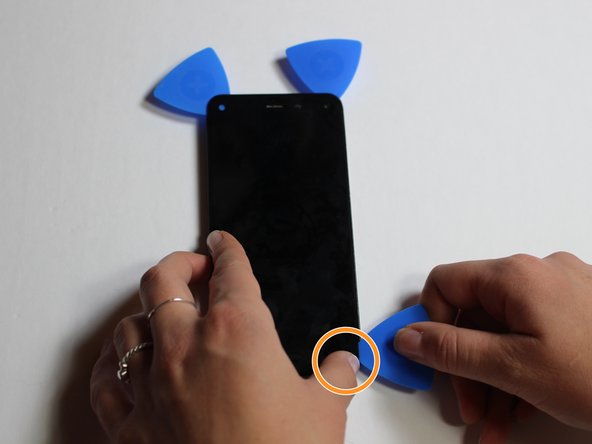
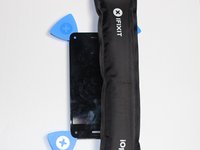
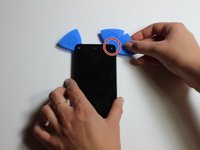
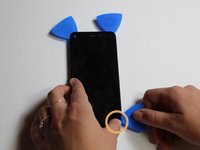
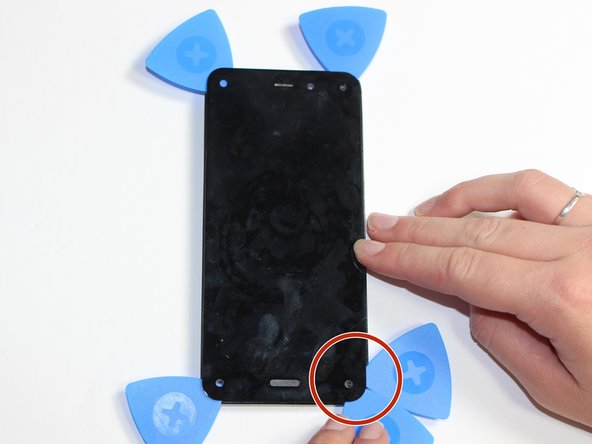
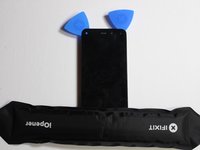
      • Using the Suction Cup to slightly lift the screen, pry one opening pick into side of the phone.

      • Insert another opening pick next to the first one.

      • Slowly slide the two Picks to the corners of the phone.

      Спросите у FixBot
      Добавить комментарий

    4. Amazon Fire Phone Display Replacement: шаг 15, изображение 1 из 3 Amazon Fire Phone Display Replacement: шаг 15, изображение 2 из 3 Amazon Fire Phone Display Replacement: шаг 15, изображение 3 из 3
      • Place the iOpener on side 2 of the phone for 90 seconds.

      • Insert another pick into side 2 of the phone.

      • Slowly slide the pick to the next corner.

      • If necessary, reheat the iOpener. Don't reheat it more than once every 3 minutes.

      Спросите у FixBot

      Добавить комментарий

    5. Amazon Fire Phone Display Replacement: шаг 16, изображение 1 из 3 Amazon Fire Phone Display Replacement: шаг 16, изображение 2 из 3 Amazon Fire Phone Display Replacement: шаг 16, изображение 3 из 3
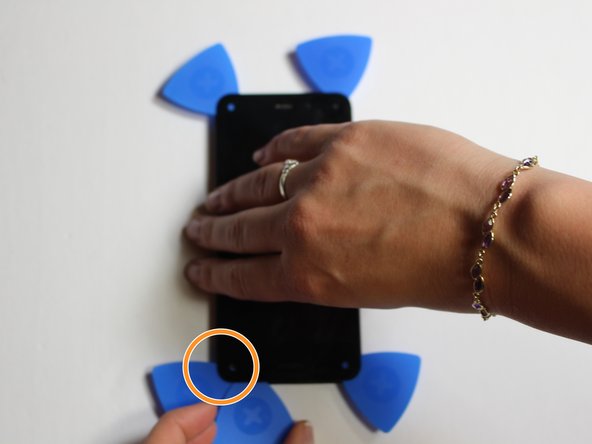
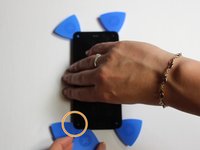
      • Place the iOpener on the 3rd side of the phone for 90 seconds.

      • Place a pick in the corner of the phone.

      • Slowly slide the the pick to the opposite corner of the phone.

      Спросите у FixBot

      Добавить комментарий

    6. Amazon Fire Phone Display Replacement: шаг 17, изображение 1 из 3 Amazon Fire Phone Display Replacement: шаг 17, изображение 2 из 3 Amazon Fire Phone Display Replacement: шаг 17, изображение 3 из 3
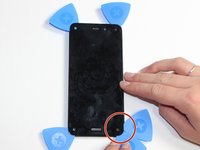
      • Place the iOpener on the last edge of the phone for 90 seconds.

      • Place the pick in the corner.

      • Slowly slide the pick to the opposite corner.

      Спросите у FixBot

      Добавить комментарий

    7. Amazon Fire Phone Display Replacement: шаг 18, изображение 1 из 1
      • Carefully separate the screen from the front panel of the phone by inserting the picks farther towards the center and pulling the screen off.

      • Slowly and carefully do this to avoid breaking, bending or shattering the screen.

      • If part of the screen isn't easily coming off try reheating the iOpener and placing it on the problem area.

      Спросите у FixBot

      Добавить комментарий

    8. Amazon Fire Phone Display Replacement: шаг 19, изображение 1 из 1
      • Remove the screen slowly.

      • Pull the cable out of the hole carefully.

      Спросите у FixBot

      Добавить комментарий

Заключение

To reassemble your device, follow these instructions in reverse order.

Отменить: Я не выполнил это руководство.

5 человек успешно провели ремонт по этому руководству.

Lissandra Ilcyn

Участник с: 10/05/15

889 Репутация

Автор 2 руководств

Команда

Cal Poly, Team 5-7, Maness Fall 2015 Участник Cal Poly, Team 5-7, Maness Fall 2015

CPSU-MANESS-F15S5G7

5 членов

Автор 35 руководств

1 Комментарий к руководству

how to replace touch?

coolsaad2010 - Ответить Поделиться

Добавить комментарий

Статистика просмотров:

За последние 24 часов: 1

За последние 7 дней: 20

За последние 30 дней: 65

За всё время: 6,041