Перейти к основному содержанию
Присоединяйся к сообществу ремонтников - Создай аккаунт

Anker 2.4G Wireless Mouse DPI button Replacement

Выберете то, что вам нужно

  1. Anker 2.4G Wireless Mouse DPI button Replacement, DPI button: шаг 1, изображение 1 из 1
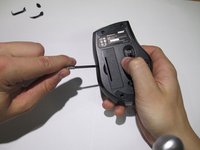
    • Use screwdriver to pry off the stickers marked in red to reveal the location of the 4 screws.

    Спросите у FixBot

    Добавить комментарий

  2. Anker 2.4G Wireless Mouse DPI button Replacement: шаг 2, изображение 1 из 1
    • Remove the 4 screws to continue.

    Спросите у FixBot

    Добавить комментарий

  3. Anker 2.4G Wireless Mouse DPI button Replacement: шаг 3, изображение 1 из 2 Anker 2.4G Wireless Mouse DPI button Replacement: шаг 3, изображение 2 из 2
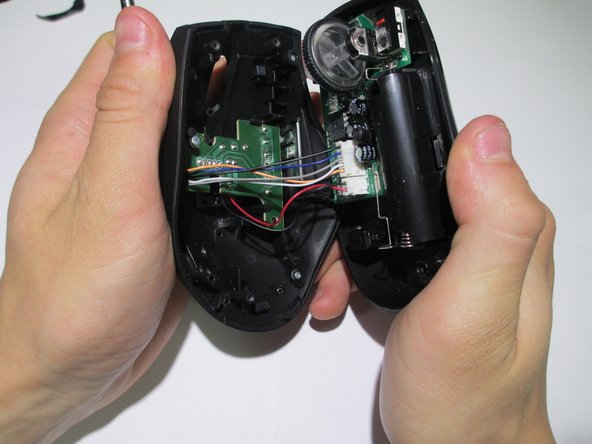
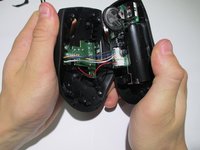
    • Pry the center of the mouse apart to separate the upper and lower housing of the boards.

    Спросите у FixBot

    Добавить комментарий

  4. Anker 2.4G Wireless Mouse DPI button Replacement: шаг 4, изображение 1 из 1
    • Remove the wires from the white crimp headers. this will separate the upper and lower housing units of the mouse.

    • Pull as far up on the wire as possible, being as careful as possible to avoid ripping the wires.

    Спросите у FixBot

    Добавить комментарий

  5. Anker 2.4G Wireless Mouse DPI button Replacement: шаг 5, изображение 1 из 2 Anker 2.4G Wireless Mouse DPI button Replacement: шаг 5, изображение 2 из 2
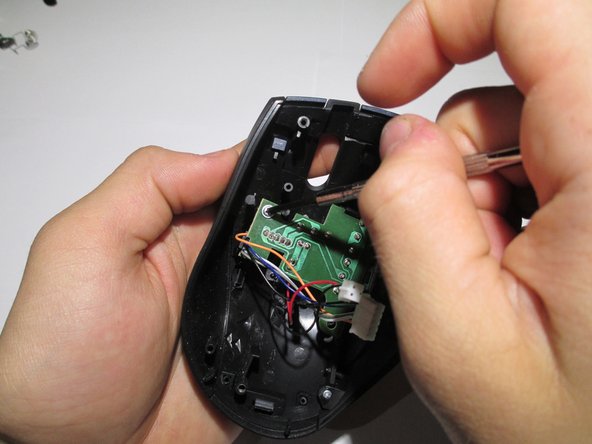
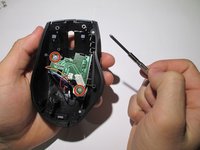
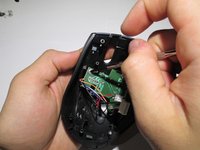
    • Take the upper housing of the mouse and begin to remove the two screws (highlighted in red) that hold the board in place.

    Спросите у FixBot

    Добавить комментарий

  6. Anker 2.4G Wireless Mouse DPI button Replacement: шаг 6, изображение 1 из 1
    • Gently remove board.

    Спросите у FixBot

    Добавить комментарий

  7. Anker 2.4G Wireless Mouse DPI button Replacement: шаг 7, изображение 1 из 2 Anker 2.4G Wireless Mouse DPI button Replacement: шаг 7, изображение 2 из 2
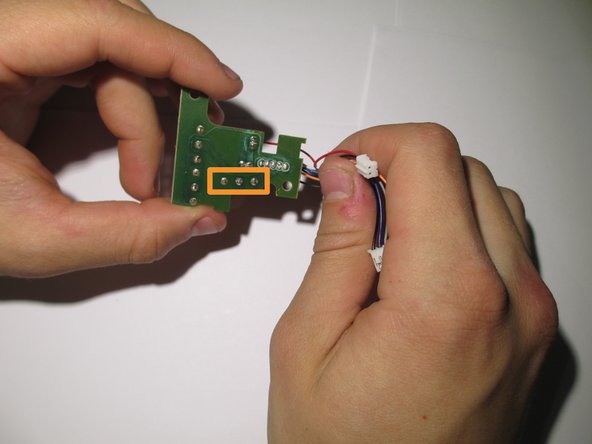
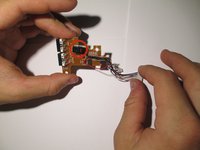
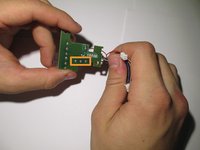
    • The DPI button is the red push button highlighted in red.

    • To remove it, flip the board over and desolder the wires highlighted in orange.

    • Replace component with new component and resolder back in place.

    Спросите у FixBot

    Добавить комментарий

Заключение

To reassemble your device, follow these instructions in reverse order.

Отменить: Я не выполнил это руководство.

Colin

Участник с: 02/10/14

409 Репутация

Автор 3 руководств

Команда

Cal Poly, Team 1-39, Maness Winter 2014 Участник Cal Poly, Team 1-39, Maness Winter 2014

CPSU-MANESS-W14S1G39

4 членов

Автор 16 руководств

0 Комментарии к руководству

Добавить комментарий

Статистика просмотров:

За последние 24 часов: 0

За последние 7 дней: 4

За последние 30 дней: 23

За всё время: 3,879