Введение
This guide will show you how to replace the battery in the Anker Soundcore Life Q30 headphones. The battery is what allows power and charge through the headphones, so a faulty battery can cause the headphones to become weak or not turn on at all. Replacing this will require you to resolder the replacement battery to the circuit board. Before you begin, make sure to turn off the headphones and unplug them from their charger.
Выберете то, что вам нужно
-
-
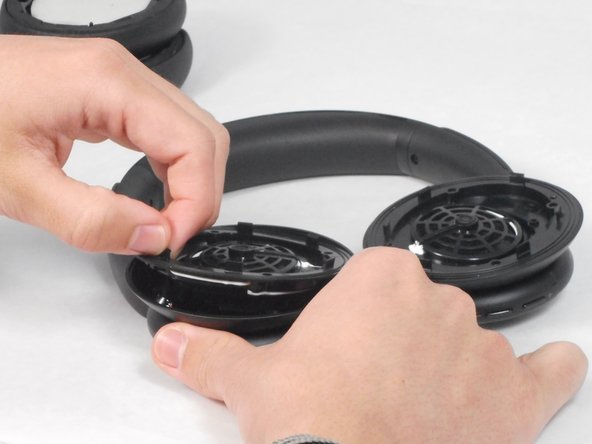
Orient the headphones such that the headphone speakers are closest to you, and the headband is furthest from you.
-
Adjust the folding hinge to where the speakers are facing up.
-
Make sure you can easily reach the edge where the cushion connects to the rest of the headphones.
-
-
-
Using one hand, hold the right side of the headphones still.
-
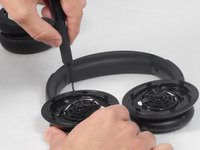
Using your other hand, slide the plastic opening tool in the edge along the cushion.
-
Gently pry the cushion off using the plastic opening tool.
-
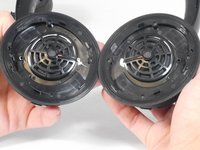
Set the right ear cushion aside and repeat this step for the left side of the headphones.
-
-
-
Remove the four 5.7 mm screws from the headphone driver using a Phillips #00 screwdriver.
-
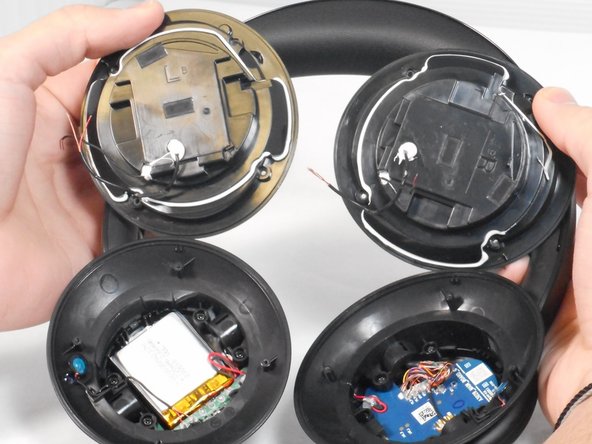
Pull the headphone driver apart from the headphones.
-
-
-
-
Lift the drivers out of the headphones.
-
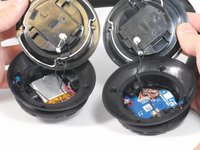
Remove the wires from the circuit board that connect the drivers.
-
-
-
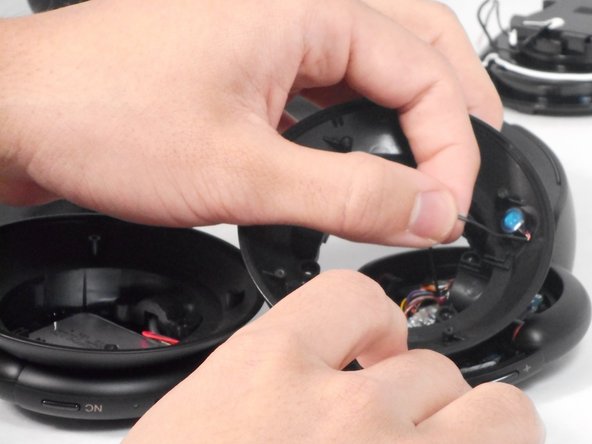
Pull the microphone (circular blue part) from its socket by the connected red wire that is covered in black rubber.
-
Unscrew the four 5.7 mm screws with a Phillips #00 screwdriver connecting the earcup to the headphone’s frame.
-
Remove the earcup.
-
-
-
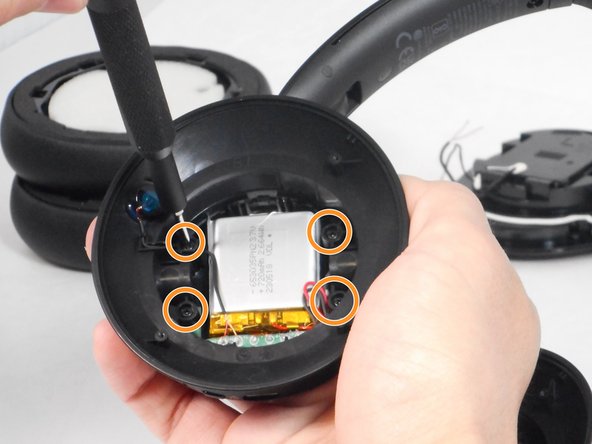
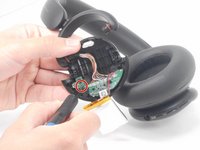
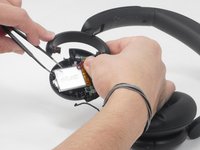
Unscrew the 5.7mm screw with a Phillips #00 screwdriver within the green circuit board connected to the battery.
-
Carefully pry the green circuit board and battery off of the earcup.
-


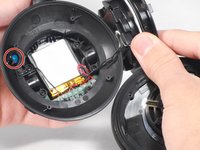


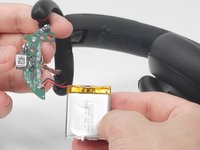

From here, you’ll have to solder your replacement battery into place. After doing so, follow these steps in reverse order to reassemble the device.
Отменить: Я не выполнил это руководство.
Еще один человек закончил это руководство.
Команда

University of Memphis, Team 4-1, Sneed Spring 2024 Участник University of Memphis, Team 4-1, Sneed Spring 2024
UM-SNEED-S24S4G1
4 членов
Автор 16 руководств
6 Комментарии к руководству
donde se compran las baterías?
The batteries dimensions are 35x30mm i had great difficulty finding this size and just went for a 750Mah one. Which was too long. There really is no wiggle room on any axis!
Also, most everything is glued in, the microphone on the side is pretty much impossible to remove without causing permanent damage. I dissembled to step 4. Then VERY carefully pried the battery out (Which is also glued in) mine was already pretty swollen. And i replaced the battery with that of an old Vape. It works but its hacky and ill advised probably. So make sure you get the right size before you disassemble them.
Got this replacement battery from AliExpress (slightly different from the original):
https://www.aliexpress.com/item/10050049...
I didn’t need to do any soldering. I left the drivers and microphone connected, cut the original battery wires, and connected the new battery wires directly to those.
Everything seems to be working fine so far.
Did you tape the wires? How did you connect them so that they'd fit?
@notdogen - cut the wires as close to the old battery as possible (remember to cut one wire at a time to prevent an unintentional short).
Then cut the wires of the new battery as close to the battery connector as possible (if included with the battery).
Connect the new battery to the old wires: red to red & black to black, then seal with liberal ampunts of electrical tape. if possible, tape both to the panel you unscrewed below the ear pads.
Tape the battery down, then reassemble the headphones