Введение
If your Anki Cozmo robot keeps turning off or the screen does not come on, follow this guide. This guide is to assist users replacing the battery in an Anki Cozmo robot, so it can come back to life. The battery, located inside Cozmo’s base, allows it to survive. Without a functioning battery, nothing else will work. Before beginning, make sure to power off your Anki Cozmo robot and disconnect it from the Anki Cozmo app.
WARNING: when using hands to remove any component, be careful not to cut yourself or rip your fingernail.
Выберете то, что вам нужно
-
-
-
Remove the two black rubber treads from the wheels using your hands to pull them off.
 Спросите у FixBot
-
-
-
Remove the white hubcap from each of the four wheels using the metal spudger to pry them off.
-
-
-
Remove the 7.5 mm screw in the middle of each of the four red wheels using a JIS #1 screwdriver.
-
-
-
Remove the red hubcaps from each of the four wheels using your hands and fingers to pull them off.
-
-
-
Remove the 5.5 mm screw on the right side of the front gold bumper using a JIS #1 screwdriver.
-
-
-
Remove the 5.5 mm screw on the left side of the front gold bumper using a JIS #1 screwdriver.
-
-
-
Remove the front gold bumper using your hands and fingers to pull it off.
-
-
-
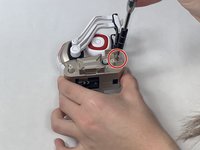
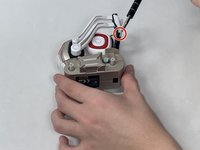
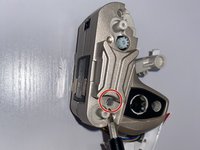
Remove the two 5.5 mm screws that lay deep on the right (your right when you face the front of the robot) side of the gold body using a JIS #0 screwdriver.
-
-
-
-
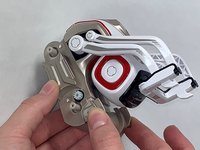
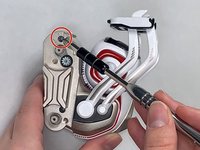
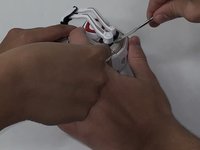
The thinner upper arms have a small hole on the bottom of the rotating hub, allowing you to press the retaining clip in while pulling the arm outward to remove it.
-
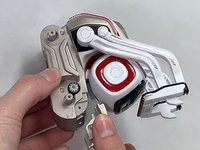
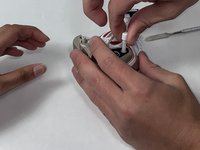
The thicker lower arms have indexed slots that align with retaining tabs internally. Rotate the arm to its topmost position, where it touches the upper axle. Apply gentle pressure outward to remove the arm.
-
-
-
Remove the long white spring that is attached to the right short arm from the center of the body using your hands and fingers to pull it out.
-
-
-
Pop off the two red square fascia from both sides of the white head using the metal spudger to pop them off.
-
-
-
Remove the two 5.5 mm screws from the right side of the white head using a JIS #0 screwdriver.
-
-
-
Remove the right side of the white head using your hands and fingers to pull it off.
-
-
-
Pop out the black cover screen from the left side of the head using your hands and fingers to pull it out.
-
-
-
Remove the left side of the white head, along with the two short white springs that are attached to it, using your hands and fingers to pull them off.
-
-
-
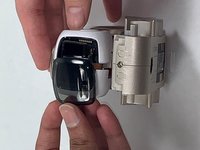
Unplug the black LED camera screen and the white and gold speaker from the small white plug in the center of the body using your hands and fingers to pull it off.
-
-
-
-
-
Remove the two 5.5 mm screws from the red trim that was behind the white head using a JIS #1 screwdriver.
-
-
-
Remove the red trim that was behind the white head using your hands and fingers to pull it off.
-
-
-
Pop off the white and gold back trim that is connected to the LED panel using your hands and fingers to pull it off.
-
-
-
Remove the 7.5 mm screw from the gold bar in the center of the body using a JIS #1 screwdriver.
-
-
-
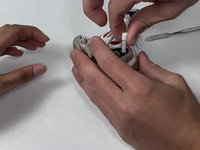
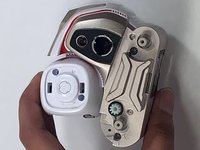
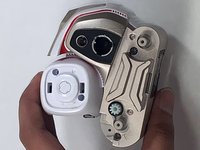
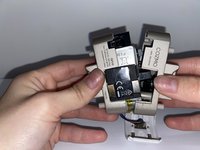
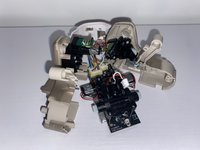
Pry apart the two halves of the gold body using your hands and fingers to pull them apart from each other.
-
-
-
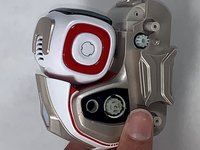
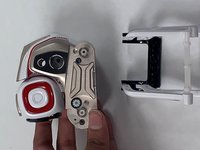
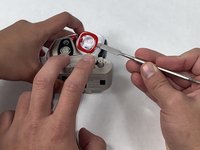
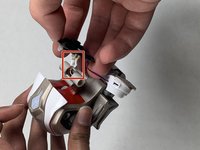
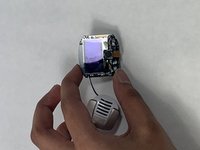
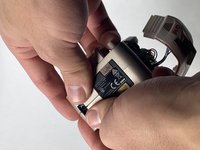
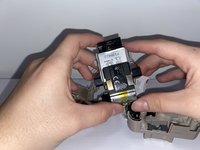
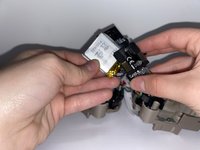
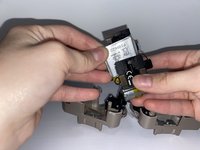
Unplug and remove the silver battery from the bottom of the charging panel using your hands and fingers to pull it out.
-
-




















To reassemble your device, follow these instructions in reverse order.
Отменить: Я не выполнил это руководство.
19 человек успешно провели ремонт по этому руководству.

Команда

UMass Dartmouth, Team 4-8, Gulbrandsen Fall 2021 Участник UMass Dartmouth, Team 4-8, Gulbrandsen Fall 2021
UMASSD-GULBRANDSEN-F21S4G8
3 членов
Автор 15 руководств
18 Комментарии к руководству
To detach the battery, don’t forget to remove the solder from the two points where the battery connects. (For Cozmo Collectors edition w/ press-able backpack button)
The soldering steps are wrong. Don't desolder the speaker, but do desolder the battery.
Step 9 should be operated while the arm is at his maximum height.
Yes, excellent tip!
Step 9 is the hardest from far ! And you'll easily get hurt by your tools. Moreover, reassembling cozmo will certainly deteriorate it. You should operate the big part of the arm (the lower) while the arm is at his maximum height. To do so, disassemble the white part of the fork by prying it down. Then remove the 2 screws of the upper arms, and remove these arms. Eventually, the big arm is easy to remove (or to reassemble).
