Перейти к основному содержанию
Присоединяйся к сообществу ремонтников - Создай аккаунт

Astro A40 Gen2 Mixamp Button Replacement

Выберете то, что вам нужно

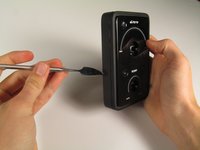
  1. Astro A40 Gen2 Mixamp Button Replacement, Remove Dials: шаг 1, изображение 1 из 3 Astro A40 Gen2 Mixamp Button Replacement, Remove Dials: шаг 1, изображение 2 из 3 Astro A40 Gen2 Mixamp Button Replacement, Remove Dials: шаг 1, изображение 3 из 3
    • Remove the dials using either a metal spudger or your hands. Be careful as the dials may be difficult to remove.

    Спросите у FixBot

    Добавить комментарий

  2. Astro A40 Gen2 Mixamp Button Replacement, Remove nuts and washers.: шаг 2, изображение 1 из 1
    Инструмент, используемый на этом этапе:
    Tweezers
    $4.99
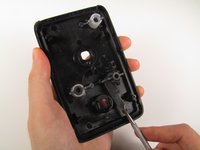
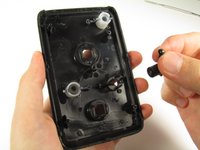
    • Locate the two 11/32 inch nuts underneath the dials.

    • Use an 11/32 inch socket wrench or tweezers to unscrew and remove the nuts and washers.

    Спросите у FixBot

    Добавить комментарий

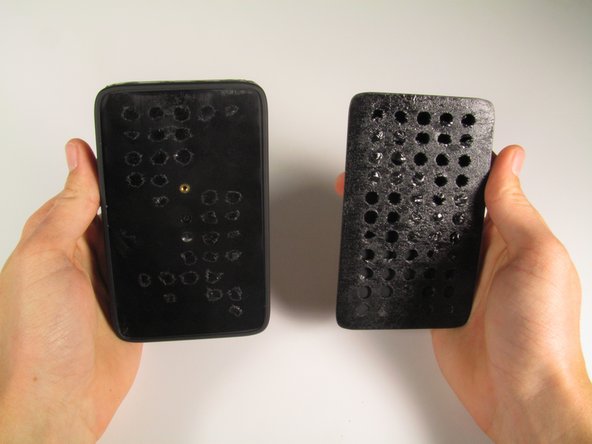
  3. Astro A40 Gen2 Mixamp Button Replacement, Remove back pad.: шаг 3, изображение 1 из 2 Astro A40 Gen2 Mixamp Button Replacement, Remove back pad.: шаг 3, изображение 2 из 2
    • Using a larger metal spudger, remove the rubber back of the mixamp.

    • The back will have glue residue after removal. Depending on the stickiness of the residue, more glue may be needed to stick the backing back on.

    Спросите у FixBot

    Добавить комментарий

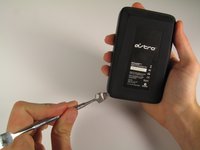
  4. Astro A40 Gen2 Mixamp Button Replacement, Take out main case screw.: шаг 4, изображение 1 из 1
    • Remove the one 4.5 mm Phillips #0 screw on the back panel of the mixamp.

    Спросите у FixBot

    Добавить комментарий

  5. Astro A40 Gen2 Mixamp Button Replacement, Pry open the case.: шаг 5, изображение 1 из 3 Astro A40 Gen2 Mixamp Button Replacement, Pry open the case.: шаг 5, изображение 2 из 3 Astro A40 Gen2 Mixamp Button Replacement, Pry open the case.: шаг 5, изображение 3 из 3
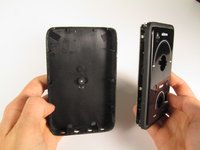
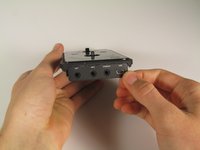
    • Using a large metal spudger, detach all plastic clips holding the bottom and top casings together.

    • Remove the input casing using your fingers.

    • Be careful when releasing the clips between the two casings, as it is very easy to scratch the mixamp or break the clips.

    • Use caution when pulling the two casings apart as it is very easy to pinch your fingers between them.

    Спросите у FixBot

    Добавить комментарий

  6. Astro A40 Gen2 Mixamp Button Replacement, Remove the motherboard from the case.: шаг 6, изображение 1 из 1
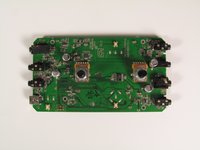
    • Remove the four 5.8 mm Phillips #0 screws on the motherboard.

    Спросите у FixBot

    Добавить комментарий

  7. Astro A40 Gen2 Mixamp Button Replacement: шаг 7, изображение 1 из 2 Astro A40 Gen2 Mixamp Button Replacement: шаг 7, изображение 2 из 2
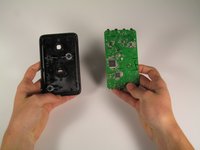
    • Remove the motherboard from the casing.

    Спросите у FixBot

    Добавить комментарий

  8. Astro A40 Gen2 Mixamp Button Replacement, Mixamp Button: шаг 8, изображение 1 из 2 Astro A40 Gen2 Mixamp Button Replacement, Mixamp Button: шаг 8, изображение 2 из 2
    • Use a metal spudger to pry off the buttons and remove them.

    • You may need to apply pressure to break off the small black caps which hold the buttons down. The buttons will still function without the black caps.

    Спросите у FixBot

    Добавить комментарий

Заключение

To reassemble your device, follow these instructions in reverse order.

Отменить: Я не выполнил это руководство.

3 человек успешно провели ремонт по этому руководству.

Mark

Участник с: 01/22/15

412 Репутация

Автор 3 руководств

Команда

Cal Poly, Team 20-18, Maness Winter 2015 Участник Cal Poly, Team 20-18, Maness Winter 2015

CPSU-MANESS-W15S20G18

4 членов

Автор 10 руководств

0 Комментарии к руководству

Добавить комментарий

Статистика просмотров:

За последние 24 часов: 3

За последние 7 дней: 5

За последние 30 дней: 26

За всё время: 2,645