Перейти к основному содержанию
Присоединяйся к сообществу ремонтников - Создай аккаунт

Astro Mixamp Control Button Replacement

Выберете то, что вам нужно

    1. Astro Mixamp Control Button Replacement, Panel Dial: шаг 1, изображение 1 из 2 Astro Mixamp Control Button Replacement, Panel Dial: шаг 1, изображение 2 из 2
      • Grip the dial tightly and pull straight off the device.

      • Repeat for the second dial

      Спросите у FixBot

      Добавить комментарий

    2. Astro Mixamp Control Button Replacement: шаг 2, изображение 1 из 2 Astro Mixamp Control Button Replacement: шаг 2, изображение 2 из 2
      Инструмент, используемый на этом этапе:
      Tweezers
      $4.99
      • Using tweezers, remove the spacer nuts and washers from each dial post.

      Спросите у FixBot

      Добавить комментарий

    1. Astro Mixamp Control Button Replacement, Outer Casing: шаг 3, изображение 1 из 2 Astro Mixamp Control Button Replacement, Outer Casing: шаг 3, изображение 2 из 2
      • Before opening your device, ensure the device is not on or connected to the charging cable.

      • Insert a plastic opening tool into the seam between the rubber foot and plastic casing.

      • Pull the rubber foot free of the plastic casing.

      Спросите у FixBot

      Добавить комментарий

    2. Astro Mixamp Control Button Replacement: шаг 4, изображение 1 из 1
      • Use a screwdriver to remove the screw from the rear casing.

      Спросите у FixBot

      Добавить комментарий

    3. Astro Mixamp Control Button Replacement: шаг 5, изображение 1 из 1
      • Gently lift the rear casing from the device.

      Спросите у FixBot

      Добавить комментарий

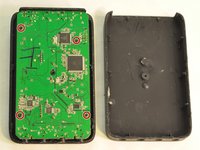
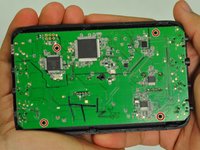
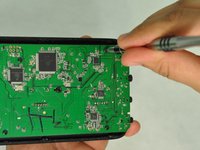
    1. Astro Mixamp Control Button Replacement, Motherboard: шаг 6, изображение 1 из 3 Astro Mixamp Control Button Replacement, Motherboard: шаг 6, изображение 2 из 3 Astro Mixamp Control Button Replacement, Motherboard: шаг 6, изображение 3 из 3
      • Remove the four screws that hold the motherboard in place.

      • Only touch the edges of the motherboard. Touching the surface can damage the motherboard.

      Спросите у FixBot

      Добавить комментарий

    2. Astro Mixamp Control Button Replacement: шаг 7, изображение 1 из 1
      • Gently pull the motherboard from the front cover.

      Спросите у FixBot

      Добавить комментарий

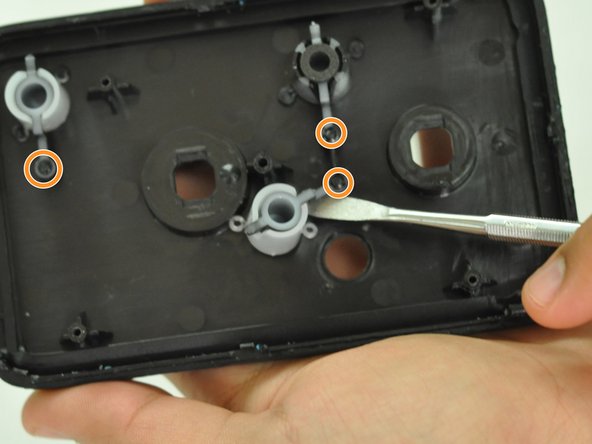
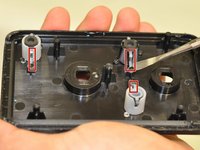
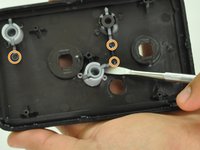
    1. Astro Mixamp Control Button Replacement, Control Button: шаг 8, изображение 1 из 2 Astro Mixamp Control Button Replacement, Control Button: шаг 8, изображение 2 из 2
      • Gently insert a metal spudger under a control button housing.

      • Do not pry the button housing from the front panel, this can cause damage to the button.

      • Rotate the control button around the marked pin.

      Спросите у FixBot

      Добавить комментарий

Заключение

To reassemble your device, follow these instructions in reverse order.

Отменить: Я не выполнил это руководство.

2 человек успешно провели ремонт по этому руководству.

Hope Burns

Участник с: 10/29/16

741 Репутация

Автор 5 руководств

0 Комментарии к руководству

Добавить комментарий

Статистика просмотров:

За последние 24 часов: 1

За последние 7 дней: 8

За последние 30 дней: 37

За всё время: 2,078