Перейти к основному содержанию
Присоединяйся к сообществу ремонтников - Создай аккаунт

Asus Eee PC 1008ha Screen Replacement

Выберете то, что вам нужно

    1. Asus Eee PC 1008ha Screen Replacement, Battery: шаг 1, изображение 1 из 1
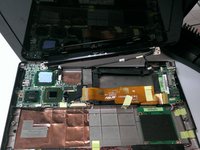
      • Using the plastic opening tool, carefully pry the top panel from the base.

      Спросите у FixBot

      Добавить комментарий

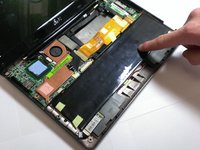
    2. Asus Eee PC 1008ha Screen Replacement: шаг 2, изображение 1 из 3 Asus Eee PC 1008ha Screen Replacement: шаг 2, изображение 2 из 3 Asus Eee PC 1008ha Screen Replacement: шаг 2, изображение 3 из 3
      • Lift the side of the keyboard.

      • Disconnect the attached ribbon located underneath the keyboard.

      • Place your index finger in the hole on the right side of the keyboard tray and lift the tray.

      Спросите у FixBot

      Добавить комментарий

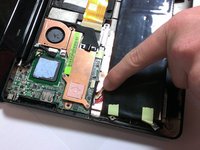
    3. Asus Eee PC 1008ha Screen Replacement: шаг 3, изображение 1 из 2 Asus Eee PC 1008ha Screen Replacement: шаг 3, изображение 2 из 2
      • Use your fingers to lift the battery and gently disconnect the wires from the base.

      Спросите у FixBot

      Добавить комментарий

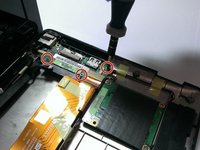
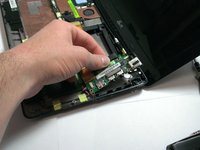
    1. Asus Eee PC 1008ha Screen Replacement, LCD Screen: шаг 4, изображение 1 из 2 Asus Eee PC 1008ha Screen Replacement, LCD Screen: шаг 4, изображение 2 из 2
      • Using the Phillips #00 screwdriver, unscrew the 4mm screws from the rightmost circuit board.

      • Carefully pull the circuit board away from side of device base.

      Спросите у FixBot

      Добавить комментарий

    2. Asus Eee PC 1008ha Screen Replacement: шаг 5, изображение 1 из 3 Asus Eee PC 1008ha Screen Replacement: шаг 5, изображение 2 из 3 Asus Eee PC 1008ha Screen Replacement: шаг 5, изображение 3 из 3
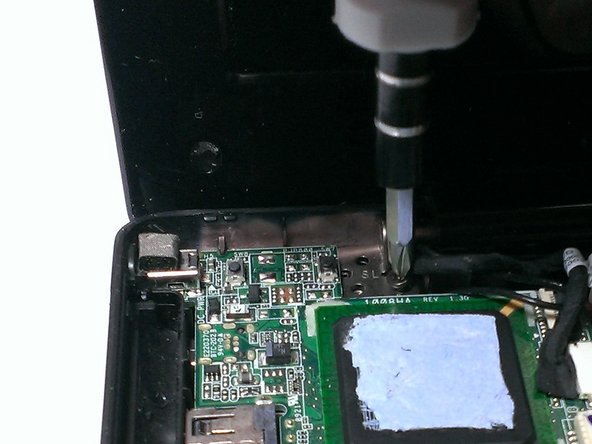
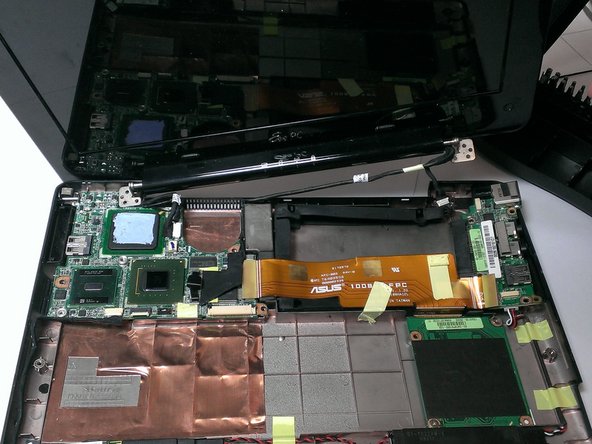
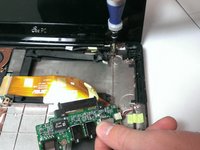
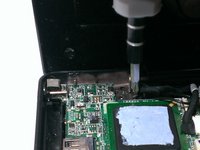
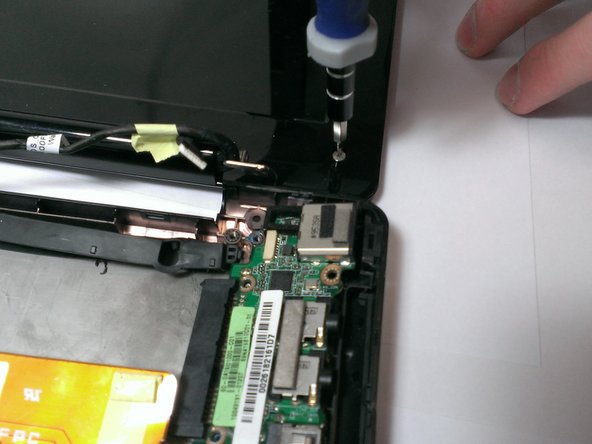
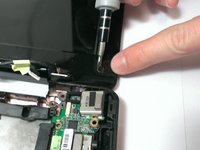
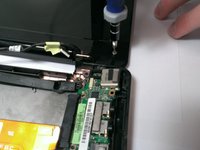
      • Using the Phillips #00 screwdriver, unscrew the 4mm screws attaching screen to base from both sides.

      • Gently lift the screen portion from the base.

      Спросите у FixBot

      Добавить комментарий

    3. Asus Eee PC 1008ha Screen Replacement: шаг 6, изображение 1 из 2 Asus Eee PC 1008ha Screen Replacement: шаг 6, изображение 2 из 2
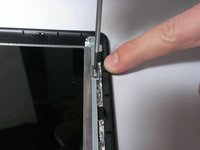
      • Using the Plastic Opening Tool, pry the six small chits from the face of the screen portion.

      • Using the Phillips #00 screwdriver, unscrew the two 2mm and four 4mm screws from underneath the chits.

      Спросите у FixBot

      Добавить комментарий

    4. Asus Eee PC 1008ha Screen Replacement: шаг 7, изображение 1 из 2 Asus Eee PC 1008ha Screen Replacement: шаг 7, изображение 2 из 2
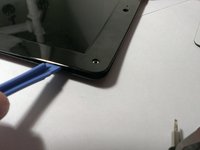
      • Slide the Plastic Opening Tool under the edge of the screen bezel to release the front panel of the screen.

      Спросите у FixBot

      Добавить комментарий

    5. Asus Eee PC 1008ha Screen Replacement: шаг 8, изображение 1 из 2 Asus Eee PC 1008ha Screen Replacement: шаг 8, изображение 2 из 2
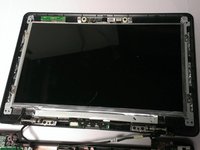
      • Using the Phillips #00 screwdriver, unscrew the 2mm screws from the perimeter of the screen.

      • Use your fingers to hold the screen and carefully lift it from the base.

      Спросите у FixBot

      Добавить комментарий

    6. Asus Eee PC 1008ha Screen Replacement: шаг 9, изображение 1 из 2 Asus Eee PC 1008ha Screen Replacement: шаг 9, изображение 2 из 2
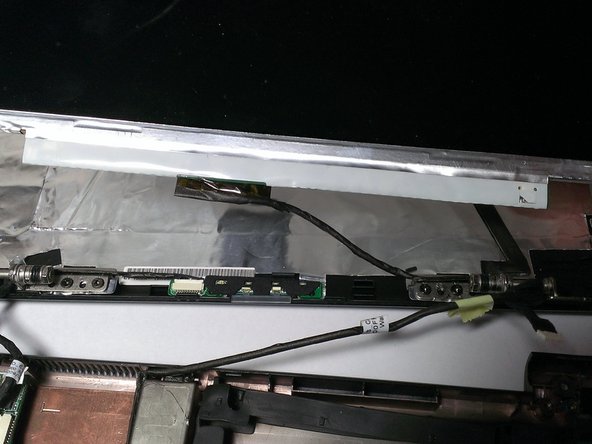
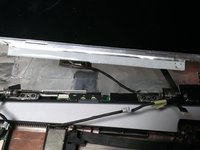
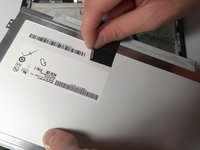
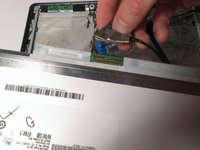
      • Use your fingers to peel back the adhesive tape located on the back of the screen.

      • Disconnect the wire from the screen.

      Спросите у FixBot

      Добавить комментарий

Заключение

To reassemble your device, follow these instructions in reverse order.

Отменить: Я не выполнил это руководство.

Еще один человек закончил это руководство.

Michael Dooley

Участник с: 04/18/13

138 Репутация

Автор 3 руководств

Команда

Cal Poly, Team 21-52, Johann Spring 2013 Участник Cal Poly, Team 21-52, Johann Spring 2013

CPSU-JOHANN-S13S21G52

4 членов

Автор 17 руководств

0 Комментарии к руководству

Добавить комментарий

Статистика просмотров:

За последние 24 часов: 0

За последние 7 дней: 10

За последние 30 дней: 37

За всё время: 3,530