Введение
The hard drive (HD) is where all your files are stored. Be sure you have a compatible hard drive when replacing it. Be very gentle when handling the hard drive, because any damage to the exterior may result in ruined data.
Выберете то, что вам нужно
-
-
-
Flip laptop face down and rotate so the battery is facing toward you.
-
To remove the battery, place one finger on each of the two black slide tabs. Push each tab toward the center of the laptop to release the lock.
-
Slide the battery toward you and lift it out of the laptop.
 Спросите у FixBot
-
-
-
-
-
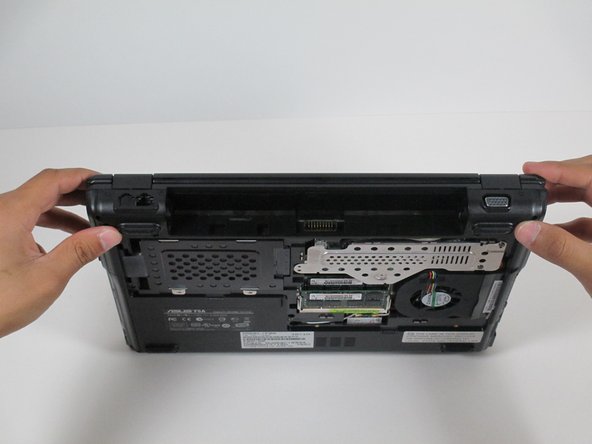
With the laptop facing down, rotate it so the battery pack is facing away from you.
-
Remove the six 1.5 mm Phillips #1 screws on the back panel of the laptop.
-
-
-
-
Insert a finger into one of the slots on the bottom panel.
-
Gently lift the upwards, and the back panel of the laptop will come off easily.
-
-
-
-
-
Rotate the laptop 90 degrees towards you so that you are looking at the empty battery compartment.
-
-
-
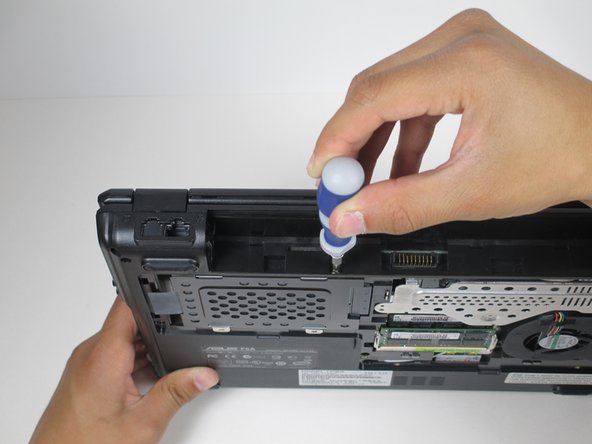
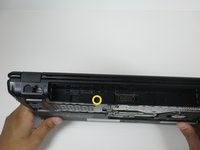
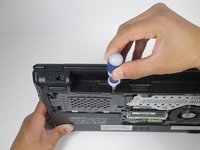
Remove the 2.0 mm Phillips #3 screw located beneath the battery compartment.
-
-
-
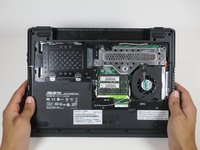
Lay the laptop flat on its back.
-
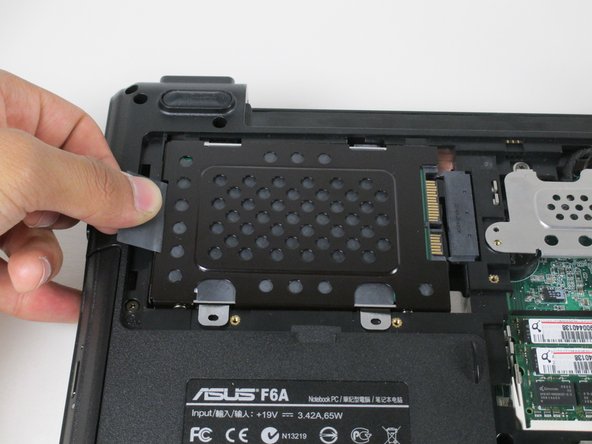
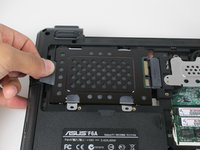
Gently pull left on the black tab, located on the left side of the hard drive, until it pops out.
-
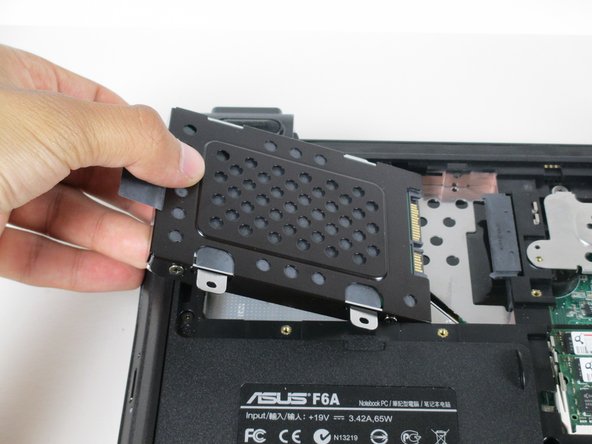
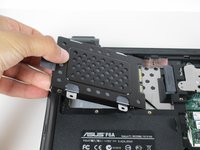
Slowly lift the tab up and pull the hard drive out of the laptop.
-
-




To reassemble your device, follow these instructions in reverse order.
Отменить: Я не выполнил это руководство.
Еще один человек закончил это руководство.

Команда

Cal Poly, Team 10-56, Amido Spring 2014 Участник Cal Poly, Team 10-56, Amido Spring 2014
CPSU-AMIDO-S14S10G56
4 членов
Автор 108 руководств
