Перейти к основному содержанию
Присоединяйся к сообществу ремонтников - Создай аккаунт

Asus Q525U Hard Drive Replacement

Выберете то, что вам нужно

  1. Asus Q525U Hard Drive Replacement, Back Cover: шаг 1, изображение 1 из 3 Asus Q525U Hard Drive Replacement, Back Cover: шаг 1, изображение 2 из 3 Asus Q525U Hard Drive Replacement, Back Cover: шаг 1, изображение 3 из 3
    • Begin by powering off the device and flipping the device over.

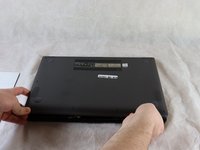
    • Carefully remove the two longer 9.5 mm screws on the corners with a Phillips #1 screwdriver.

    • Remove the eight 7.5 mm Phillips #1 screws on the back of the device.

    Спросите у FixBot
  2. Asus Q525U Hard Drive Replacement: шаг 2, изображение 1 из 3 Asus Q525U Hard Drive Replacement: шаг 2, изображение 2 из 3 Asus Q525U Hard Drive Replacement: шаг 2, изображение 3 из 3
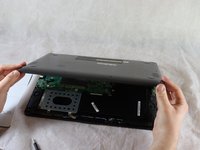
    • Use an opening pick to separate the back cover from the device.

    • For easiest removal, begin by prying at one of the front corners and sliding the tool under the cover in a counter-clockwise motion (to the left) toward the laptop hinge.

    Спросите у FixBot
  3. Asus Q525U Hard Drive Replacement: шаг 3, изображение 1 из 3 Asus Q525U Hard Drive Replacement: шаг 3, изображение 2 из 3 Asus Q525U Hard Drive Replacement: шаг 3, изображение 3 из 3
    • Once the cover has been separated from the device, carefully lift the back cover off the device (begin by lifting from the front of the cover first).

    • The back cover should be easily removable, allowing full access to all of the internal components.

    Спросите у FixBot
  4. Asus Q525U Hard Drive Replacement, Hard Drive: шаг 4, изображение 1 из 1
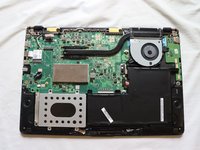
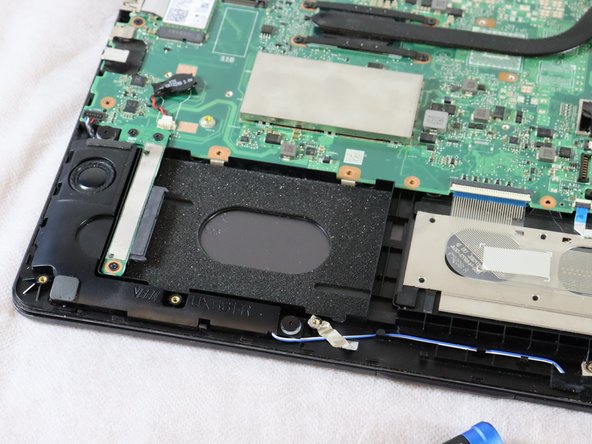
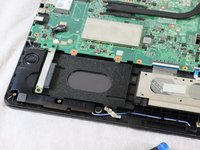
    • The hard drive is located to the left of the battery and below the motherboard.

    Спросите у FixBot
  5. Asus Q525U Hard Drive Replacement: шаг 5, изображение 1 из 2 Asus Q525U Hard Drive Replacement: шаг 5, изображение 2 из 2
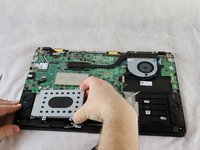
    • Remove the two 4 mm Phillips #1 screws which are holding the hard drive cover in place.

    Спросите у FixBot
  6. Asus Q525U Hard Drive Replacement: шаг 6, изображение 1 из 2 Asus Q525U Hard Drive Replacement: шаг 6, изображение 2 из 2
    • The hard drive cover is now easily accessible.

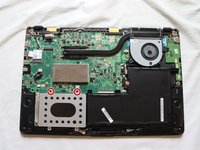
    • Lift the cover off, exposing the hard drive underneath [this laptop is missing its hard drive].

    • If replacing the hard drive, lift it up on the right side slightly and pull it from the connecter on the left.

    Спросите у FixBot
Заключение

To reassemble your device, follow these instructions in reverse order.

2 человек успешно провели ремонт по этому руководству.

Stewart Crandall

Участник с: 02/22/22

613 Репутация

Автор 5 руководств

Команда

Clemson, Team 2-5, Hunter Spring 2022 Участник Clemson, Team 2-5, Hunter Spring 2022

CLEM-HUNTER-S22S2G5

4 членов

Автор 12 руководств

0 Комментарии к руководству

Добавить комментарий

Статистика просмотров:

За последние 24 часов: 3

За последние 7 дней: 14

За последние 30 дней: 64

За всё время: 3,672