Перейти к основному содержанию
Присоединяйся к сообществу ремонтников - Создай аккаунт

Asus Q534U Motherboard Replacement

Выберете то, что вам нужно

    1. Asus Q534U Motherboard Replacement, Back Case: шаг 1, изображение 1 из 3 Asus Q534U Motherboard Replacement, Back Case: шаг 1, изображение 2 из 3 Asus Q534U Motherboard Replacement, Back Case: шаг 1, изображение 3 из 3
      • Remove ten screws with the T5 driver.

      • Use the opening tool to carefully pry off the back case.

      Спросите у FixBot

      Добавить комментарий

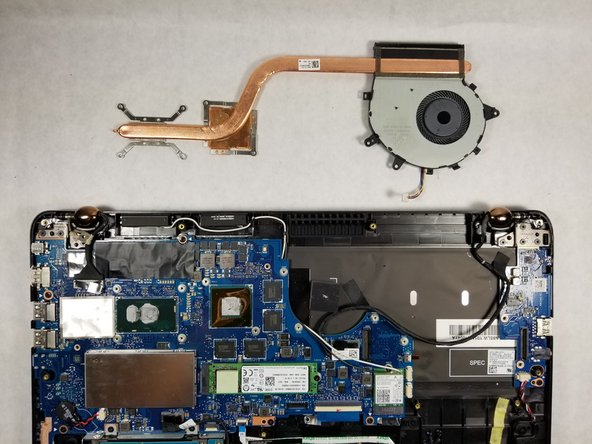
    1. Asus Q534U Motherboard Replacement, CPU Fan/Heat Sink: шаг 2, изображение 1 из 2 Asus Q534U Motherboard Replacement, CPU Fan/Heat Sink: шаг 2, изображение 2 из 2
      • Using the iFixit opening tool, gently pry the CPU fan connector out of the socket.

      Спросите у FixBot

      Добавить комментарий

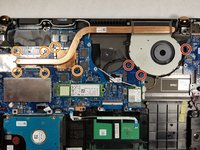
    2. Asus Q534U Motherboard Replacement: шаг 3, изображение 1 из 2 Asus Q534U Motherboard Replacement: шаг 3, изображение 2 из 2
      • Move the black cable located around the CPU fan out of the holder.

      • Remove the following 9 screws:

      • Three Phillips screws

      • Six Phillips screws

      • Make sure not to mix up both types of screws.

      • Gently pull vertically on the CPU fan/ heat sink assembly until it is free.

      • Before placing a new CPU fan/heat sink assembly, the CPU and GPU surfaces must be cleaned off and thermal compound must be reapplied.

      Спросите у FixBot

      Добавить комментарий

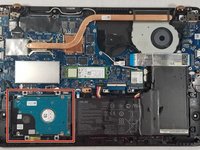
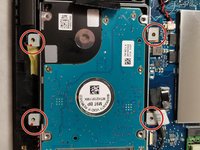
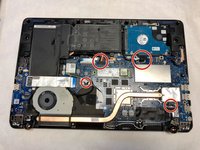
    1. Asus Q534U Motherboard Replacement, Hard Drive: шаг 4, изображение 1 из 2 Asus Q534U Motherboard Replacement, Hard Drive: шаг 4, изображение 2 из 2
      • Remove four screws with the Phillips #00 screwdriver.

      Спросите у FixBot

      Добавить комментарий

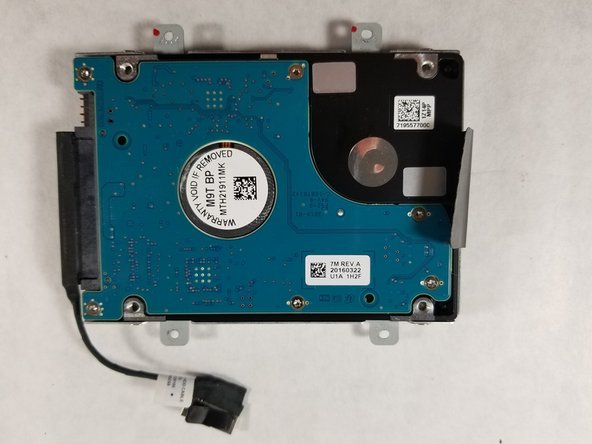
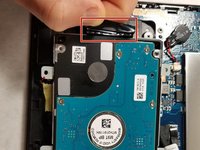
    2. Asus Q534U Motherboard Replacement: шаг 5, изображение 1 из 2 Asus Q534U Motherboard Replacement: шаг 5, изображение 2 из 2
      • Gently lift the hard disk out using the black tab.

      Спросите у FixBot

      Добавить комментарий

    3. Asus Q534U Motherboard Replacement: шаг 6, изображение 1 из 1
      • Using a Phillips #00 screwdriver remove the four screws of the metal casing

      • Remove the hard disk from the metal casing

      Спросите у FixBot

      Добавить комментарий

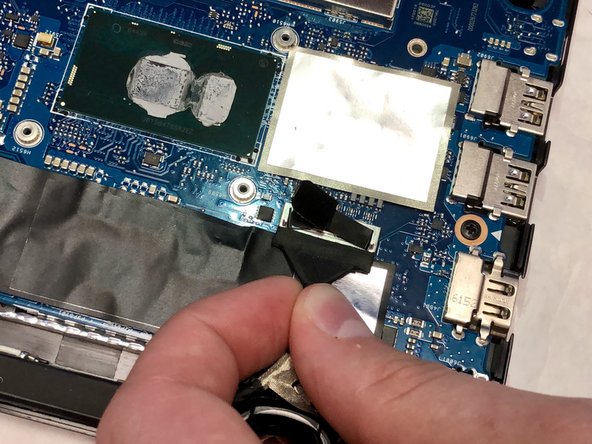
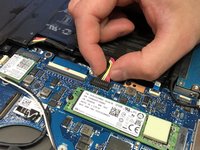
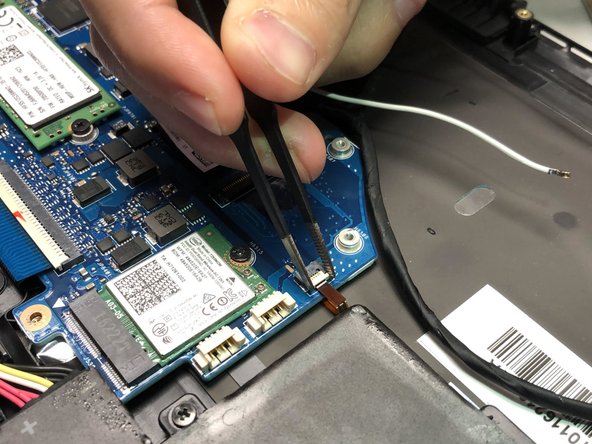
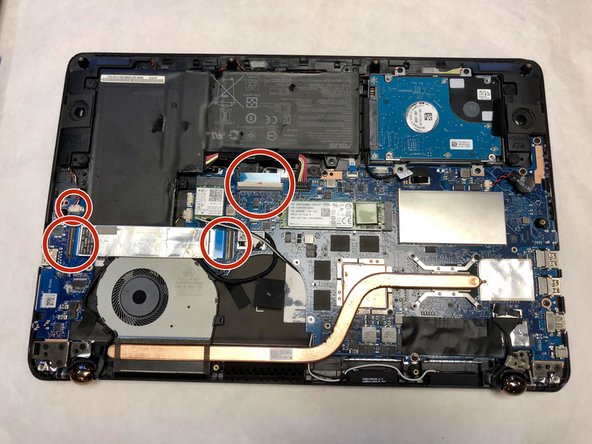
    1. Asus Q534U Motherboard Replacement, Motherboard: шаг 7, изображение 1 из 3 Asus Q534U Motherboard Replacement, Motherboard: шаг 7, изображение 2 из 3 Asus Q534U Motherboard Replacement, Motherboard: шаг 7, изображение 3 из 3
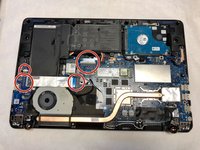
      • Disconnect the four marked cables connectors at the sockets.

      Спросите у FixBot

      Добавить комментарий

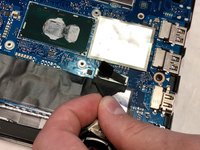
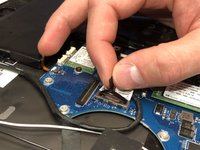
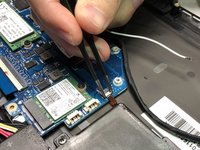
    2. Asus Q534U Motherboard Replacement: шаг 8, изображение 1 из 3 Asus Q534U Motherboard Replacement: шаг 8, изображение 2 из 3 Asus Q534U Motherboard Replacement: шаг 8, изображение 3 из 3
      • Lift the connecting ports up prior to removing the connectors.

      Спросите у FixBot

      Добавить комментарий

    3. Asus Q534U Motherboard Replacement: шаг 9, изображение 1 из 3 Asus Q534U Motherboard Replacement: шаг 9, изображение 2 из 3 Asus Q534U Motherboard Replacement: шаг 9, изображение 3 из 3
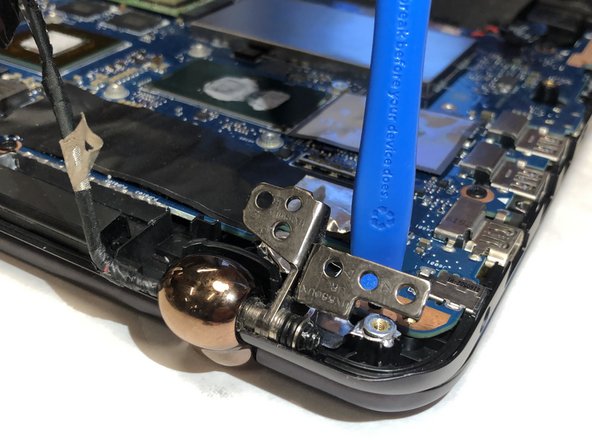
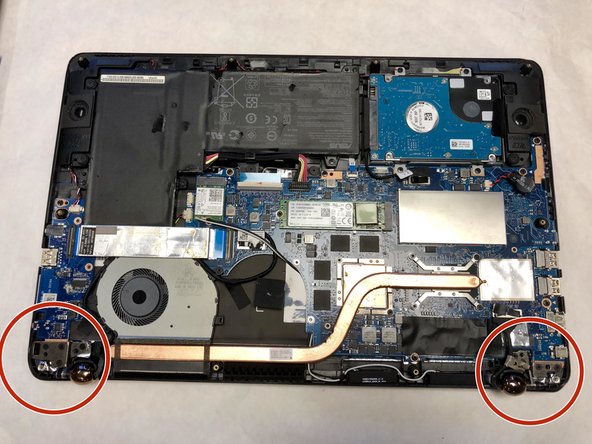
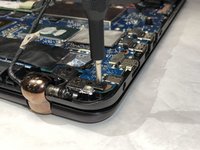
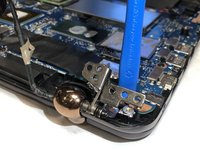
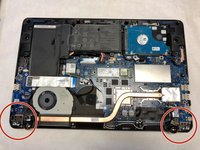
      • Remove the screws holding the hinges down on both sides of the device.

      • A pry tool might be needed to lift the hinge.

      Спросите у FixBot

      Добавить комментарий

    4. Asus Q534U Motherboard Replacement: шаг 10, изображение 1 из 1
      • Remove nine, 3.2 mm screws to fully release motherboard.

      Спросите у FixBot

      Добавить комментарий

Заключение

To reassemble your device, follow these instructions in reverse order.

Отменить: Я не выполнил это руководство.

2 человек успешно провели ремонт по этому руководству.

Jacob Pauker

Участник с: 09/03/19

238 Репутация

Автор 2 руководств

Команда

IUPUI, Team S1-G9, Hovde Fall 2019 Участник IUPUI, Team S1-G9, Hovde Fall 2019

IUPUI-HOVDE-F19S1G9

4 членов

Автор 18 руководств

0 Комментарии к руководству

Добавить комментарий

Статистика просмотров:

За последние 24 часов: 1

За последние 7 дней: 4

За последние 30 дней: 57

За всё время: 2,723