Перейти к основному содержанию
Присоединяйся к сообществу ремонтников - Создай аккаунт

Asus ROG Strix GL702VS LCD Screen (Display) Replacement

Выберете то, что вам нужно

    1. Asus ROG Strix GL702VS LCD Screen (Display) Replacement, LCD Screen (Display): шаг 1, изображение 1 из 3 Asus ROG Strix GL702VS LCD Screen (Display) Replacement, LCD Screen (Display): шаг 1, изображение 2 из 3 Asus ROG Strix GL702VS LCD Screen (Display) Replacement, LCD Screen (Display): шаг 1, изображение 3 из 3
      • Remove the two screw stickers at the bottom corners of the screen.

      • Remove the two 4mm JIS #0 screws beneath the stickers.

      Спросите у FixBot

      Добавить комментарий

    2. Asus ROG Strix GL702VS LCD Screen (Display) Replacement: шаг 2, изображение 1 из 3 Asus ROG Strix GL702VS LCD Screen (Display) Replacement: шаг 2, изображение 2 из 3 Asus ROG Strix GL702VS LCD Screen (Display) Replacement: шаг 2, изображение 3 из 3
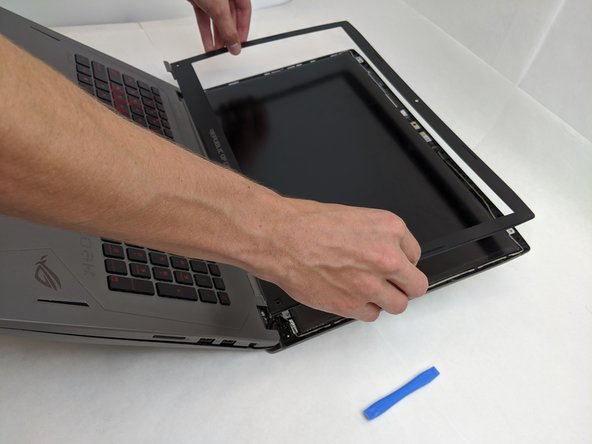
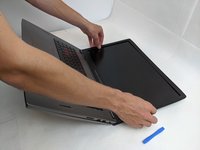
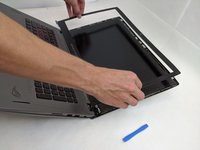
      • Break the glue between the bezel and screen with a nylon spudger, working around the inside of the bezel.

      • Using an opening tool, lift up the bezel once the glue has been removed.

      • The plastic clips remain so it will have some resistance/snapping noises.

      Спросите у FixBot

      Добавить комментарий

    3. Asus ROG Strix GL702VS LCD Screen (Display) Replacement: шаг 3, изображение 1 из 2 Asus ROG Strix GL702VS LCD Screen (Display) Replacement: шаг 3, изображение 2 из 2
      • Lift the plastic bezel off of the front display panel.

      • The plastic bezel will click when put back on the screen.

      Спросите у FixBot

      Добавить комментарий

    4. Asus ROG Strix GL702VS LCD Screen (Display) Replacement: шаг 4, изображение 1 из 1
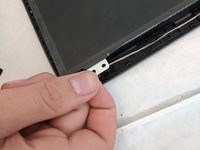
      • Remove the four interior 4mm JIS #0 screws from each of the four metal LCD tabs.

      Спросите у FixBot

      Добавить комментарий

    5. Asus ROG Strix GL702VS LCD Screen (Display) Replacement: шаг 5, изображение 1 из 3 Asus ROG Strix GL702VS LCD Screen (Display) Replacement: шаг 5, изображение 2 из 3 Asus ROG Strix GL702VS LCD Screen (Display) Replacement: шаг 5, изображение 3 из 3
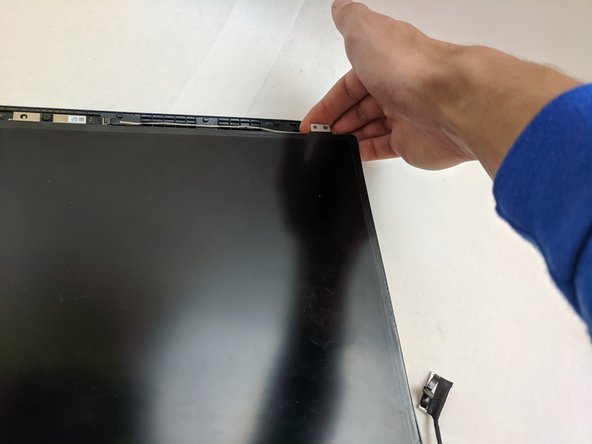
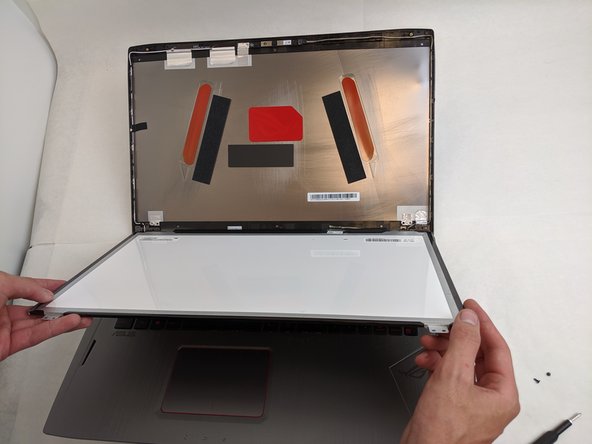
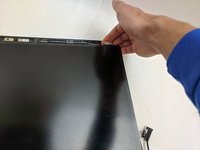
      • Once the LCD display is freed you can lift it up out of the casing.

      • Be careful as the cable remains attached.

      Спросите у FixBot

      Добавить комментарий

    6. Asus ROG Strix GL702VS LCD Screen (Display) Replacement: шаг 6, изображение 1 из 2 Asus ROG Strix GL702VS LCD Screen (Display) Replacement: шаг 6, изображение 2 из 2
      Инструмент, используемый на этом этапе:
      Tweezers
      $4.99
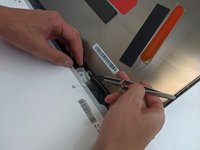
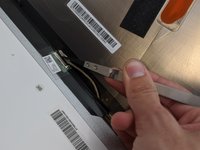
      • On the backside of the LCD, disconnect the LCD cable using a pair of tweezers.

      • Once fully disconnected, remove the LCD and replace it.

      Спросите у FixBot

      Добавить комментарий

Заключение

To reassemble your device, follow these instructions in reverse order.

Отменить: Я не выполнил это руководство.

Еще один человек закончил это руководство.

Conor H Allen

Участник с: 09/16/19

640 Репутация

Автор 5 руководств

Команда

0 Комментарии к руководству

Добавить комментарий

Статистика просмотров:

За последние 24 часов: 0

За последние 7 дней: 4

За последние 30 дней: 52

За всё время: 2,358