Введение
This is a step by step process for the replacement or repair of the LCD screen on your Asus ROG Strix GL702VS laptop. If you are experiencing dead pixels or a cracked screen, follow these steps to remove the screen and replace it.
Before fully reassembling, try powering on the computer to ensure all cable connections are working.
Выберете то, что вам нужно
-
-
Remove the two screw stickers at the bottom corners of the screen.
-
Remove the two 4mm JIS #0 screws beneath the stickers.
 Спросите у FixBot
-
-
-
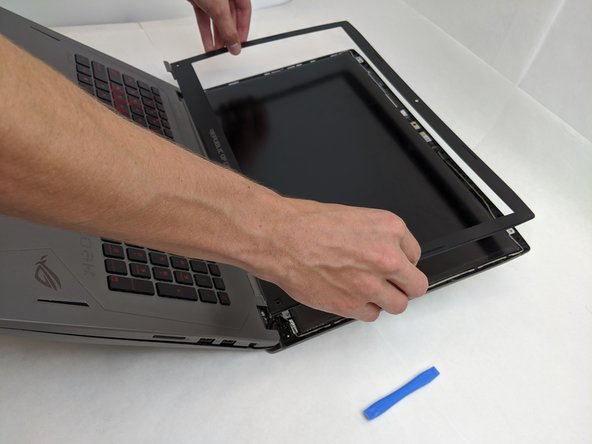
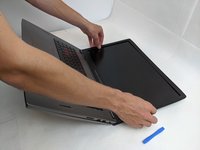
Break the glue between the bezel and screen with a nylon spudger, working around the inside of the bezel.
-
Using an opening tool, lift up the bezel once the glue has been removed.
-
-
-
-
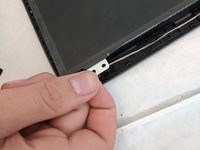
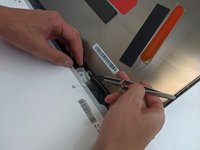
Remove the four interior 4mm JIS #0 screws from each of the four metal LCD tabs.
-
-
-
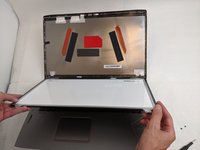
Once the LCD display is freed you can lift it up out of the casing.
-
-
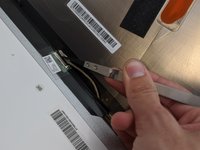
Инструмент, используемый на этом этапе:Tweezers$4.99
-
On the backside of the LCD, disconnect the LCD cable using a pair of tweezers.
-
Once fully disconnected, remove the LCD and replace it.
-


To reassemble your device, follow these instructions in reverse order.
Отменить: Я не выполнил это руководство.
Еще один человек закончил это руководство.

Команда

Embry-Riddle Aeronautical University, Team S8-G6, Salas Fall 2019 Участник Embry-Riddle Aeronautical University, Team S8-G6, Salas Fall 2019
ERAU-SALAS-F19S8G6
4 членов
Автор 8 руководств