Введение
The motherboard is the central hub of your computer, where the processing takes place. If your motherboard is faulty, then it will definitely need to be replaced. This guide will show you how to replace your motherboard.
Выберете то, что вам нужно
-
-
-
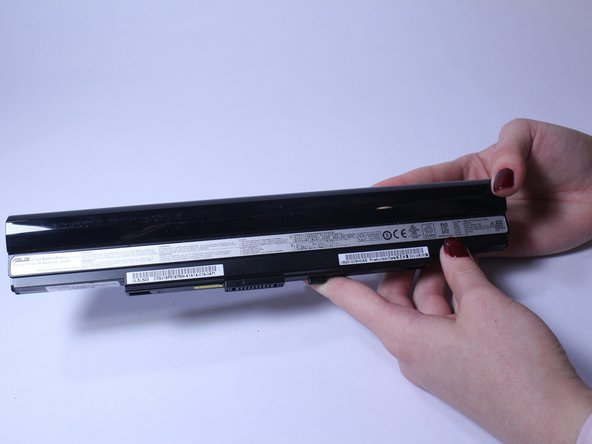
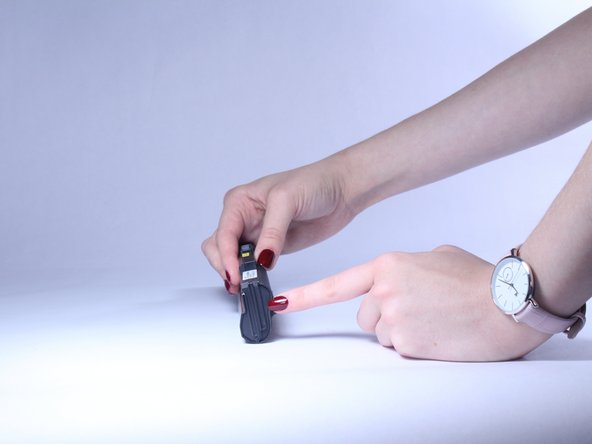
Slide the button marked with an arrow to the left. The battery should now unclick. Slide the battery away from the laptop to remove it.
-
-
-
-
Insert a plastic opening tool or a flat-head screwdriver between the laptop body and the keyboard.
-
-
Инструмент, используемый на этом этапе:Plastic Cards$2.99
-
Gently pry the keyboard up. This will allow you to unclip the keyboard.
-
Use an old plastic card or a similar flat object to prevent the keyboard from clipping back in while carefully working along the keyboard perimeter.
-
-
-
-
Keep unclipping the keyboard along the perimeter. Once the keyboard is unclipped, be careful and do not take it out right away, as there is still a ribbon that connects the keyboard with the rest of the computer located on the bottom.
-
-
-
Slowly lift the keyboard and use flash light if needed to locate the ribbon cable on the bottom. Lift the ZIF connector tab before pulling the ribbon cable out.
-
Remove the tape from the ribbon cable if needed and remove the keyboard.
-
-
-
-
-
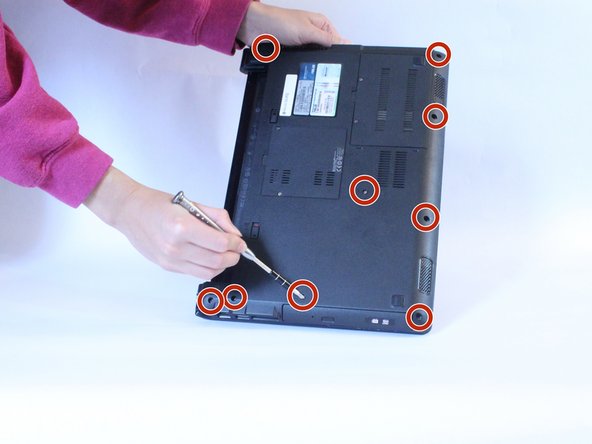
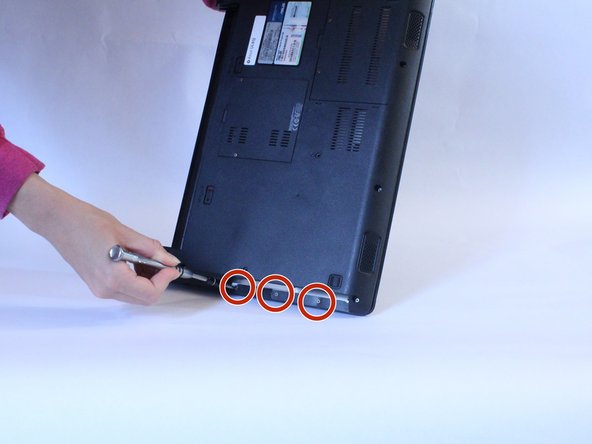
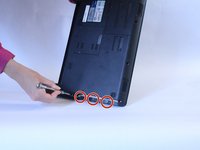
Once the keyboard is removed, take out the nine 6 mm screws on the back side of the laptop.
-
-
-
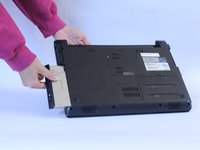
Remove the optical drive (CD drive) from the laptop.
-
Three, 3 mm screws will be underneath where the CD drive was. Remove them to be able to access the front cover.
-
-
-
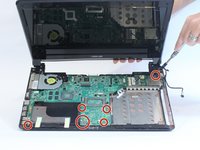
Remove the five, 8 mm screws from the aluminum cover underneath where the keyboard was.
-
Remove the remaining four, 5 mm screws.
-
-
-
Using a plastic opening tool, gently pry open the front cover.
-
-
-
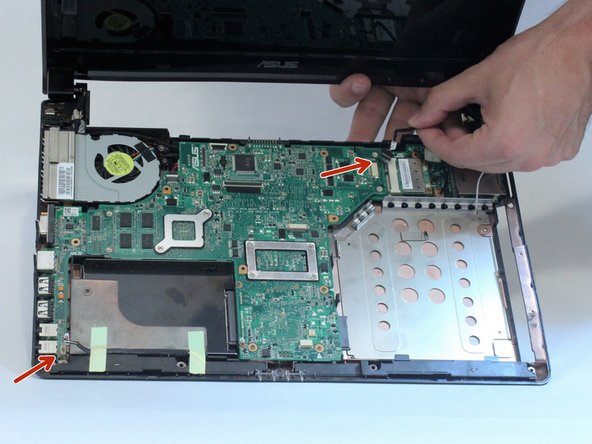
After you remove the front cover, the motherboard should be exposed, along with the two port boards.
-
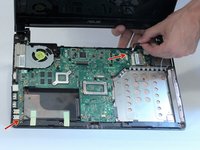
Remove the seven, 3 mm screws holding the motherboard and ports into the frame of the laptop, as well as the two wire bundles indicated by red arrows.
-
You can now lift the motherboard out of the frame while simultaneously disconnecting the wires on the underside.
-
-
-
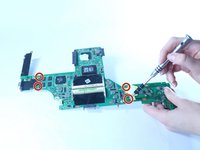
Remove the four, 3 mm screws and disconnect the red and black wire from to the motherboard.
-
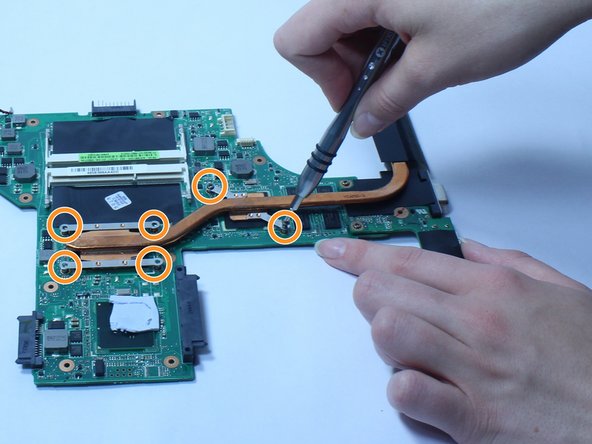
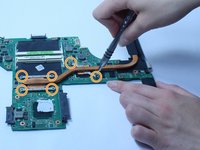
Unscrew the six, 5 mm screws to disconnect the copper heat pipe.
-
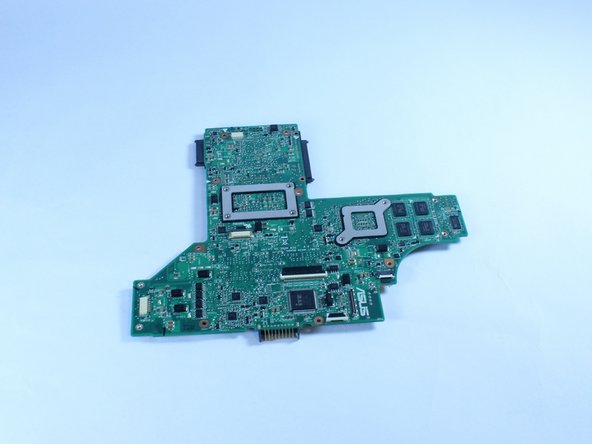
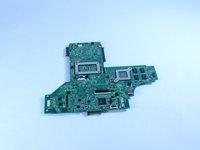
Once these are removed, the motherboard can be replaced.
-
-

 Спросите у FixBot








To reassemble your device, follow these instructions in reverse order.

Команда

USF Tampa, Team S2-G4, Lacy Spring 2017 Участник USF Tampa, Team S2-G4, Lacy Spring 2017
USFT-LACY-S17S2G4
3 членов
Автор 70 руководств
