Введение
If the images on your screen are distorted or if your images aren't displaying, there's a chance your screen is defective or damaged. Also if you drop your laptop or step on it, there's a chance you damaged the screen. This guide will show you how to replace your screen.
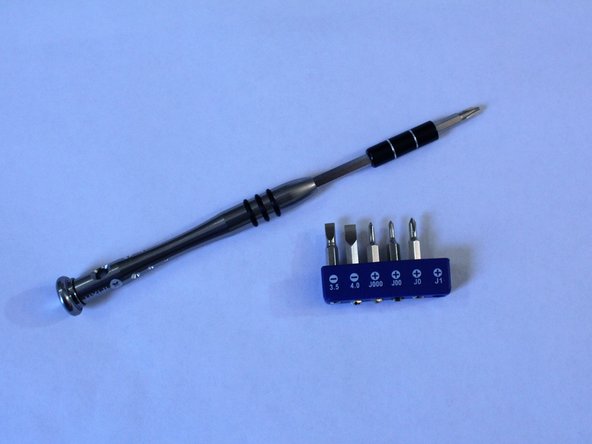
Выберете то, что вам нужно
-
-
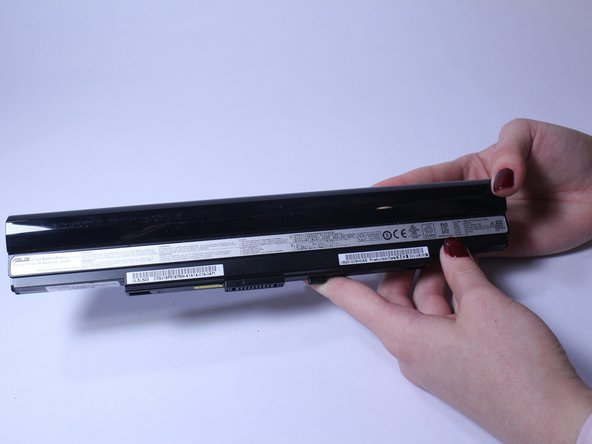
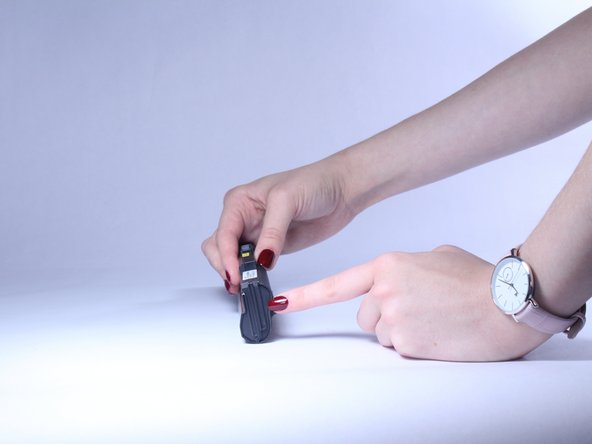
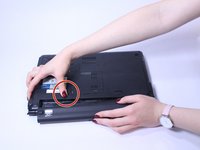
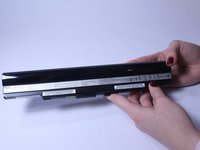
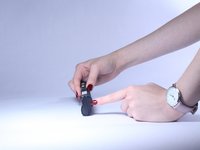
Slide the button marked with an arrow to the left. The battery should now unclick. Slide the battery away from the laptop to remove it.
-
-
-
-
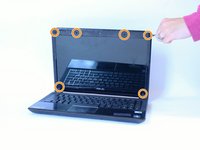
Flip laptop back over and open it so that the screen faces you. Several rubber cushions hide screws around the bezel (surrounding frame). Remove these first to get to the screws underneath. The two bottom covers are stickers. Then remove all screws holding the bezel in place.
-
There will be four 3 mm screws located on the top and two 5 mm screws located on the bottom of the bezel.
-
-
-
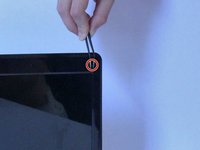
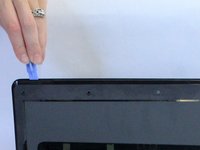
Next, completely remove the bezel using a plastic opening tool to work your way around while gently prying it from the LCD. If it does not come off with a moderate amount of force check that you did not miss any screws.
-
-
-
Unscrew the four 3 mm screws that hold the mounting brackets for the screen to the backing.
-
-
-
Gently lay the screen on the keyboard and remove the tape over the connection. You can then disconnect the screen.
-


To reassemble your device, follow these instructions in reverse order. It is a good idea to check that the new screen works before reattaching the bezel.
Команда

USF Tampa, Team S2-G4, Lacy Spring 2017 Участник USF Tampa, Team S2-G4, Lacy Spring 2017
USFT-LACY-S17S2G4
3 членов
Автор 7 руководств