Введение
The display is vital to using a laptop. If the display is damaged or not functioning properly this guide will show how to replace it.
Выберете то, что вам нужно
-
-
-
Turn the laptop upside down so that the underside is facing up and locate the two switches that are on each side of the battery.
-
Slide the switch on the top right corner to the right.
-
Slide and hold the switch on the top left corner to the left and carefully remove the battery.
 Спросите у FixBot
-
-
-
-
Инструмент, используемый на этом этапе:Tweezers$4.99
-
Open up the laptop and locate the two circular stickers at the bottom corners of the display.
-
Use a pair of tweezers to remove the two black stickers covering the screws.
-
Using a Philips #000 screwdriver, remove the two 9mm screws.
-
-
-
-
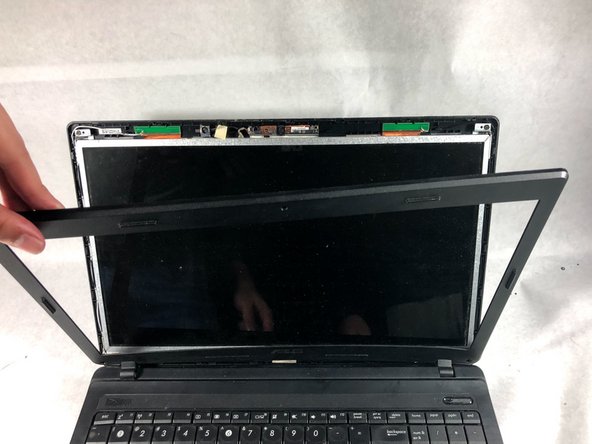
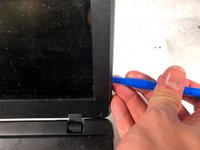
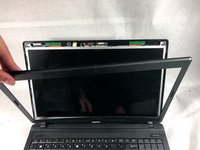
Use the plastic opening tool to pop off the plastic border around the display.
-
-
-
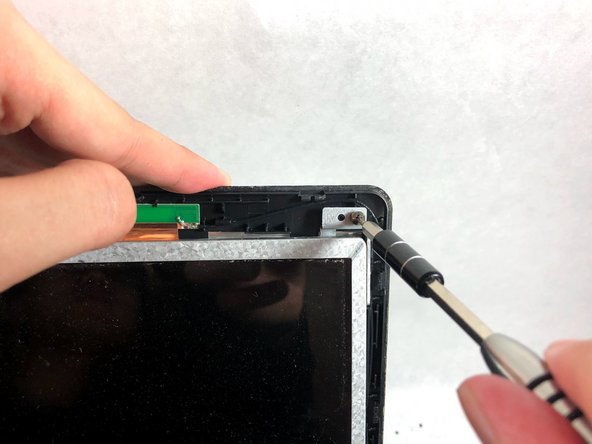
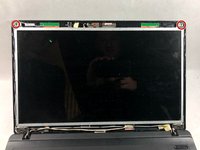
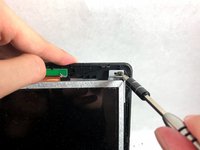
Remove the two 9mm screws from the top corners of the display with a Phillips #000 screwdriver.
-
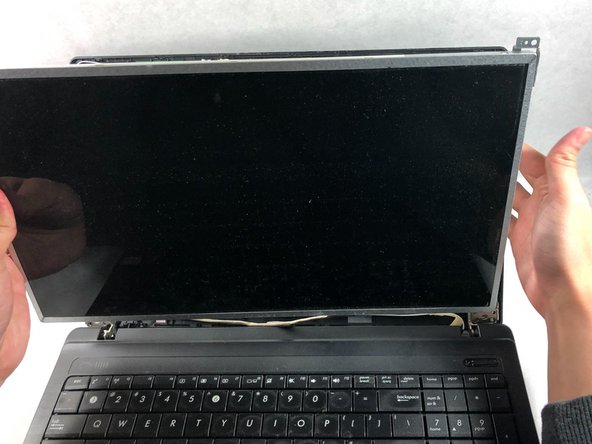
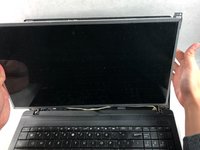
Carefully lift the display out and place the screen face down on the keyboard.
-
-
-
Disconnect the display cable connector attached to the display.
-
-




To reassemble your device, follow these instructions in reverse order.

Команда

UMass Dartmouth, Team S3-G1, Bailey Fall 2017 Участник UMass Dartmouth, Team S3-G1, Bailey Fall 2017
UMASSD-BAILEY-F17S3G1
2 членов
Автор 49 руководств
