Перейти к основному содержанию
Присоединяйся к сообществу ремонтников - Создай аккаунт

AvertX HD810 PoE Cable Replacement

Выберете то, что вам нужно

  1. AvertX HD810 PoE Cable Replacement, Clear Dome Cover: шаг 1, изображение 1 из 3 AvertX HD810 PoE Cable Replacement, Clear Dome Cover: шаг 1, изображение 2 из 3 AvertX HD810 PoE Cable Replacement, Clear Dome Cover: шаг 1, изображение 3 из 3
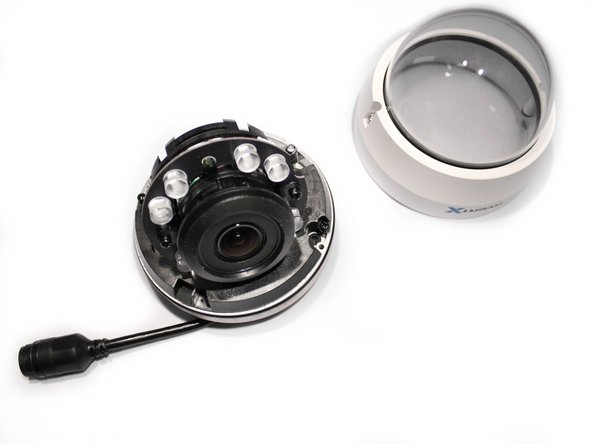
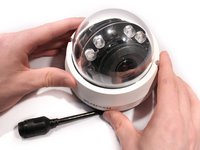
    • Lift off the paintable snap-on cover from the AvertX HD810 dome security camera.

    • Optimally, the device should be turned off and the PoE (Power over Ethernet) unplugged.

    Спросите у FixBot
  2. AvertX HD810 PoE Cable Replacement: шаг 2, изображение 1 из 2 AvertX HD810 PoE Cable Replacement: шаг 2, изображение 2 из 2
    • Loosen both 10mm screws on either side of the clear dome cover housing using a T10 Torx security screwdriver.

    • It is not recommended to remove the screws from the clear dome cover housing. The screws are apart of the cover and not intended to come out.

    Спросите у FixBot
  3. AvertX HD810 PoE Cable Replacement: шаг 3, изображение 1 из 3 AvertX HD810 PoE Cable Replacement: шаг 3, изображение 2 из 3 AvertX HD810 PoE Cable Replacement: шаг 3, изображение 3 из 3
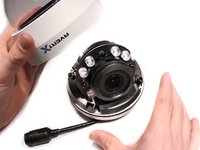
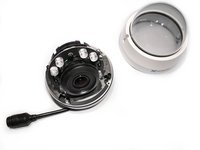
    • Gently pull off the clear dome cover from the camera base.

    Спросите у FixBot
  4. AvertX HD810 PoE Cable Replacement, PoE Cable: шаг 4, изображение 1 из 3 AvertX HD810 PoE Cable Replacement, PoE Cable: шаг 4, изображение 2 из 3 AvertX HD810 PoE Cable Replacement, PoE Cable: шаг 4, изображение 3 из 3
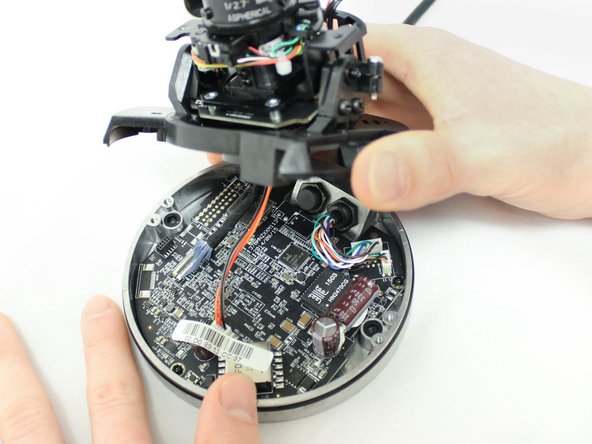
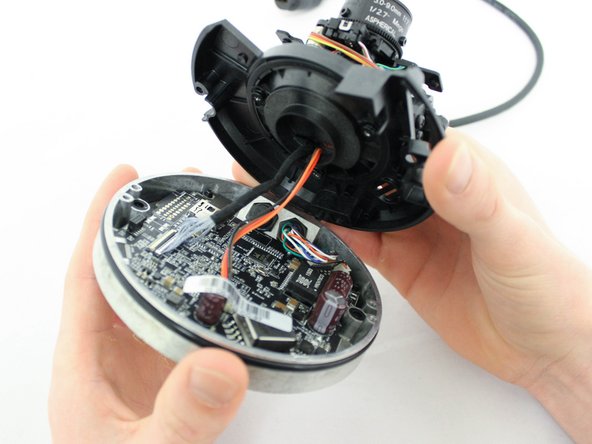
    • Make sure the device is turned off and unplugged completely before attempting any more disassembly .

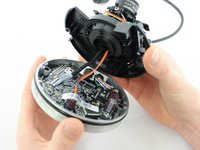
    • Unscrew the two 10mm screws holding the plastic camera base to the metal camera base using the PH1 screwdriver.

    • Be aware that cables are still connected under this base, and gently lift the plastic base with the camera away from the metal base with the motherboard.

    Спросите у FixBot
  5. AvertX HD810 PoE Cable Replacement: шаг 5, изображение 1 из 3 AvertX HD810 PoE Cable Replacement: шаг 5, изображение 2 из 3 AvertX HD810 PoE Cable Replacement: шаг 5, изображение 3 из 3
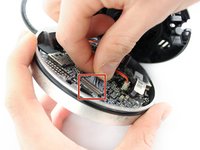
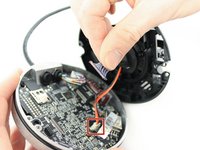
    • Disconnect the two cables from the camera base motherboard by gently but firmly pulling directly away from their respective ports.

    • Disconnect the two PoE (Power over Ethernet) cables from the motherboard by gently but firmly pulling the connected cables directly away from their respective ports.

    Спросите у FixBot
  6. AvertX HD810 PoE Cable Replacement: шаг 6, изображение 1 из 3 AvertX HD810 PoE Cable Replacement: шаг 6, изображение 2 из 3 AvertX HD810 PoE Cable Replacement: шаг 6, изображение 3 из 3
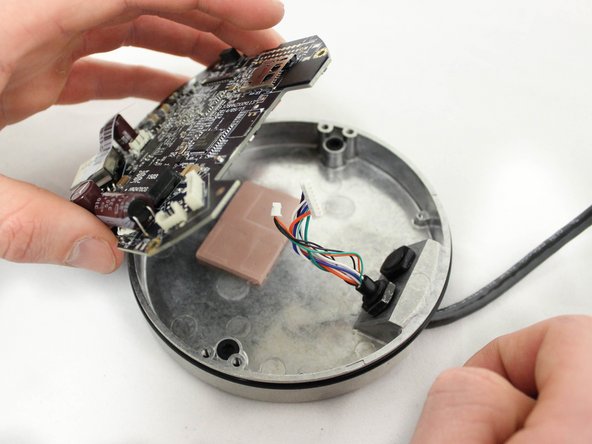
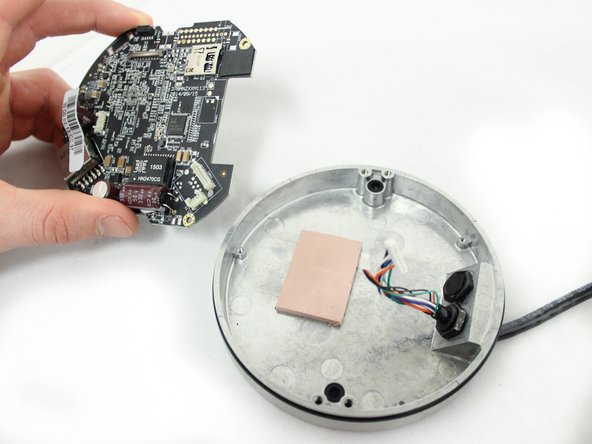
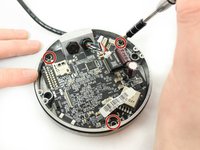
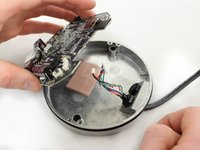
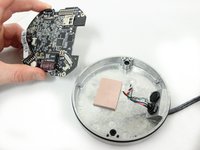
    • Using a nonmagnetic, PH000 Phillips Head screwdriver, remove the three 6mm screws that hold the motherboard to the metal base.

    • Set the motherboard aside on a non-static surface.

    Спросите у FixBot
  7. AvertX HD810 PoE Cable Replacement: шаг 7, изображение 1 из 3 AvertX HD810 PoE Cable Replacement: шаг 7, изображение 2 из 3 AvertX HD810 PoE Cable Replacement: шаг 7, изображение 3 из 3
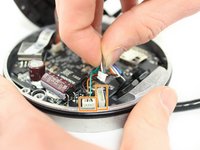
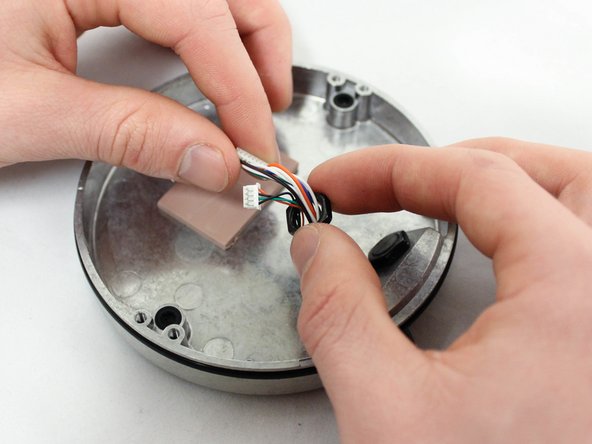
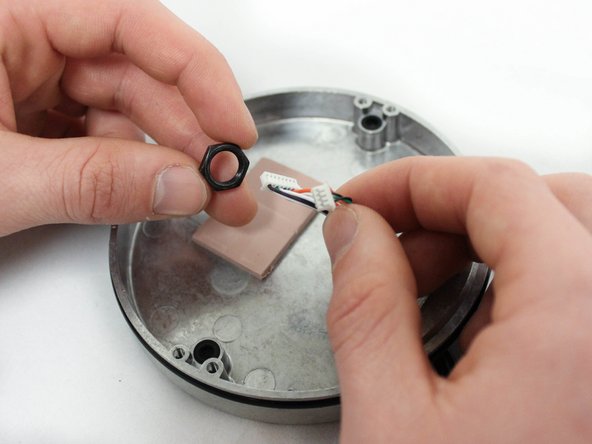
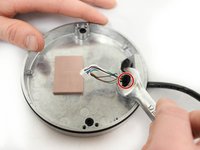
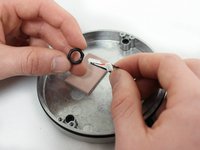
    • Remove the 1/2" hex nut holding the cable in place to the metal base with a 1/2" open-ended wrench.

    Спросите у FixBot
  8. AvertX HD810 PoE Cable Replacement: шаг 8, изображение 1 из 2 AvertX HD810 PoE Cable Replacement: шаг 8, изображение 2 из 2
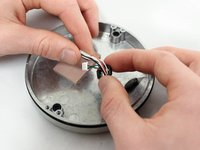
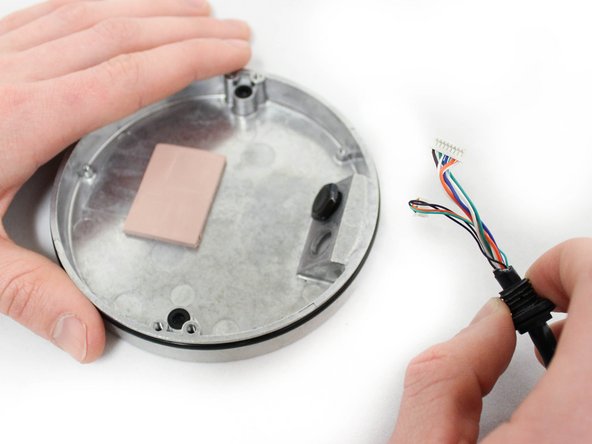
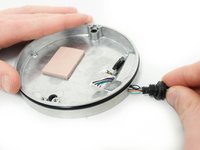
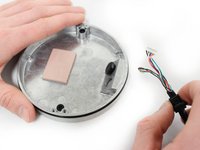
    • Pull the PoE cable away from the metal camera base while angling the plastic connectors through the hole

    Спросите у FixBot
Заключение

To reassemble your device, follow these instructions in reverse order.

Luke Browning

Участник с: 01/18/17

316 Репутация

Автор 3 руководств

Команда

Eastern Washington University, Team 2-3, Crane Winter 2017 Участник Eastern Washington University, Team 2-3, Crane Winter 2017

EWU-CRANE-W17S2G3

3 членов

Автор 10 руководств

0 Комментарии к руководству

Добавить комментарий

Статистика просмотров:

За последние 24 часов: 2

За последние 7 дней: 6

За последние 30 дней: 51

За всё время: 794