Введение
This guide shows how to replace Axess SPBT1031 Subwoofer. Replacing the subwoofer is moderate difficulty and it'll take about 15 minutes to replace. Below is the step-by-step guide to replacing the subwoofer.
Выберете то, что вам нужно
-
-
Look at the side of the speaker without the red interface plate; there will be a red ring around the mesh but no buttons on the side.
-
Remove the two 5.5 mm screws from the top and bottom of the black face plate using a Phillips #1 screwdriver.
 Спросите у FixBot
-
-
-
Use a metal spudger to remove the mesh speaker cover by wedging the narrow end into the center of the outer edge of the mesh touching the red plate.
-
-
-
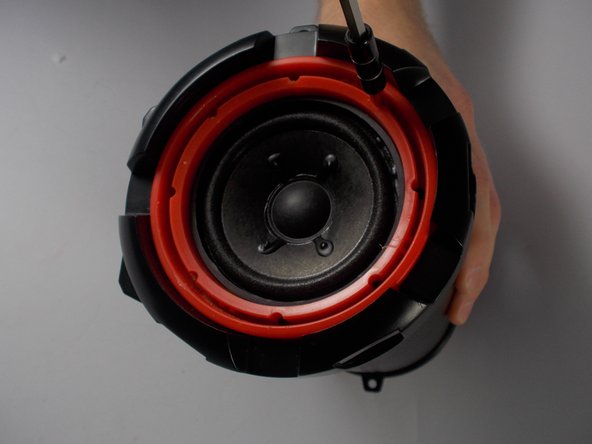
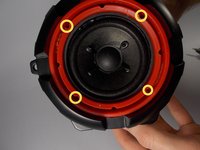
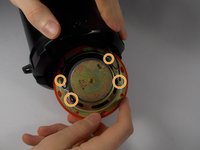
Remove four 5.5 mm screws from the red panel under the mesh using a Phillips #1 screwdriver.
-
-
-
Инструмент, используемый на этом этапе:Tweezers$4.99
-
If the screws are difficult to remove, use the tweezers to twist and pick them out.
-
-
-
Separate the red plate from the black face plate by removing the black plate from the tube and pushing on the inside of the subwoofer.
-
-
-
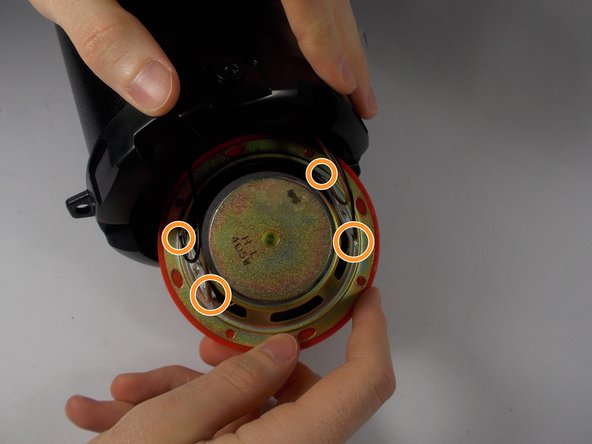
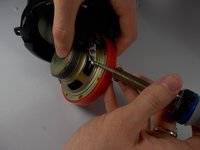
To remove the the wires from the subwoofer terminals, use a soldering iron to reheat the solder at each of the four points of connection.
-
-
Инструмент, используемый на этом этапе:Desoldering Pump$3.99
-
Use a desoldering pump to remove the liquid solder from the terminals.
-







To reassemble your device, follow these instructions in reverse order.
Отменить: Я не выполнил это руководство.
2 человек успешно провели ремонт по этому руководству.

Команда

UMass Dartmouth, Team 8-6, Botvin Spring 2016 Участник UMass Dartmouth, Team 8-6, Botvin Spring 2016
UMASSD-BOTVIN-S16S8G6
3 членов
Автор 16 руководств
1 Комментарий к руководству
I Ned to replace the charger conection and I need the parts please u can email me at elpaleterolopez@Gmail.com or call me at 6613402547
