Перейти к основному содержанию
Присоединяйся к сообществу ремонтников - Создай аккаунт

Azpen A701 Screen Replacement

Выберете то, что вам нужно

    1. Azpen A701 Screen Replacement, General Disassembly Prerequisite Guide: шаг 1, изображение 1 из 1
      • Remove the two 2cm screws on the bottom using the PH0 Phillips head screw driver.

      Спросите у FixBot

      Добавить комментарий

    2. Azpen A701 Screen Replacement: шаг 2, изображение 1 из 2 Azpen A701 Screen Replacement: шаг 2, изображение 2 из 2
      • Pry open the back piece with the plastic spudger.

      • Remove the back piece from the device.

      • The back panel may be difficult to pry off, use gentle force.

      Спросите у FixBot

      Добавить комментарий

    3. Azpen A701 Screen Replacement: шаг 3, изображение 1 из 1
      • Disconnect speaker (which is attached by black and red wires) from back piece using plastic spudger.

      Спросите у FixBot

      Добавить комментарий

    4. Azpen A701 Screen Replacement: шаг 4, изображение 1 из 1
      • Gently pry the battery off of the device with the plastic spudger.

      • There is a large amount of glue holding the battery to the device.

      • Do not puncture the battery with the plastic spudger.

      Спросите у FixBot

      Добавить комментарий

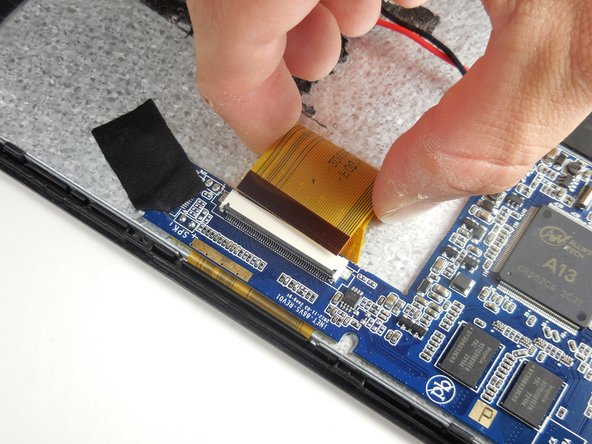
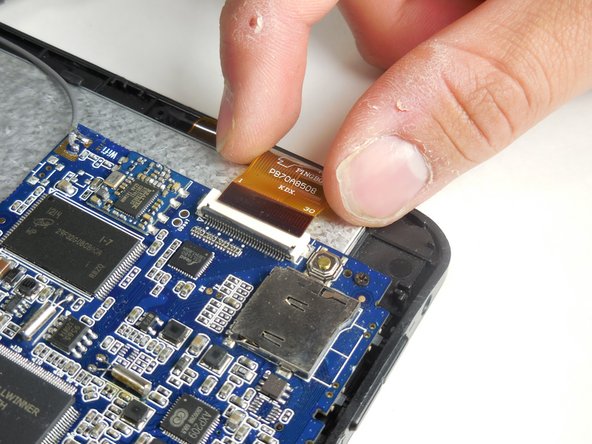
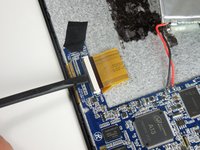
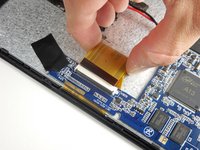
    1. Azpen A701 Screen Replacement, Screen: шаг 5, изображение 1 из 3 Azpen A701 Screen Replacement, Screen: шаг 5, изображение 2 из 3 Azpen A701 Screen Replacement, Screen: шаг 5, изображение 3 из 3
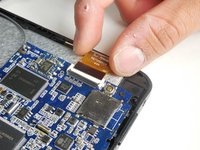
      • Disconnect the two largest (of the three) ZIF cables by prying open the flap with a plastic spudger to gently remove them.

      Спросите у FixBot

      Добавить комментарий

    2. Azpen A701 Screen Replacement: шаг 6, изображение 1 из 1
      • Peel off the black tape from the corner of the motherboard (indicated by the blue surface of the device).

      Спросите у FixBot

      Добавить комментарий

    3. Azpen A701 Screen Replacement: шаг 7, изображение 1 из 3 Azpen A701 Screen Replacement: шаг 7, изображение 2 из 3 Azpen A701 Screen Replacement: шаг 7, изображение 3 из 3
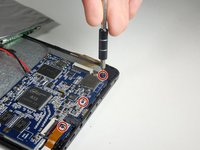
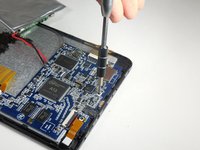
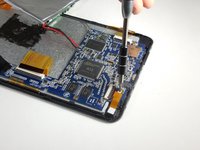
      • Use a Phillips #000 screwdriver to remove the three screws that connect the motherboard to the front panel.

      • When removing the motherboard, be cautious of the gray wire connected from the motherboard to the actual device.

      Спросите у FixBot

      Добавить комментарий

    4. Azpen A701 Screen Replacement: шаг 8, изображение 1 из 1
      • Remove the motherboard and the battery and set aside.

      Спросите у FixBot

      Добавить комментарий

    5. Azpen A701 Screen Replacement: шаг 9, изображение 1 из 3 Azpen A701 Screen Replacement: шаг 9, изображение 2 из 3 Azpen A701 Screen Replacement: шаг 9, изображение 3 из 3
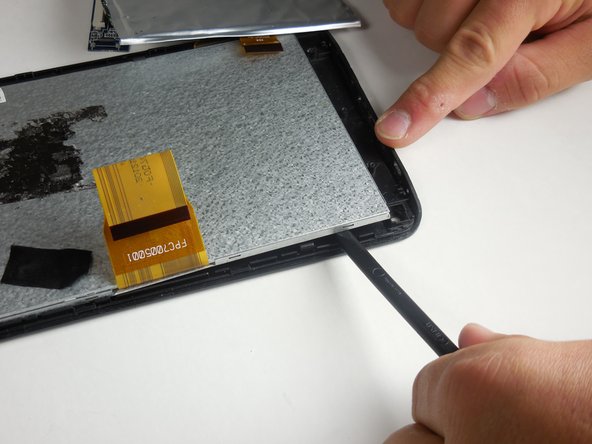
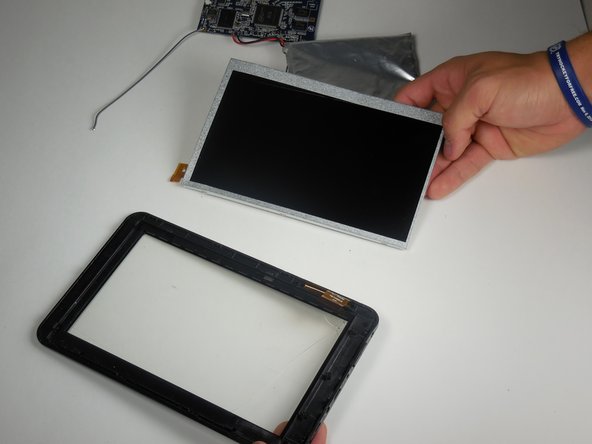
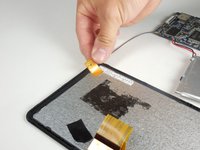
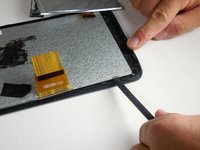
      • Remove the small orange tape attached with a gray wire from the top corner of the device. This is the antenna.

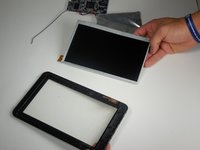
      • Use a plastic spudger around the silver lining within the device to pry the screen off.

      • The metal screen assembly is two pieces. When removing the screen, make sure to pry off both pieces at once.

      Спросите у FixBot

      Добавить комментарий

    6. Azpen A701 Screen Replacement: шаг 10, изображение 1 из 1
      • Replace the broken screen and reverse the steps to re-assemble the device.

      Спросите у FixBot

      Добавить комментарий

Заключение

To reassemble your device, follow these instructions in reverse order.

Отменить: Я не выполнил это руководство.

Еще один человек закончил это руководство.

Michael

Участник с: 03/11/15

568 Репутация

Автор 4 руководств

Команда

Colorado Springs, Team 2-1, Panko Spring 2015 Участник Colorado Springs, Team 2-1, Panko Spring 2015

UCCS-PANKO-S15S2G1

3 членов

Автор 12 руководств

0 Комментарии к руководству

Добавить комментарий

Статистика просмотров:

За последние 24 часов: 3

За последние 7 дней: 7

За последние 30 дней: 35

За всё время: 908