Введение
This guide describes all of the necessary steps to replace the battery in the VENSTAR Taco. This guide is needed when the original device battery no longer holds a charge. Hazards when following this guide are risks associated with soldering the wires from the battery to the motherboard. The tool involved in replacing the battery is a soldering tool.
Выберете то, что вам нужно
-
-
-
Starting with the Taco on its side, use the plastic opening tool to pop off the outer casing near the base.
 Спросите у FixBot
-
-
-
Repeat the previous step on the opposite side to remove the other outer casing.
-
-
Инструмент, используемый на этом этапе:Phillips #0 Screwdriver$5.49
-
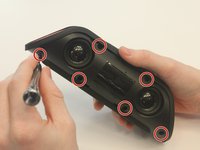
Using a Phillips PH0 3 mm-bit screwdriver, remove the six screws on the inner layer of the Taco.
-
-
-
-
From the same side you just unscrewed, use a plastic opening tool to unwedge the inner cover on both sides of the base.
-
-
-
Slide off the inner cover. It pulls apart and is held on by a small amount of glue.
-
-
-
-
Инструмент, используемый на этом этапе:Tweezers$4.99
-
A black fabric covers the ribbon retaining flap, remove it using the curved tweezers as it can be a fire hazard when soldering.
-
-
-
Using a portable soldering iron, melt the solder on the red and black wires on the logic board. Be careful as you are working with the hot metal, it can burn you!
-
As an alternative to soldering, you can cut the red and black wires close to the battery and strip the ends. Then crimp the new battery's wires to the old wires on the board, making sure to match red to red and black to black.
-
-






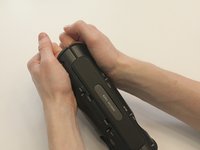
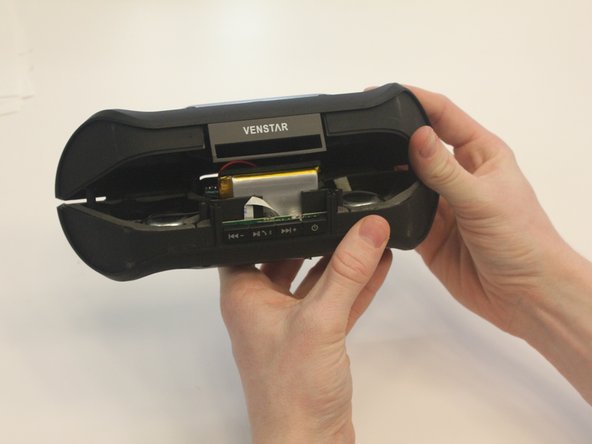

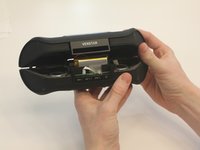
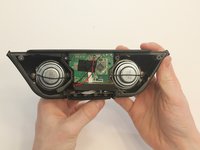


Be careful soldering the wires for the new battery onto the logic board as you can burn yourself while doing it. To reassemble your device, follow the instructions from the VENSTAR Taco Disassembly page in reverse order.
Отменить: Я не выполнил это руководство.
2 человек успешно провели ремонт по этому руководству.

Команда

University of Kentucky Louisville, Team 1-3, Matravers Spring 2016 Участник University of Kentucky Louisville, Team 1-3, Matravers Spring 2016
LOUISVILLE-MATRAVERS-S16S1G3
4 членов
Автор 10 руководств
