Введение
This device has an LCD screen. LCD stands for liquid crystal display. An LCD is a flat panel, or an electronic visual display, that uses the light modulating properties of liquid crystals. Liquid crystals do not emit light directly. Knowing how to replace your LCD is important because Liquid crystal display's are very fragile and break or shatter very easily. It can be very costly to replace an LCD, so knowing how to repair it on your own would be cost efficient as well.
Выберете то, что вам нужно
-
-
-
Remove the battery.
-
Use a plastic spudger tool or your fingers to gently pop the battery out from the bottom by pushing and lifting.
 Спросите у FixBot
-
-
-
Removing the sim card.
-
Press and pull down on the yellow tab until the sim card falls out.
-
-
-
Remove the plastic bezle.
-
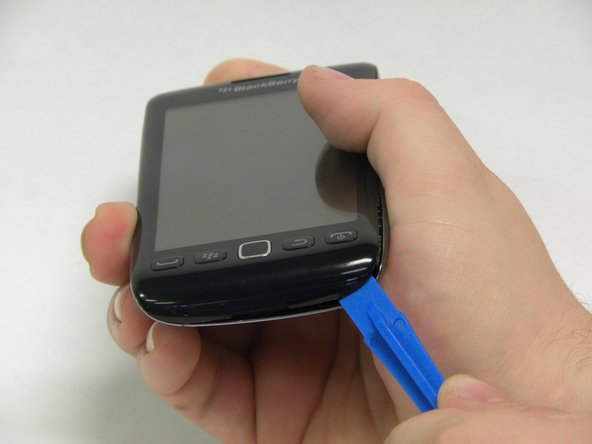
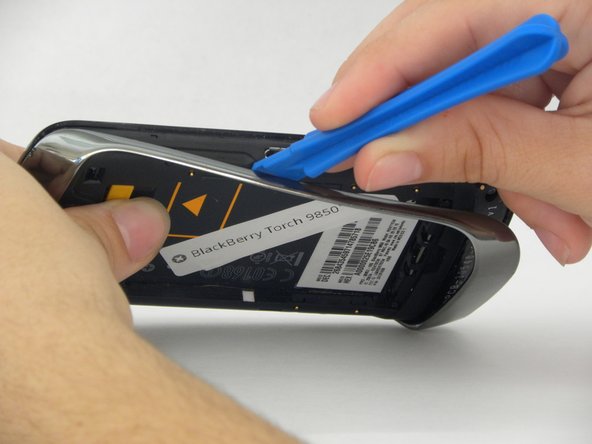
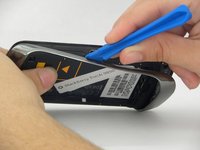
To remove the plastic bezle on the back of the phone, use a plastic prying tool to gently pry it off.
-
Begin in the center on the bottom of the phone, and slowly work your way around to each side.
-
Once the bezle is loosened on both sides, you can gently pull it off with your hands.
-
-
-
-
Remove the screws.
-
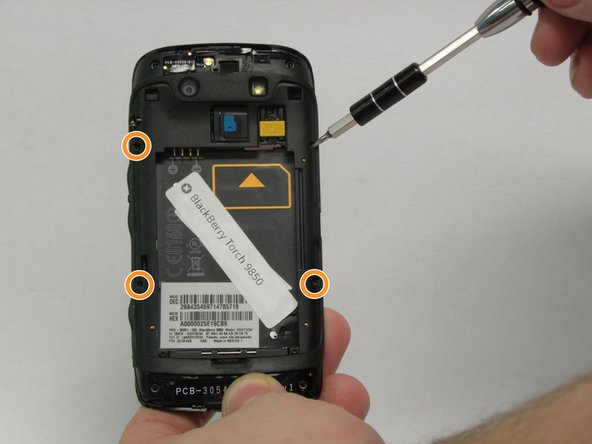
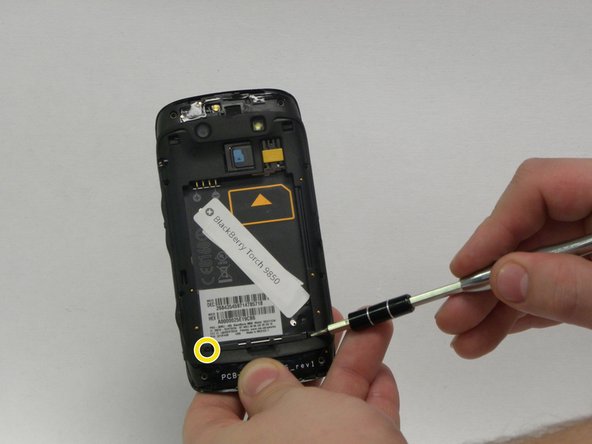
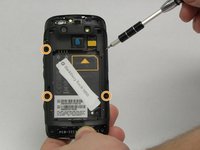
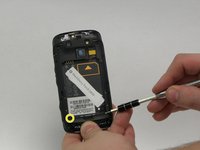
You will need to remove the ten small screws that hold the back of the phone together.
-
Start by using a T5 phillips screw driver to remove the four 4.5 mm screws on the outside corners of the phone.
-
Next, use a T4 phillips screw driver to remove the four 4mm screws on the sides of the device.
-
Lastly, use the T4 phillips screw driver again to remove the last of the screws, which should be two 2mm screws on the bottom.
-
-
-
Remove the back piece.
-
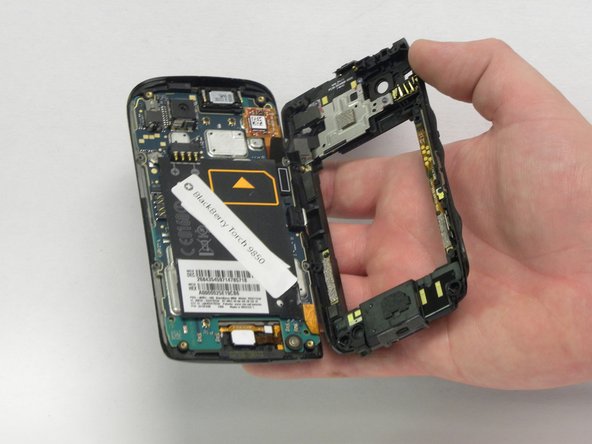
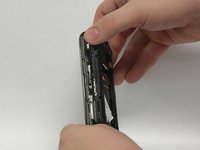
Once you have all the screws removed, gently remove the back piece of the phone with your hands.
-
-
-
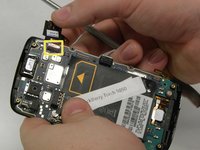
Disconnect the main cable ribbon.
-
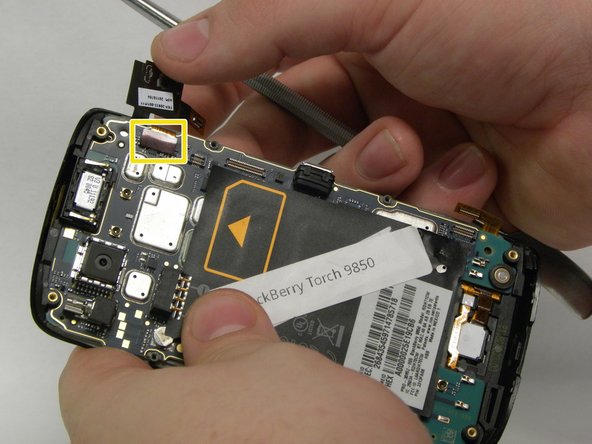
There will be a black cable ribbon on the upper right side of the phone.
-
Using the metal pry tool, gently pry this cable ribbon open to separate the front and back pieces of the phone.
-
-
-
Disconnect the remaining cable ribbons.
-
There are two copper cable ribbons.
-
Using a metal pry tool, carefully disconnect the first copper cable ribbon on the bottom right side of the phone.
-
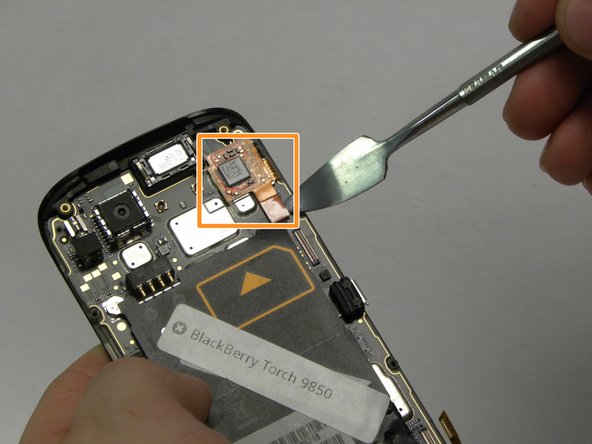
Likewise, disconnect the square copper cable ribbon at the top right of the phone.
-
Once you disconnect the first square cable ribbon, a second will be exposed and you can disconnect that one the same way.
-
-
-
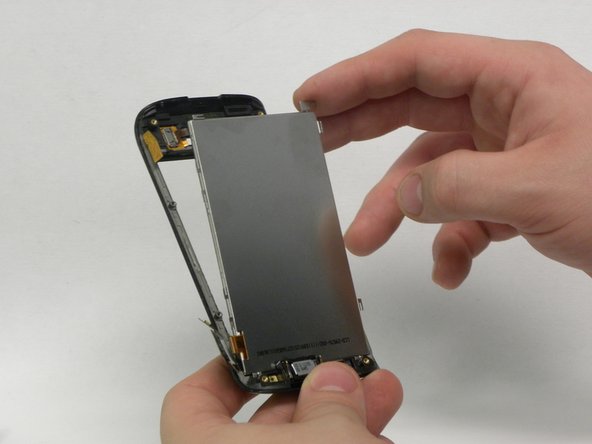
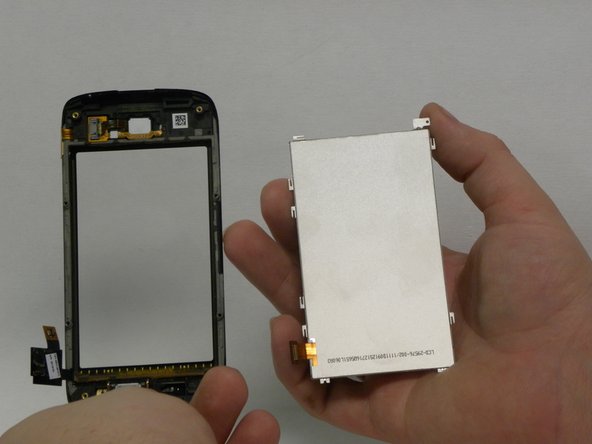
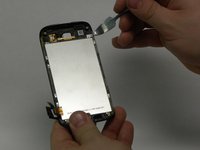
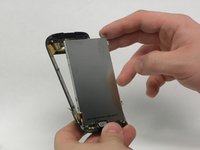
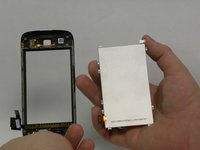
Remove the LCD screen.
-
Once you have completed all of the previous steps, you can remove the display.
-
Gently pry on the little tab at the top of the screen to remove it.
-
-




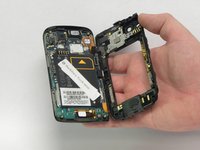

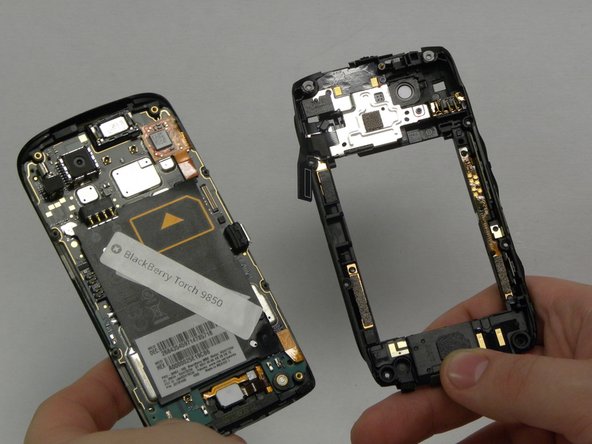
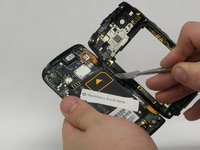
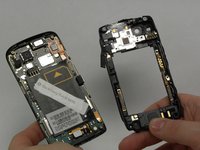


To reassemble your device, follow these instructions in reverse order.
Отменить: Я не выполнил это руководство.
2 человек успешно провели ремонт по этому руководству.

Команда

USF Sarasota-Manatee, Team 1-2, Stewart Fall 2015 Участник USF Sarasota-Manatee, Team 1-2, Stewart Fall 2015
USFSM-STEWART-F15S1G2
5 членов
Автор 76 руководств
