Перейти к основному содержанию
Присоединяйся к сообществу ремонтников - Создай аккаунт

CASIO CDP-230R Button Panel Replacement

Выберете то, что вам нужно

  1. CASIO CDP-230R Button Panel Replacement, Panels: шаг 1, изображение 1 из 3 CASIO CDP-230R Button Panel Replacement, Panels: шаг 1, изображение 2 из 3 CASIO CDP-230R Button Panel Replacement, Panels: шаг 1, изображение 3 из 3
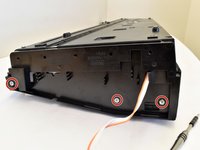
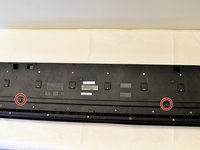
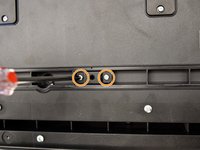
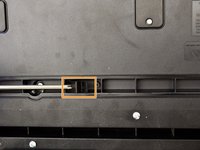
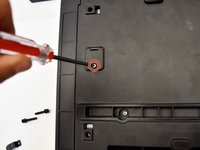
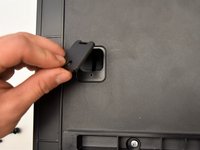
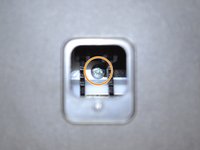
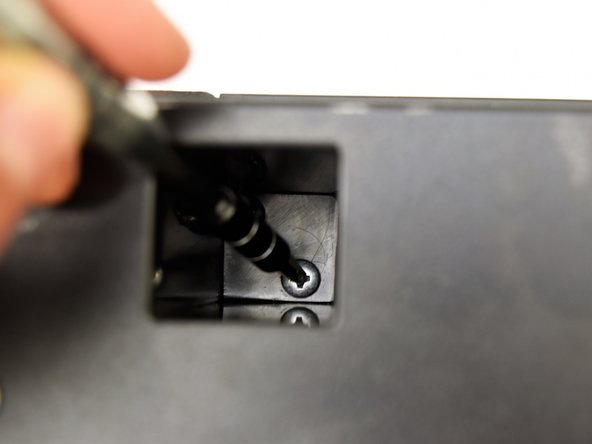
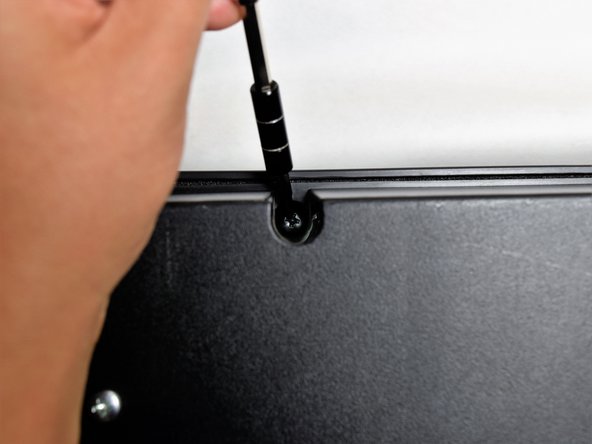
    • Flip the keyboard upside down, with the keys on a flat surface.

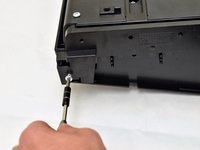
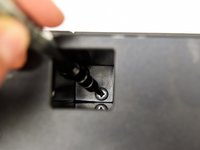
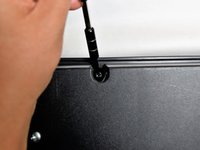
    • Remove the three black 14mm Japanese Industrial Standard (J) head screws using a J1 screwdriver on the top half of the outermost side panel.

    Спросите у FixBot
  2. CASIO CDP-230R Button Panel Replacement: шаг 2, изображение 1 из 3 CASIO CDP-230R Button Panel Replacement: шаг 2, изображение 2 из 3 CASIO CDP-230R Button Panel Replacement: шаг 2, изображение 3 из 3
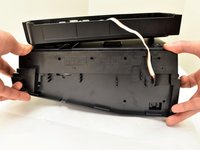
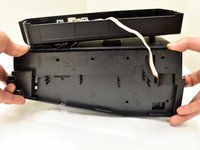
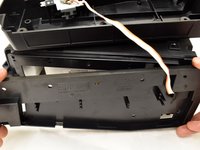
    • Use two hands to grab the side panel from both sides.

    • Pull the panel apart from the device one side at a time.

    • There will be popping sounds when you remove this panel.

    • One side panel will not have an orange & white cable connected to it.

    Спросите у FixBot
  3. CASIO CDP-230R Button Panel Replacement: шаг 3, изображение 1 из 3 CASIO CDP-230R Button Panel Replacement: шаг 3, изображение 2 из 3 CASIO CDP-230R Button Panel Replacement: шаг 3, изображение 3 из 3
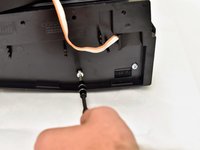
    • Remove the three silver 10mm screws with a J1 screwdriver on the bottom half of the innermost side panel of the device.

    • One side panel will not have an orange & white cable running through.

    Спросите у FixBot
  4. CASIO CDP-230R Button Panel Replacement: шаг 4, изображение 1 из 3 CASIO CDP-230R Button Panel Replacement: шаг 4, изображение 2 из 3 CASIO CDP-230R Button Panel Replacement: шаг 4, изображение 3 из 3
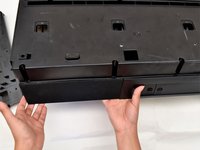
    • Remove the innermost side panel by pinching the top and bottom of the panel and pulling the panel off with both hands.

    • There will be popping sounds when you remove this panel.

    • Repeat steps one through four to remove the other side panel of the keyboard.

    Спросите у FixBot
  5. CASIO CDP-230R Button Panel Replacement: шаг 5, изображение 1 из 3 CASIO CDP-230R Button Panel Replacement: шаг 5, изображение 2 из 3 CASIO CDP-230R Button Panel Replacement: шаг 5, изображение 3 из 3
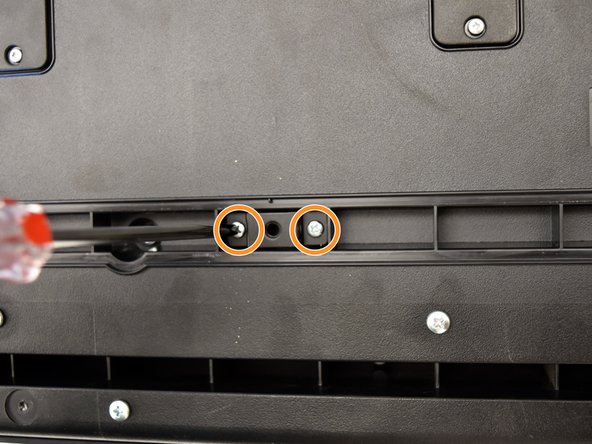
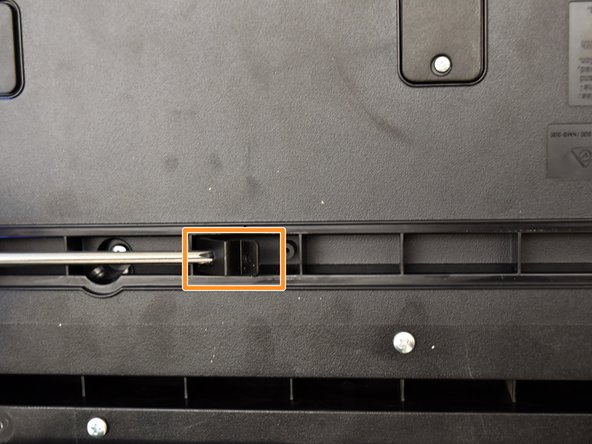
    • Remove the two black 30 mm J head screws with a J1 screwdriver to remove the long black bar.

    • Remove the four silver 8mm x 2mm J head screws with a J1 screwdriver and the two brackets from the back panel.

    • There will be two screws per bracket.

    Спросите у FixBot
  6. CASIO CDP-230R Button Panel Replacement: шаг 6, изображение 1 из 3 CASIO CDP-230R Button Panel Replacement: шаг 6, изображение 2 из 3 CASIO CDP-230R Button Panel Replacement: шаг 6, изображение 3 из 3
    • Remove the eight silver 10mm x 1.5mm J head screws with a J1 screwdriver and the square tabs from the back panel.

    • Remove the eight silver 10mm J head screws with a J1 screwdriver underneath the square tabs.

    Спросите у FixBot
  7. CASIO CDP-230R Button Panel Replacement: шаг 7, изображение 1 из 3 CASIO CDP-230R Button Panel Replacement: шаг 7, изображение 2 из 3 CASIO CDP-230R Button Panel Replacement: шаг 7, изображение 3 из 3
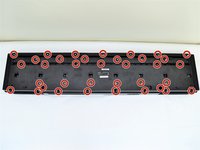
    • Remove the 36 silver 10mm J head screws with a J1 screwdriver from the back panel.

    Спросите у FixBot
  8. CASIO CDP-230R Button Panel Replacement: шаг 8, изображение 1 из 3 CASIO CDP-230R Button Panel Replacement: шаг 8, изображение 2 из 3 CASIO CDP-230R Button Panel Replacement: шаг 8, изображение 3 из 3
    • Place a hand on the front panel and speakers and carefully flip the keyboard over with the keys facing up.

    • Having a extra pair of hands will be useful.

    • Grab the center of the front panel with two hands and lift to remove panel.

    • Grab the speakers from the sides and lift to remove. Once you have done this for the first speaker, repeat with the second speaker.

    Спросите у FixBot
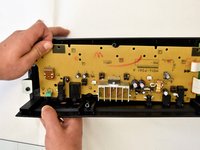
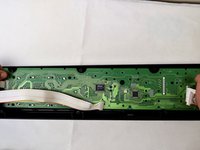
  9. CASIO CDP-230R Button Panel Replacement, Main Circuit Board: шаг 9, изображение 1 из 2 CASIO CDP-230R Button Panel Replacement, Main Circuit Board: шаг 9, изображение 2 из 2
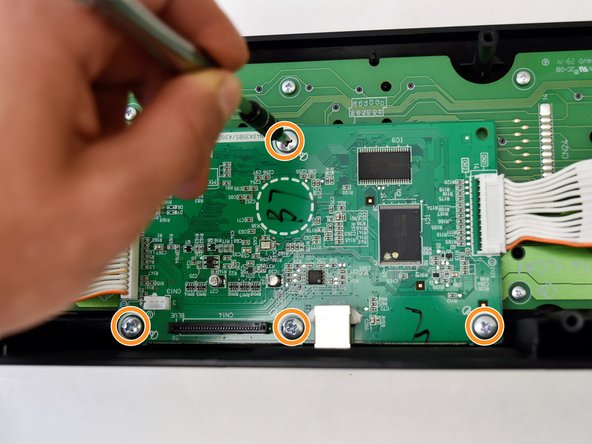
    • The main circuit board is located on the green side of the button panel. The main circuit board is the smaller green board.

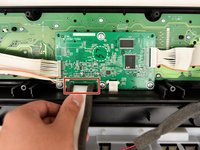
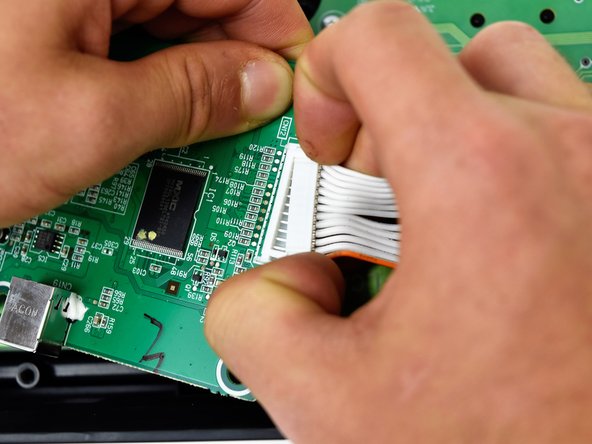
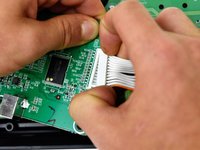
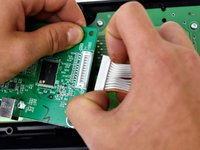
    • Grasp the white ribbon lined with foam and pull up to remove from the main circuit board.

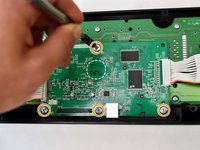
    • Remove the four silver 8mm x 2mm J head screws with a J1 screwdriver.

    Спросите у FixBot
  10. CASIO CDP-230R Button Panel Replacement: шаг 10, изображение 1 из 1
    • Lift the main circuit board from the button panel.

    Спросите у FixBot
  11. CASIO CDP-230R Button Panel Replacement: шаг 11, изображение 1 из 3 CASIO CDP-230R Button Panel Replacement: шаг 11, изображение 2 из 3 CASIO CDP-230R Button Panel Replacement: шаг 11, изображение 3 из 3
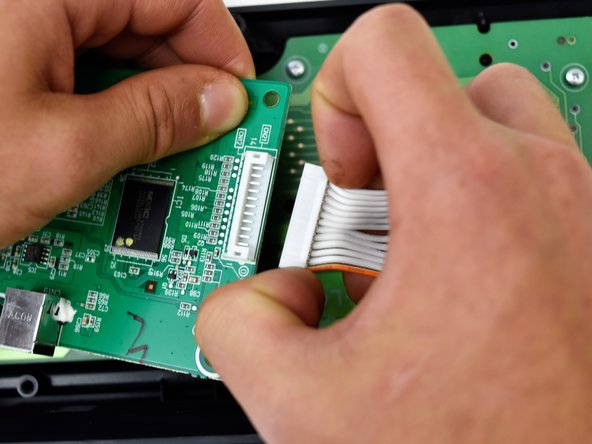
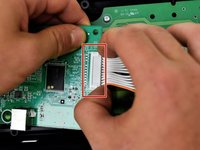
    • Grip the white plastic end of the orange and white cables that is attached to the right side of the main circuit board and pull to the right.

    • Repeat for the orange and white cables attached to the left side of the main circuit board and pull up.

    Спросите у FixBot
  12. CASIO CDP-230R Button Panel Replacement, Button Panel: шаг 12, изображение 1 из 2 CASIO CDP-230R Button Panel Replacement, Button Panel: шаг 12, изображение 2 из 2
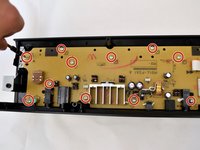
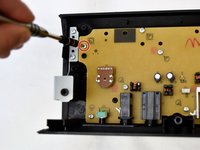
    • Remove the 11 7.5mm J head screws from the yellow button panel by using a J1 screwdriver.

    Спросите у FixBot
  13. CASIO CDP-230R Button Panel Replacement: шаг 13, изображение 1 из 2 CASIO CDP-230R Button Panel Replacement: шаг 13, изображение 2 из 2
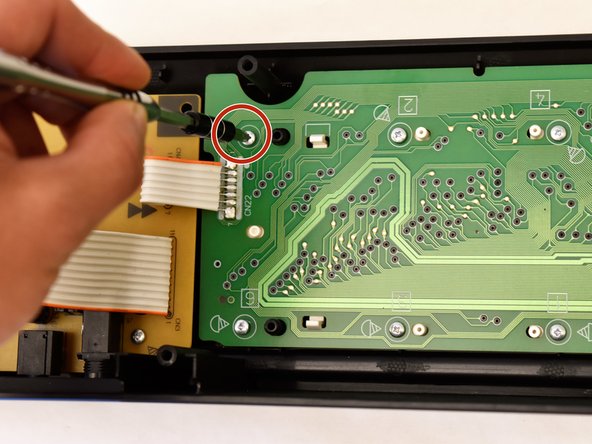
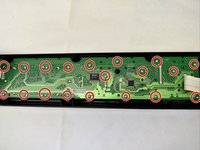
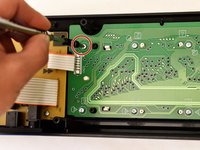
    • Remove the 19 9mm J head screws from the green button panel by using a J1 screwdriver.

    Спросите у FixBot
  14. CASIO CDP-230R Button Panel Replacement: шаг 14, изображение 1 из 2 CASIO CDP-230R Button Panel Replacement: шаг 14, изображение 2 из 2
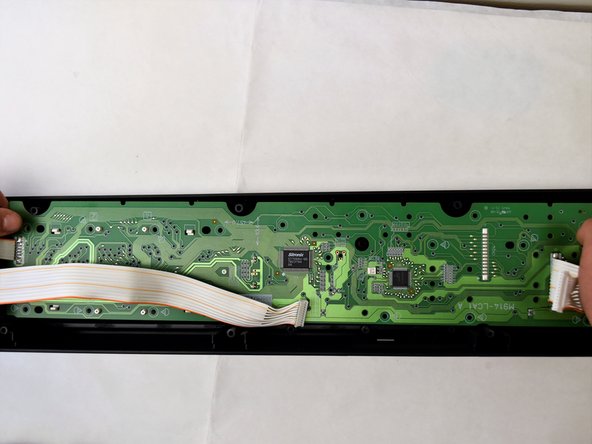
    • Lift the yellow side of the button panel first, then lift green side to remove the entire button panel together.

    • The yellow button panel will make a pop sound when removing it.

    • The volume knob will come off with the yellow circuit board. To place the knob back, snap it back into the socket on the outside of the front panel.

    Спросите у FixBot
Заключение

To reassemble your device, follow these instructions in reverse order.

Еще один человек закончил это руководство.

Areli Reyes

Участник с: 10/01/17

545 Репутация

Автор 4 руководств

Команда

Cal Poly, Team S4-G2, Livingston Fall 2017 Участник Cal Poly, Team S4-G2, Livingston Fall 2017

CPSU-LIVINGSTON-F17S4G2

4 членов

Автор 6 руководств

0 Комментарии к руководству

Добавить комментарий

Статистика просмотров:

За последние 24 часов: 2

За последние 7 дней: 11

За последние 30 дней: 32

За всё время: 2,213