Введение
Cooling can become an issue for your computer when the fan is not able to get the job done, it can be slow or broken entirely. This guide will help you replace the slow or stopped fan to help reduce the temperatures in your computer.
Выберете то, что вам нужно
-
-
Using the Phillips #1 screwdriver, remove the four 6mm screws on the back of the laptop.
 Спросите у FixBot
-
-
-
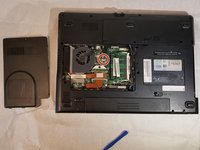
Insert the plastic prying tool and pry the back panel off starting at an edge and moving your way around it.
-
-
-
-
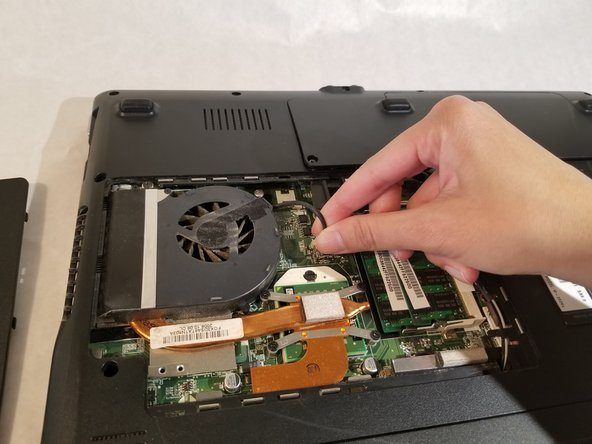
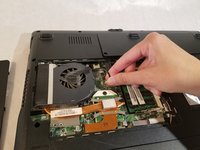
Remove the fan by moving it to the side and lifting it out of the computer.
-




To reassemble your device, follow these instructions in reverse order.
Отменить: Я не выполнил это руководство.
Еще один человек закончил это руководство.

Команда

UMass Dartmouth, Team S3-G2, Peak Spring 2018 Участник UMass Dartmouth, Team S3-G2, Peak Spring 2018
UMASSD-PEAK-S18S3G2
2 членов
Автор 14 руководств
