Введение
Use this guide to replace the screen in your CamPark BM20 baby monitor if it is damaged or no longer working and the other solutions provided in the CamPark BM20 Monitor Not Connecting to Camera or CamPark BM20 Monitor Screen Not Turning On troubleshooting pages don't work
Most of the time, if the screen has no display showing after it's been powered on, the device just needs to be charged. But if the handheld device was dropped, it's likely that the screen was damaged and will need to be replaced.
Before beginning this repair, make sure to power off your device completely.
Выберете то, что вам нужно
-
-
Use your fingers to slide the battery cover off the back of the handheld device.
-
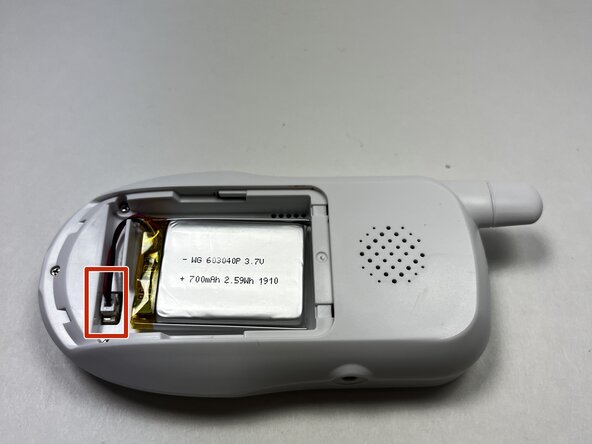
Disconnect the battery cable from the connector attached at the bottom of the device.
-
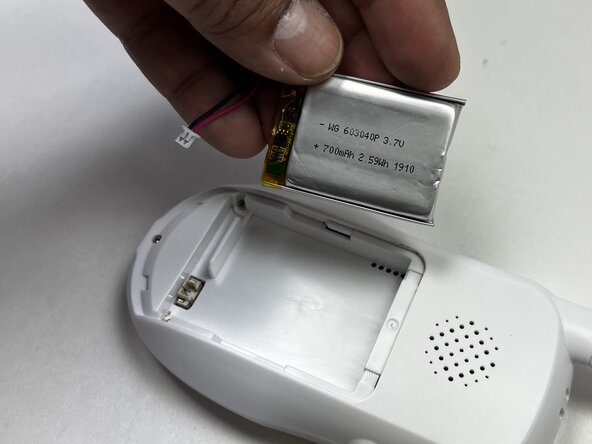
Remove the battery.
 Спросите у FixBot
-
-
-
Use a Phillips #0 screwdriver to remove the three 12.7 mm screws from the lower back of the device.
-
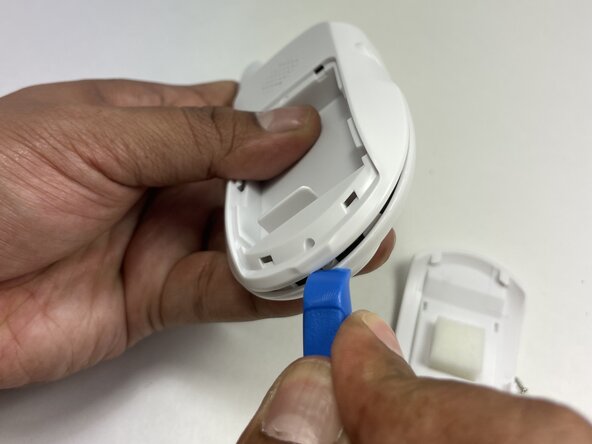
Insert the tip of an iFixit opening tool between the front and back casing seams to release the clips securing the two halves.
-
-
-
-
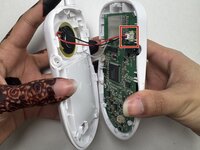
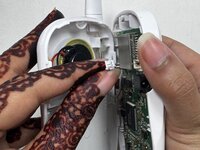
Gently separate the top and bottom casing.
-
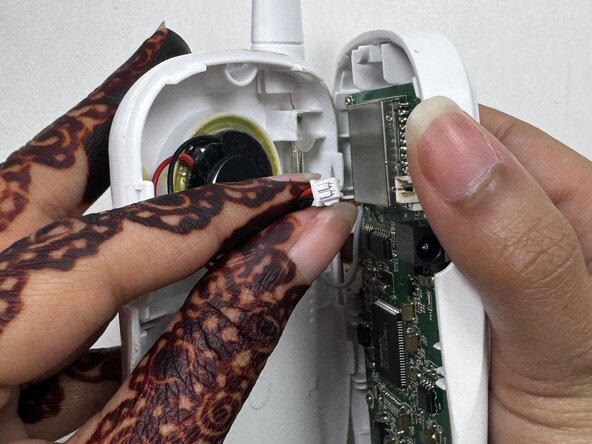
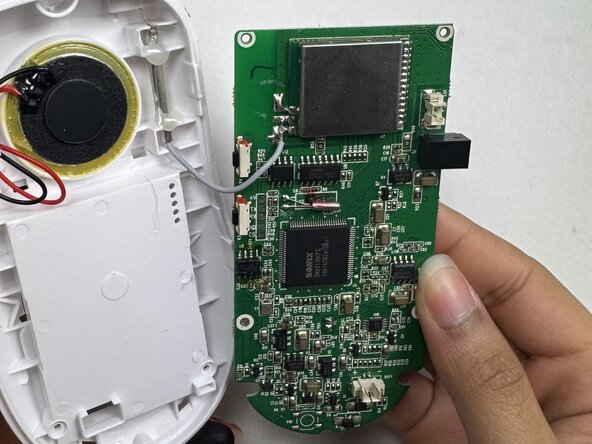
Unplug the speaker cable from the socket on the motherboard.
-
-
-
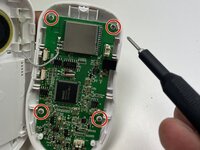
Remove the four 6.35 mm screws on the motherboard with a Phillips #00 screwdriver.
-
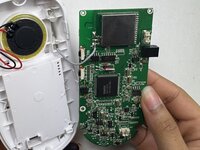
Remove the motherboard from the front case.
-
-
-
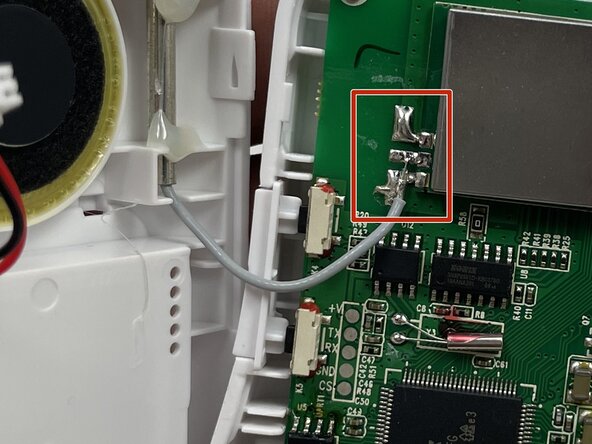
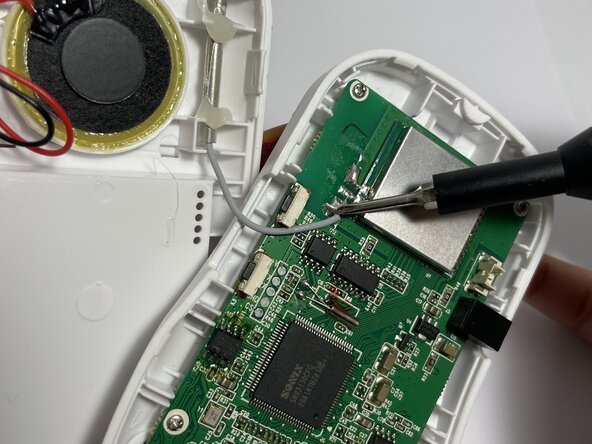
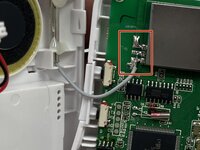
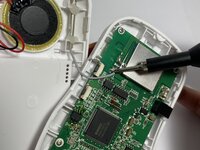
Use a soldering iron to desolder the antenna cable from the motherboard of the handheld device.
-
-
-
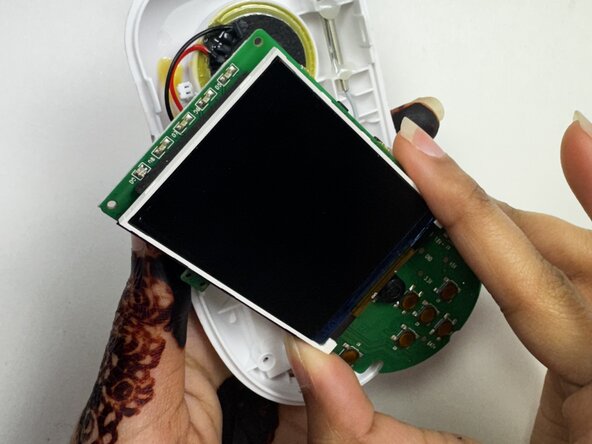
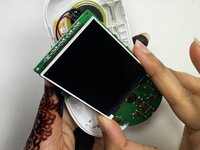
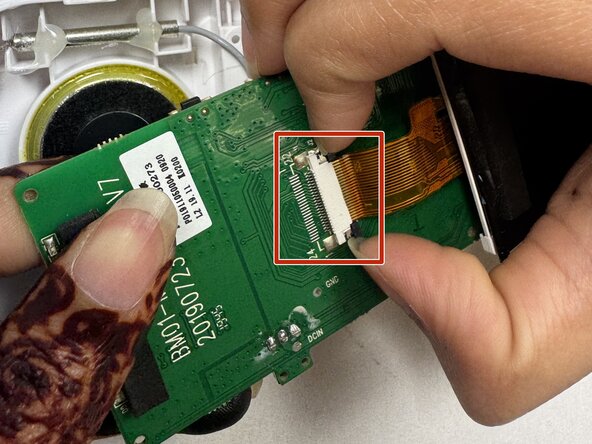
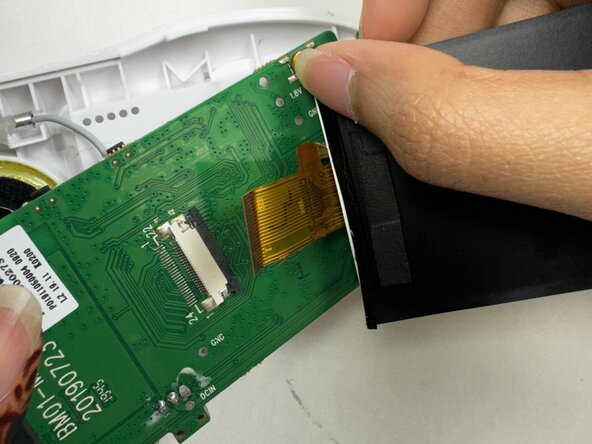
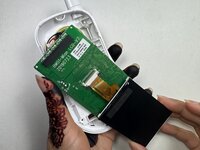
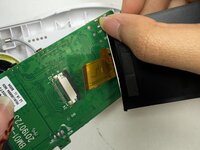
Flip the screen forward to reveal the ZIF connector and yellow ribbon cable connecting the screen to the board.
-
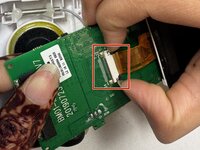
Use a spudger or a clean fingernail to flip up the black locking flap under the yellow tape to unlock the connector.
-
Use tweezers or your fingers to gently pull the cable out of its socket.
-
Remove the screen.
-







To reassemble your device, follow these instructions in reverse order. Take your e-waste to an R2 or e-Stewards certified recycler.

Команда

Austin Community College, Team 18-2, Watkins Spring 2025 Участник Austin Community College, Team 18-2, Watkins Spring 2025
AUSTINCC-WATKINS-S25S18G2
3 членов
Автор 3 руководств
