Введение
This guide shows you how to install a new LCD screen.
Выберете то, что вам нужно
-
-
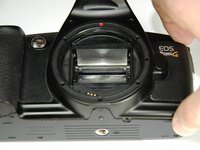
Using a #00 Phillips screw driver, remove three 4.4 mm Phillips screws as indicated by the red circles.
-
-
-
Using the flat end of a spudger, loosen the connection between the front panel and the device.
-
Remove the front panel using your hands.
-
-
-
-
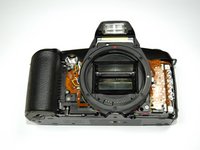
Turn Camera over.
-
Using a #00 Phillips screw driver, unscrew the two 4.9 mm Phillips screws located on either side of the viewfinder.
-
-
-
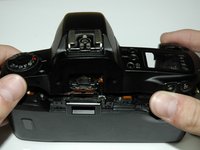
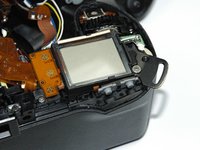
Using a #00 Phillips screw driver, unscrew the one 5.7 mm Phillips screw located next to the LCD screen.
-
-
-
Lay the camera on its back.
-
Unsolder the flash connection from the motherboard as noted by the blue circle.
-
-
-
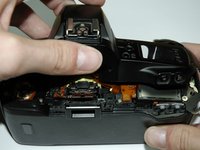
Remove the top panel by lifting it from the back, pushing it forward over the camera and letting it rotate down in front of the camera.
-
-
-
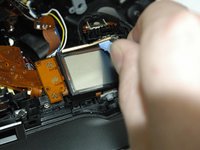
Pry off the small metal brace holding the LCD screen. (Push forward and slide toward the center)
-


To reassemble your device, follow these instructions in reverse order.
Отменить: Я не выполнил это руководство.
Еще один человек закончил это руководство.
Команда

Cal Poly, Team 14-9, Forte Spring 2012 Участник Cal Poly, Team 14-9, Forte Spring 2012
CPSU-FORTE-S12S14G9
5 членов
Автор 36 руководств
2 Комментарии к руководству
Great guide thanks! I found my lcd screen was partially working, the top part of the display was showing incomplete numbers...Cleaning the lcd contacts and reassembling it fixed the issue! No need to replace the screen in my case!
What Kind of glue is suggested to replace the textured grip?